Electronics usually fail at the worst possible moment—right before a meeting, in the middle of a movie, or when a deadline is looming. The good news: many “broken” devices just need a few focused checks, not an expensive repair. This guide walks you through five common problems and what you can do at home before calling a technician or buying something new.
Fix 1: When Your Laptop Won’t Turn On
A “dead” laptop is often dealing with a power or battery issue, not a fatal failure.
Step-by-step:
Check the basics first
- Confirm the wall outlet works by plugging in another device (like a lamp or phone charger). - Inspect the charger for frayed cables, bent connectors, or burn marks. If you smell burning or see exposed wire, stop using it immediately.
Try a different outlet and power strip
- Plug the charger directly into the wall, bypassing surge protectors or power strips. - If the charger has a power indicator light, confirm it turns on.
Remove external devices
- Unplug USB drives, HDMI cables, printers, docking stations, and SD cards. - Sometimes, connected devices interfere with startup or draw extra power.
Perform a power reset (for laptops with removable batteries)
- Shut down the laptop completely. - Remove the battery and unplug the charger. - Press and hold the power button for 15–30 seconds. - Reinsert the battery, plug in the charger, and try powering on again.
Power reset for laptops with non-removable batteries
- Unplug the charger. - Hold the power button for 30 seconds. - Reconnect the charger and wait 5–10 minutes before trying to turn it on.
Look for life signs
- Check for fan noise, keyboard backlight, or tiny LED indicators. - If you hear beeps, note the pattern—these “beep codes” can indicate specific issues (RAM, graphics, etc.) that you can look up on the manufacturer’s site.
When to stop DIY
- If you see smoke, smell burning, or the charger gets extremely hot, unplug everything immediately. - Contact the manufacturer or a certified repair service; do not continue troubleshooting a possible electrical fault.
Fix 2: When Your Phone Won’t Charge (or Charges Super Slowly)
Charging problems often come down to the cable, port, or background apps—not the battery itself.
Step-by-step:
Inspect the cable and charger
- Try a known-good cable and wall adapter (borrow from a friend or use one that works on another device). - Avoid testing with cheap, unbranded chargers; they can be unreliable and unsafe.
Clean the charging port safely
- Power off your phone. - Use a wooden or plastic toothpick to gently dislodge lint or dust from the port. - Finish with a few puffs of compressed air if available. - Never use metal tools or liquids inside the port.
Test different power sources
- Plug directly into a wall outlet (not a laptop USB port) for faster, more stable power. - If your outlet has USB built in, test both that and a standard adapter.
Check for software issues
- Restart your phone to clear temporary glitches. - Close unnecessary apps and disable battery-draining features (e.g., high screen brightness, constant GPS, hotspot) while charging. - On many phones, Settings → Battery will show apps using excessive power—close or uninstall problem apps.
Try safe mode (Android) or check for updates (Android/iOS)
- On Android, booting into Safe Mode can reveal if a third-party app is causing power drain. - On both Android and iOS, install any pending system updates—they often contain fixes for charging and battery bugs.
Ruling out battery failure
- If your phone only charges when held at a certain angle, the port may be physically damaged. - If battery percentage jumps around wildly or shuts off at 20–40%, the battery may be worn out and need replacement.
When to stop DIY
- If you see corrosion or bent pins in the port, or the phone gets abnormally hot while charging, stop using it and seek professional repair—continuing to charge can be dangerous.
Fix 3: When Your TV Shows “No Signal” (But Seems Fine)
Most “dead” TVs are actually input or connection problems, not screen failures.
Step-by-step:
Confirm the TV is really on
- Check the power indicator light—does it change color when you press the power button (remote or on-TV button)? - Try turning the TV on using the physical power button on the TV itself.
Verify the correct input / source
- Press the “Input,” “Source,” or similar button on the remote. - Cycle through HDMI 1, HDMI 2, AV, etc. until you find the device (cable box, console, streaming stick). - If you recently rearranged cables, the device might now be on a different HDMI port.
Check the cables and devices
- Unplug and firmly reinsert HDMI or AV cables on both the TV and the device side. - Try a different HDMI cable if you have one. - Make sure the source device (e.g., streaming box, console) is powered on—look for lights or fan noise.
Soft reset everything
- Turn OFF the TV and all connected devices. - Unplug the TV from the wall for 60 seconds. - Plug it back in, then power on the TV first, then the source device.
Test with a different device
- Plug a different device (like a laptop, another console, or a streaming stick) into the same HDMI port. - If the new device works, the original source is the issue. - If nothing works on that port, try another HDMI port on the TV.
Check picture settings and firmware updates
- On smart TVs, go into Settings → Support → Software Update (wording may vary) and install updates—these can fix HDMI handshake or signal issues. - Reset picture or input settings if they’ve been heavily customized.
When to stop DIY
- If the TV powers on but shows no image at all (even menus or logo), the backlight or panel may be failing—this usually requires professional repair. - If there’s physical damage (cracks, impact marks), do not attempt to open the TV yourself.
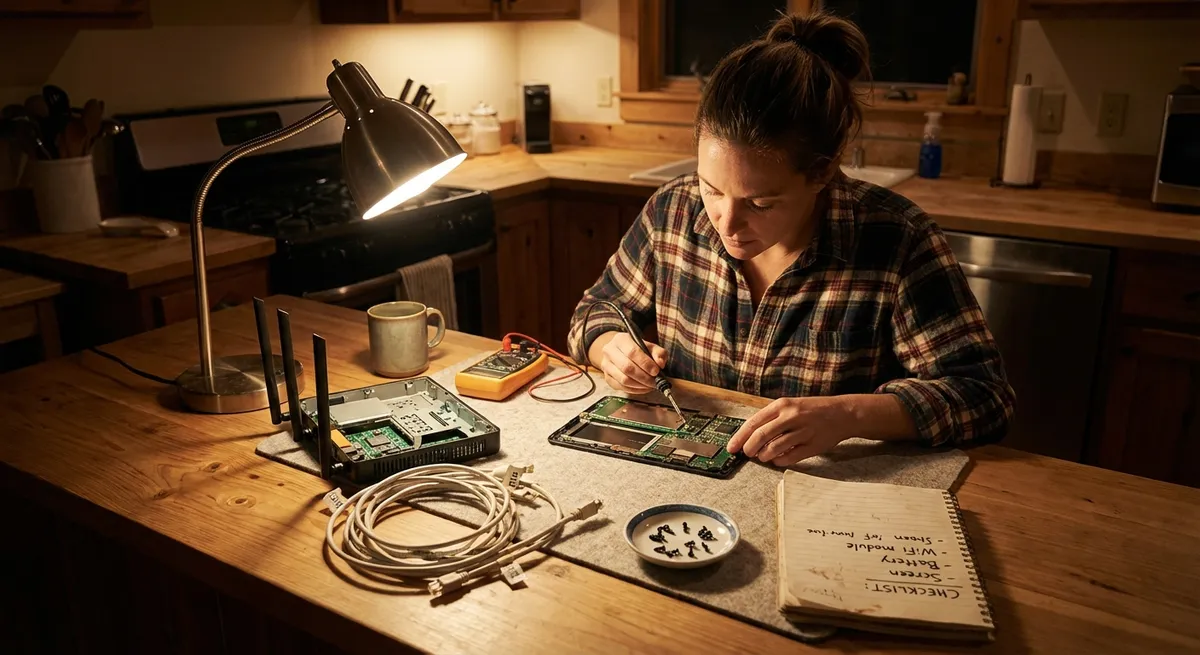
Fix 4: When Your Wi‑Fi Is Weak, Drops Out, or Crawls
Before blaming your internet provider, it’s worth optimizing your own equipment and setup.
Step-by-step:
Power-cycle the basics
- Unplug the modem and router from power. - Wait 30 seconds, then plug in the modem and wait until all status lights are stable. - Plug in the router, wait a few minutes, then test your connection again.
- Test internet vs. Wi‑Fi
- If possible, connect a laptop directly to the router with an Ethernet cable.
- Run a speed test (e.g., speedtest.net).
- If wired speed is fine but Wi‑Fi is slow, your router placement or wireless settings are the culprit.
Reposition your router
- Place it in a central, elevated location—ideally off the floor and away from thick walls or large metal objects. - Keep it away from microwaves, cordless phones, and baby monitors that can cause interference. - Avoid stuffing it inside cabinets or behind TVs.
Change Wi‑Fi band or channel
- Log in to your router’s admin page (address is usually printed on the router, like 192.168.0.1). - Switch between 2.4 GHz (better range) and 5 GHz (better speed, shorter range) to see which works best for your home. - Let the router auto-select the best channel, or manually choose a less crowded one if you see many neighboring networks.
Reduce device congestion
- Disconnect devices not in use, especially older smart devices or Wi‑Fi cameras that constantly upload data. - Pause large downloads or streaming on other devices when you need bandwidth for work or calls.
Update firmware and network drivers
- Check your router’s admin page for firmware updates and install them. - On your devices (especially laptops), update Wi‑Fi drivers via the manufacturer’s support site or system update tool.
When to stop DIY
- If your modem shows no internet even after reboot, contact your ISP—there may be an outage or line problem. - If the router is very old (5+ years), upgrading the hardware often solves persistent Wi‑Fi instability.
Fix 5: When Your Bluetooth Devices Won’t Connect
Headphones, speakers, keyboards, and controllers often fail to pair because of simple conflicts or old pairings.
Step-by-step:
Turn Bluetooth off and on again
- On your phone or computer, toggle Bluetooth OFF, wait 10 seconds, then turn it ON again. - This clears minor glitches and forces a new scan.
Remove (forget) old pairings
- Go to your Bluetooth settings and remove/forget the problem device. - Also remove extra old devices you don’t use anymore—there’s less chance of conflicts. - Put the accessory into pairing mode again (usually by holding the power or Bluetooth button until a flashing light appears).
Check distance and obstacles
- Keep the devices within 1–3 meters (3–10 feet) with direct line of sight while pairing. - Move away from other wireless equipment like Wi‑Fi routers, microwaves, or other Bluetooth devices.
Ensure the accessory isn’t already connected elsewhere
- Many Bluetooth headphones or speakers can connect to only one device at a time. - Turn Bluetooth OFF on nearby phones, tablets, or laptops that might be grabbing the connection.
Reset the accessory
- Look up “factory reset” for your specific headphones/speaker/keyboard on the manufacturer’s site. - Commonly this involves holding power and volume buttons together for several seconds. - After reset, try pairing as if it were new.
Update device software
- On phones and computers, install pending system updates. - Some accessories have companion apps that handle firmware updates—open the app and check for updates there.
When to stop DIY
- If the Bluetooth accessory doesn’t power on, won’t enter pairing mode, or has visible damage, it likely needs professional servicing or replacement. - If your phone or PC can’t see any Bluetooth devices, not just one, the internal radio may be faulty—contact support for your device.
Conclusion
Many “broken” electronics aren’t actually broken—they’re confused, clogged with dust, misconfigured, or fighting with other devices for power or signal. By working through simple, structured steps—check power, inspect connections, reset, update software—you can often bring laptops, phones, TVs, Wi‑Fi, and Bluetooth gear back to life without a repair bill.
Before you replace a device, walk through these checks calmly and methodically. You’ll save money, extend the life of your electronics, and get more confident handling future problems on your own.
Sources
- [Apple Support – If your iPhone or iPad won’t charge](https://support.apple.com/en-us/HT201569) - Official guidance on diagnosing and fixing common charging problems
- [Microsoft Support – Troubleshoot power problems on a PC](https://support.microsoft.com/en-us/windows/troubleshoot-power-problems-49bfe87d-e4b2-7659-776b-bc04e52b0f5d) - Details on power and startup issues for Windows laptops and desktops
- [Samsung – TV: “No Signal” message on screen](https://www.samsung.com/us/support/troubleshooting/TSG01001088/) - Manufacturer steps for resolving TV input and signal issues
- [Federal Communications Commission (FCC) – Interference with Home Electronics](https://www.fcc.gov/consumers/guides/interference-home-electronics-televisions-and-telephones) - Explains how interference affects TVs, Wi‑Fi, and other electronics
- [Harvard University Information Security – Securing Wireless Networks](https://security.harvard.edu/wireless-security) - Best practices on optimizing and securing home Wi‑Fi networks
Key Takeaway
The most important thing to remember from this article is that this information can change how you think about Electronics.


