Electronics tend to fail at the worst possible moment—right before a video call, during movie night, or when you finally sit down to relax. Instead of panicking or rushing to replace your device, you can often restore it with a few simple checks and low-risk fixes. This guide walks you through five common electronics problems and shows you exactly what to do, step by step, before you spend money on a new gadget or an urgent repair.
1. Laptop Won’t Turn On (No Lights, No Fan, No Screen)
When your laptop is completely unresponsive, it’s often a power issue—not a dead motherboard.
Step-by-step fix
Do a power reset (no tools required)
- Unplug the power adapter. - If the battery is removable, take it out. - Hold the power button down for 15–20 seconds to discharge residual power. - Reinstall the battery (if removable), plug in the adapter, and try turning it on again.
Check the power adapter and outlet
- Plug a different device (like a phone charger) into the same outlet to confirm it’s working. - Inspect the adapter cable for cuts, kinks, bent connectors, or burn marks. - If the power brick has an indicator light, confirm it’s on. If it’s off or flickering, the adapter may be faulty.
Look for signs of life
- Watch for keyboard backlight, charging LED, fan noise, or a brief flash on the screen. - If you see lights but no screen image, the issue might be the display, not the entire laptop.
Test without the battery (for laptops with removable batteries)
- Remove the battery completely. - Plug in only the power adapter. - Try turning on the laptop. If it works, the battery may be defective and need replacement.
Try an external display (to rule out the screen)
- Connect the laptop to a monitor or TV using HDMI or another video cable. - Power on and use the appropriate function key (often Fn + F4, F8, or a monitor icon) to switch displays. - If you see an image on the external display, the laptop screen or cable may be the problem.
When to stop and seek professional help
- You smell burning or see scorch marks. - The adapter gets extremely hot quickly. - The laptop shows no response at all after all steps (no LED, no fan, no sound) with a known-good adapter. At that point, internal components or the power circuit may be damaged and require diagnostic testing.
2. TV Has Sound but No Picture
If your TV turns on, you hear audio, but the screen is black or flickering, you may not need a new TV.
Step-by-step fix
Confirm it’s not just the source
- Try another input (HDMI 2 instead of HDMI 1). - Switch to a built-in app (like Netflix or YouTube) if it’s a smart TV. - Change channels or input sources—if one works but another doesn’t, the problem is likely with the device or cable, not the TV.
Check your cables and connections
- Unplug HDMI and other video cables, then firmly reconnect them. - Inspect cables for bent pins, frayed outer jackets, or loose connectors. - If possible, try a different HDMI cable and a different port.
Test with a flashlight (backlight test)
- In a dark room, turn the TV on with a known working source. - Shine a flashlight at a slight angle on the screen. - If you can faintly see images or menus, the TV’s backlight may have failed, while the panel is still working.
Adjust picture settings blindly using the remote
- Press the “Menu” button and wait a few seconds. - Use the arrow keys to navigate based on memory or manual instructions (refer to your TV brand’s support site). - Increase brightness and backlight—sometimes extreme power-saving or incorrect settings can make the screen appear “dead.”
Soft reset the TV
- Turn the TV off and unplug it from the wall. - Hold the power button on the TV (not just the remote) for 10–15 seconds. - Wait 60 seconds, then plug it back in and power on. - This can clear temporary glitches in the TV’s internal electronics.
When a repair is likely needed
- The backlight test shows faint images but no visible brightness. - The picture flickers or shows colored vertical stripes regardless of input. - You see physical cracks or liquid marks under the glass panel. These point to hardware failures (LED backlight, T-con board, or panel) that usually require a technician.
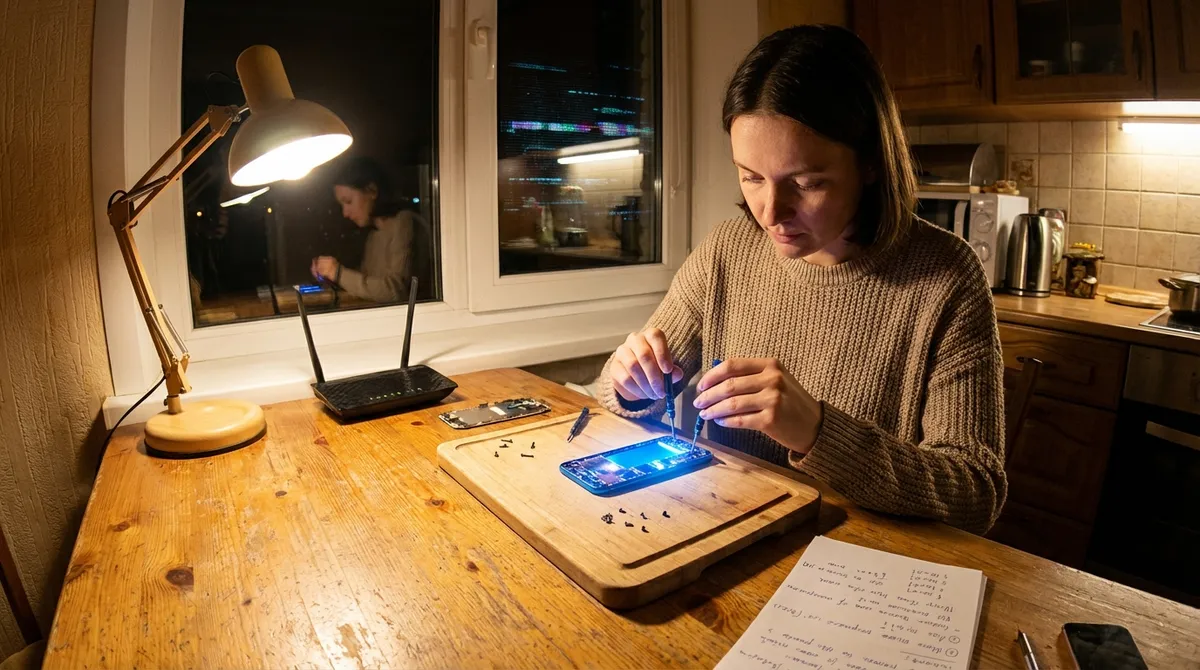
3. Smartphone Won’t Charge or Charges Extremely Slowly
Before assuming your battery is done, rule out simpler issues around power delivery.
Step-by-step fix
Inspect the charging port carefully
- Power off your phone. - Use a bright light to look inside the port for lint, dust, or debris. - If you see buildup, gently remove it using a wooden or plastic toothpick (never metal) and light pressure.
Test different combinations systematically
- Try your existing cable with a different power adapter. - Try a different cable with your original adapter. - Plug into a different wall outlet or a reputable USB power source. - If only one combination works, you’ve found the weak link (faulty cable, adapter, or port).
Check for moisture warning or overheating
- Many phones show a “moisture detected” warning if the port is damp. - If this appears, disconnect immediately, power off, and let the phone air-dry in a cool, dry place for several hours. Do not use heat sources like hair dryers. - If the device feels hot, remove the case and let it cool; charging is often throttled or disabled at high temperatures.
Review software and battery settings
- Enable “Battery” or “Device Care” in settings and look for apps using excessive power. - Disable any extreme power-saving modes temporarily and test charging again. - Restart the phone; transient software glitches can interfere with proper charging.
Inspect for physical damage
- Look for bent or loose pins inside the charging port. - Wiggle the connector gently—if the connection is very loose or only works at a specific angle, the port may be damaged and need replacement. - Check for cracks or swelling in the battery area (especially on older phones). If the back cover is bulging, stop using the phone and seek professional service immediately.
Wireless charging as a diagnostic tool
- If your phone supports wireless charging, test it on a known working wireless charger. - If wireless charging works but wired charging does not, your battery is probably fine and the issue is likely with the port or charging circuitry.
4. Bluetooth Headphones Keep Cutting Out or Won’t Connect
Connection issues are frustrating, but often solvable with a few reset steps.
Step-by-step fix
Clear old connections on your headphones
- Power off the headphones. - Enter pairing or reset mode (commonly by holding the power or Bluetooth button for 7–10 seconds—check your brand’s manual). - Many models have a specific “factory reset” combination that forgets all paired devices; perform it if available.
Delete and re-pair on your device
- On your phone/computer, go to Bluetooth settings. - Find your headphones in the paired list and choose “Forget” or “Remove.” - Restart Bluetooth or restart the device entirely. - Put the headphones into pairing mode and connect as if they were new.
Reduce interference and obstacles
- Move away from Wi-Fi routers and microwaves that can cause 2.4 GHz interference. - Keep your phone or laptop on the same side of your body as the Bluetooth antenna in the headphones (often the right ear). - Remove thick cases or metal covers from the phone while testing.
Update firmware and system software
- Check the manufacturer’s app (if available) for firmware updates to the headphones. - Update your phone or computer’s operating system; Bluetooth stack fixes are often included in updates. - After updating, restart both devices and pair again.
Test range and line of sight
- Place the audio source within 1–2 meters of the headphones with no obstacles. - Walk slowly away and note when dropouts begin. - If cutouts occur even at close range and after resets, internal antenna or battery issues are likely.
Try a second device
- Pair the headphones to a different phone, tablet, or computer. - If they work flawlessly on another device, the problem is likely with the original device’s Bluetooth, not the headphones.
5. Game Console Overheating or Shutting Down Mid-Game
If your console gets hot and shuts down, it’s usually a cooling or airflow problem—not necessarily a failing chip.
Step-by-step fix
Improve ventilation immediately
- Turn off and unplug the console. - Move it to a hard, flat surface (not carpet or soft fabric). - Keep at least 4–6 inches (10–15 cm) of clearance on all sides, especially near vents. - Avoid enclosed cabinets or stacked devices that trap heat.
Clean the vents safely
- With the console unplugged, use a can of compressed air to blow dust out of the vents. - Hold the can upright and use short bursts to avoid condensation. - Wipe external surfaces with a dry microfiber cloth. - Do not open the console case unless you are familiar with warranty conditions and comfortable working with electronics.
Check for obstruction and orientation
- Make sure nothing blocks intake or exhaust vents (walls, books, other electronics). - If the console supports both horizontal and vertical orientations, try the manufacturer-recommended orientation for better airflow.
Monitor for overheating indicators
- Many consoles display an overheating warning or message before shutting down. - Note how long it takes to overheat—minutes vs. hours. Rapid overheating often indicates heavy dust buildup or failing fans.
Limit demanding conditions temporarily
- Avoid playing in very hot rooms or direct sunlight. - Pause or quit games when not actively playing instead of leaving them running in the background. - Power the console down fully (not just sleep mode) to let it cool between long sessions.
Consider a deeper service when necessary
- If the fan is unusually loud, rattling, or not spinning at all, internal cleaning or fan replacement may be needed. - Persistent overheating despite clean vents and good airflow can indicate dried thermal paste or internal dust buildup. In those cases, a professional cleaning or service is safer than attempting a first-time teardown yourself.
Conclusion
Most everyday electronics problems look worse than they are. Before replacing a laptop that won’t start, a TV with a black screen, or a phone that won’t charge, run through structured checks: power, connections, settings, and environment. Many issues are reversible with simple, low-risk steps you can do at home in minutes. When you know where the safe line is—basic inspection, cleaning, resets—you can fix more and guess less, and call in a professional only when it’s truly necessary.
Sources
- [U.S. Department of Energy – Home Electronics and Energy Use](https://www.energy.gov/energysaver/home-electronics-and-energy-use) - General guidance on safe and efficient use of home electronics, including power considerations
- [Apple Support – If your Mac won’t turn on](https://support.apple.com/en-us/HT204267) - Official troubleshooting steps for laptops/desktops that appear dead or unresponsive
- [Samsung Support – TV has a black screen or no picture](https://www.samsung.com/us/support/troubleshooting/TSG01001027/) - Diagnostic flow and fixes for TVs with sound but no visible image
- [Google Support – Fix a phone that won’t charge properly](https://support.google.com/android/answer/7664690) - Practical checks for charging issues, cables, adapters, and ports
- [Sony PlayStation Support – PS5 is too hot or overheating](https://www.playstation.com/en-us/support/hardware/ps5-console-is-too-hot/) - Manufacturer recommendations on ventilation, cleaning, and overheating prevention for game consoles
Key Takeaway
The most important thing to remember from this article is that this information can change how you think about Electronics.


