When everyday electronics stop working, most people jump straight to “I need a new one.” In reality, a lot of issues are simple, cheap, and totally fixable at home with basic tools. This guide walks through five common electronics problems with clear, step‑by‑step solutions so you can get your gear working again before you spend on a replacement.
No advanced tools, no engineering degree—just a practical checklist you can follow calmly, even when your device dies at the worst possible time.
1. TV Turns On but Shows “No Signal”
Your TV powers up, but instead of your usual channels or streaming device, you see “No Signal.” That doesn’t mean your TV is dead; it usually points to a connection or input problem.
Step‑by‑step:
Confirm the source device is powered on
- Check the cable box, game console, or streaming device. - Look for power lights; if none, unplug it for 30 seconds and plug it back in. - If it’s on a power strip, make sure the strip is switched on.
Check the input/source on your TV
- Press the Input, Source, or AV button on your TV remote. - Cycle through HDMI1, HDMI2, AV, etc., until you see a picture. - If you recently rearranged cables, your device may have moved to a different HDMI port.
Inspect and re‑seat the HDMI (or AV) cables
- Turn the TV and source device off. - Unplug the HDMI cable from both the TV and the device. - Check the connectors for bent pins, visible damage, or debris. - Plug it back in firmly until it “clicks” or feels fully seated.
Test with a different HDMI port or cable
- Move the cable from HDMI1 to HDMI2 (or another available port). - If the TV detects the new port, change the input to match. - If possible, try a different HDMI cable to rule out a bad cable.
Bypass extra devices
- If you have a soundbar, HDMI switch, or AVR (receiver), temporarily remove it. - Connect the source device directly to the TV. - If the signal returns, your issue is with the intermediate device or its settings.
Reset the TV’s input and picture settings (last resort before service)
- Look in the TV Settings → General/System → Reset (wording varies by brand). - Choose an input or picture reset first; avoid full factory reset unless necessary. - If multiple inputs fail with multiple cables/devices, the TV’s input board may be faulty—time to contact the manufacturer or a repair shop.
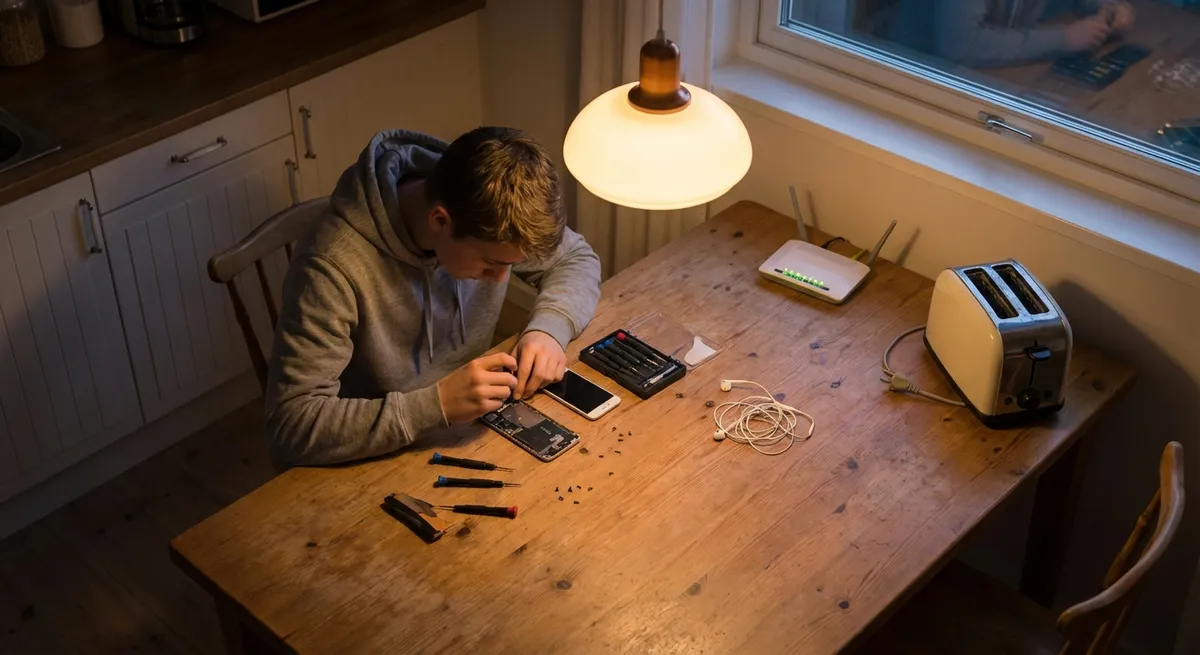
2. Laptop Won’t Charge (or Charges Only When You Wiggle the Cable)
A laptop that only charges sometimes—or not at all—often has a simple cause: power, cable, or port issues. Before assuming the battery is dead, work through these checks.
Step‑by‑step:
Confirm the outlet is actually working
- Plug in a lamp, phone charger, or another device to the same outlet. - If that doesn’t power up, try a different outlet (avoid those controlled by wall switches).
Inspect the power adapter and cable
- Look for fraying, burn marks, exposed wire, or a bent connector. - Feel along the cable while it’s plugged in; if it warms excessively, unplug immediately. - If you see visible damage, stop using it—replace it with an OEM or certified compatible charger.
Check the charging port on the laptop
- Power off and unplug the laptop. - Use a flashlight to look inside the port. Check for: - Dust or lint (common in USB‑C ports). - Bent or missing pins. - Gently blow out dust or use a can of compressed air. Do not poke around with metal objects.
Try a different charger (if possible)
- If your laptop uses USB‑C or a common barrel connector, borrow a compatible charger. - If the laptop charges normally with the other adapter, your original charger is the problem.
Check battery status in the operating system
- Windows: - Go to Settings → System → Power & battery. - See if it says “Plugged in, not charging,” or shows any battery health info. - macOS: - Go to System Settings → Battery → Battery Health (or “System Preferences” on older versions). - Look for “Service Recommended” or similar messages.
Power reset (often fixes “stuck” charging logic)
- For laptops with removable battery: - Shut down, unplug charger, remove battery. - Hold the power button for 15–20 seconds. - Reinstall battery, plug in, and power on. - For non‑removable batteries: - Shut down, unplug charger. - Hold power for 20–30 seconds, then reconnect charger and power on.
Know when it’s a hardware fault
- If the laptop only charges when you hold the plug at a certain angle, the DC jack (charging port) is likely loose and needs professional repair. - If multiple known‑good chargers don’t work and the port is clean and solid, suspect a failing battery or power management board—contact manufacturer support or a repair technician.
3. Smartphone Overheats and Drains Battery Too Fast
Phones get warm under heavy use, but constant overheating and rapid battery drain often come from background apps, settings, or environment. You can usually stabilize things without replacing the phone.
Step‑by‑step:
Take it out of the case and cool it down
- Remove thick or rubberized cases; they trap heat. - Keep the phone out of direct sun and away from heat sources. - Avoid using fast charging while the phone is already hot.
Check battery usage stats
- Android: - Go to Settings → Battery → Battery usage. - iOS: - Go to Settings → Battery and view apps by usage. - Look for apps using a high percentage of battery even when you haven’t used them recently.
Limit or uninstall power‑hungry apps
- Disable or uninstall apps you don’t need (especially social, games, or poorly optimized apps). - Turn off background app refresh or background activity for nonessential apps: - Android: Settings → Apps → [App] → Battery → Restrict or Optimized. - iOS: Settings → General → Background App Refresh.
Reduce performance strain
- Turn down: - Screen brightness (or enable auto‑brightness). - Screen refresh rate (on phones that support 90/120 Hz, drop to 60 Hz). - Turn off unnecessary features when not in use: - Bluetooth, Wi‑Fi hotspot, GPS, and NFC.
Update software and apps
- Install the latest OS updates (bug fixes often improve thermal behavior and battery life). - Update apps in Google Play or the App Store—outdated apps can misbehave and drain power.
Avoid charging patterns that stress the battery
- Don’t keep your phone at 100% on a fast charger for hours. - Avoid heavy gaming/4K video recording while charging. - If possible, keep the battery between roughly 20–80% for everyday use.
When to suspect a failing battery
- Phone shuts off unexpectedly at 20–40%. - Battery percentage drops rapidly even in airplane mode. - Phone stays hot at idle. - In these cases, a battery replacement (through the manufacturer or a reputable repair shop) is usually the most effective fix.
4. Bluetooth Headphones Keep Disconnecting or Sound Choppy
Random dropouts and glitchy audio are often caused by interference, distance, or pairing conflicts rather than a defective pair of headphones.
Step‑by‑step:
Start with distance and obstacles
- Keep the headphones within 3–6 feet of your phone or laptop, with no walls in between. - Avoid putting your phone in a back pocket or bag behind your body; your body itself can block the signal.
Eliminate wireless interference
- Move away from crowded 2.4 GHz environments: Wi‑Fi routers, microwaves, cordless phones, or busy office spaces. - If your router allows it, switch your phone or laptop to 5 GHz Wi‑Fi instead of 2.4 GHz to reduce interference.
Forget and re‑pair the headphones
- On your phone or computer, go to Bluetooth settings. - Tap your headphones → Forget or Remove. - Put the headphones into pairing mode (check your model’s manual—usually holding the power or Bluetooth button). - Reconnect like it’s a new device.
Disconnect extra paired devices
- Many headphones can connect to multiple devices; they might be flipping between them. - Turn off Bluetooth on other nearby devices that have been paired with your headphones before. - Or, remove the headphones from those devices’ Bluetooth lists.
Update firmware and drivers
- Check the headphone manufacturer’s app or website for firmware updates. - On your computer, update Bluetooth drivers (via Windows Update or your laptop manufacturer’s support site). - Restart your phone or laptop after updates.
Adjust audio settings
- On some devices, switching audio codecs helps (e.g., from aptX to SBC or AAC if supported). - Close other apps using audio (video conferencing tools, DAWs, or streaming apps running in background) to reduce conflicts.
Test with another device
- Connect the headphones to a different phone, tablet, or laptop. - If they work flawlessly there, the problem is likely with the original device’s Bluetooth radio or software, not the headphones.
5. Game Console Won’t Display on TV (Black Screen or No Picture)
Your console powers on, fans spin, maybe you hear sounds—but the TV stays black. Often the HDMI handshake or resolution settings are to blame rather than a dead console.
Step‑by‑step:
Verify console power and indicators
- Check for normal power lights (not blinking red/orange error codes). - Listen for startup sounds or menu sounds after boot. - If you hear sounds but see no video, it’s likely a display/connection issue.
Confirm TV input correctly
- Make sure the console’s HDMI cable is plugged into a specific HDMI port (e.g., HDMI1). - On the TV, manually select that exact input via the remote. - Avoid relying on “auto detect” if your TV has trouble recognizing devices.
Inspect and reseat the HDMI cable
- Power off both TV and console. - Unplug the HDMI cable at both ends; check for damage or bent connectors. - Plug it back in firmly. - If available, swap in a different HDMI cable (especially if your current cable is old, thin, or was bent sharply).
Test a different HDMI port or TV
- Move the cable to another HDMI input on the TV. - If that fails, connect the console to a completely different TV or monitor. - If it works elsewhere, the original TV port or settings are the issue.
Force the console into low‑resolution or safe mode
- PlayStation (PS4/PS5): - Turn off the console completely (no lights). - Hold the power button until you hear a second beep (about 7 seconds). - Connect a controller via USB and choose a lower resolution or change video output settings. - Xbox: - Power off, then press and hold Pair and Eject (or Pair + Power depending on model) to start in low‑res mode. - Change display settings from the dashboard. - Nintendo Switch: - Dock the Switch and ensure the dock’s power adapter is plugged directly into a wall outlet. - Try different resolution settings from System Settings → TV Output.
Disable HDMI‑CEC temporarily
- On the TV, turn off HDMI‑CEC (branded as Anynet+, Bravia Sync, Simplink, etc.). - Some TVs and consoles miscommunicate over CEC, causing detection issues. - After turning off CEC, manually select the input again.
Know when it’s likely a hardware fault
- If the console never shows a signal on any TV with multiple cables, and safe/low‑res modes don’t display, the HDMI port or video output circuitry may be damaged. - Look closely at the console’s HDMI port—if it’s loose, crooked, or pins are pushed in, professional repair is needed.
Conclusion
Most electronics failures feel catastrophic in the moment—but in many cases, you’re dealing with loose cables, misconfigured settings, or simple wear‑and‑tear that’s easy to correct at home. By methodically checking power, connections, software settings, and simple environmental factors first, you can often bring your TV, laptop, phone, headphones, or console back to life in minutes, not days.
Use this guide as your quick reference before you panic‑buy a replacement. Work through each step calmly, rule out the common issues, and save the big repair calls for problems that truly need them. The more you practice basic troubleshooting, the more confident (and less stressed) you’ll be the next time your electronics act up.
Sources
- [Federal Trade Commission – Smartphone Security and Care](https://consumer.ftc.gov/articles/protecting-your-mobile-devices) - General guidance on protecting and maintaining mobile devices, including safe charging and usage practices
- [Apple Support – If your iPhone or iPad gets too hot or too cold](https://support.apple.com/en-us/HT201678) - Official advice on overheating behavior and safe operating temperatures for mobile devices
- [Microsoft Support – Troubleshoot Surface power, charging, or battery issues](https://support.microsoft.com/en-us/surface/troubleshoot-surface-power-charging-or-battery-issues-0a3b8b86-67c2-8b8a-39b0-765fc644966f) - Detailed steps for diagnosing laptop power and charging problems (also applicable conceptually to many Windows laptops)
- [Sony PlayStation Support – No video or audio when connecting a console to a TV](https://www.playstation.com/en-us/support/hardware/no-audio-or-video-ps5/) - Official troubleshooting for console‑to‑TV display issues, including safe mode and HDMI checks
- [FCC – Interference with Consumer Electronics](https://www.fcc.gov/engineering-technology/laboratory-division/general/electromagnetic-compatibility-emc/equipment-interference) - Background on wireless and electromagnetic interference that can affect Bluetooth and other devices
Key Takeaway
The most important thing to remember from this article is that this information can change how you think about Electronics.


