Electronics rarely die suddenly—most “dead” gadgets are just suffering from fixable problems. Before you replace that phone, laptop, or TV, there are simple checks that can bring them back to life without special tools. This guide walks you step by step through five common issues and how to repair or stabilize them safely at home.
1. Laptop That Won’t Turn On (But Was Working Yesterday)
A “dead” laptop is often a power or reset issue, not a fried motherboard.
Step-by-step fix
Do a power drain reset
- Unplug the charger. - If the battery is removable: take it out. - Hold the power button for 20–30 seconds to discharge residual power. - Reinstall the battery, plug in the charger, and try turning it on again.
Check the charger and power source
- Test the outlet with another device (like a phone charger). - If your charger has an indicator light and it’s off, try another outlet or adapter. - Inspect the cable for kinks, burn marks, or fraying. If damaged, stop using it and replace it.
Look for life indicators
- Plug in the charger and watch for: - LED charging lights - Keyboard backlight flash - Fan spin or drive activity - If lights turn on but the screen stays black, connect an external monitor via HDMI/DisplayPort to check if it’s a display issue.
Try a safe boot sequence
- Remove USB sticks, SD cards, and external drives. - Press power once and wait at least 60 seconds; don’t keep pressing repeatedly. - If you hear the fan and see no screen image, shine a flashlight at an angle on the screen—if you faintly see the desktop, your backlight may be failing.
When to stop and seek help
- No lights, no fan, and no response after trying another charger and outlet usually means an internal hardware fault. - Don’t keep forcing power; repeated tries won’t help and may cause more damage. A repair shop can test the motherboard and power circuits.
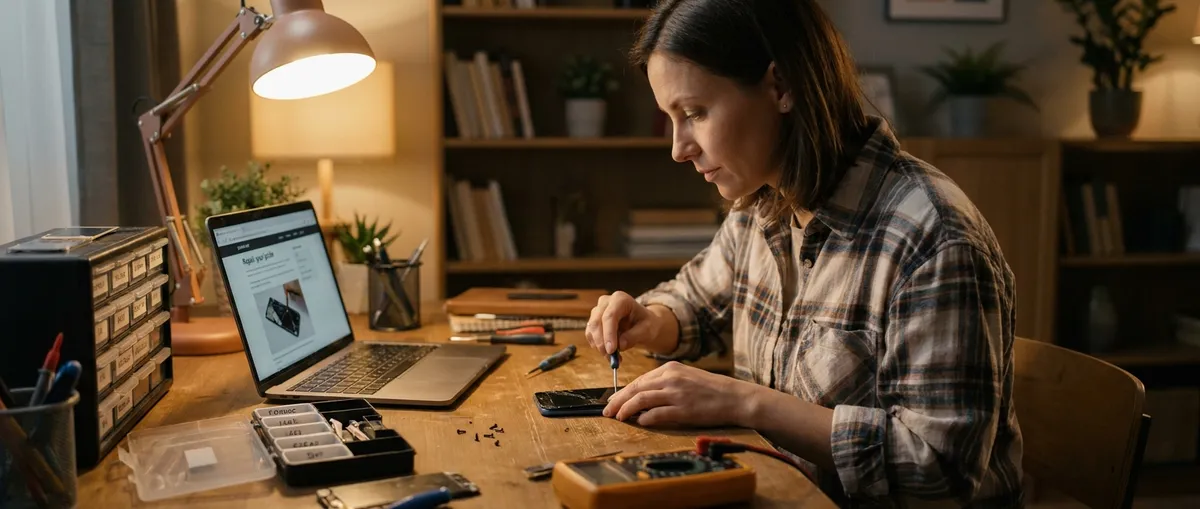
2. Smartphone That Won’t Charge (Or Charges Extremely Slowly)
Charging failures are often caused by dirt, cheap cables, or a confused battery management system.
Step-by-step fix
Inspect and clean the charging port
- Turn off your phone. - Use a wooden or plastic toothpick (never metal) to gently lift out lint and dust from the port. - Blow gently or use short bursts of compressed air held at a distance. - Recheck the port with a light—pins should be visible and not bent.
Test with known-good parts
- Try: - A different USB cable (preferably certified by the phone maker) - A different wall adapter - A different outlet or power strip - Plug directly into the wall, not into a laptop or extension with many devices attached.
Check for moisture or corrosion alerts
- Some phones show a “moisture detected” warning. If so: - Unplug the cable immediately. - Let the phone sit powered off in a dry, room‑temperature place for several hours. - Do not heat it with a hair dryer or put it in rice—this can worsen damage or trap dust.
Calibrate the battery indicator (for false readings)
- Charge the phone to 100%, then keep it connected for another 30–60 minutes. - Use it normally until it powers off on its own. - Charge uninterrupted back to 100%. - This can help the system report battery levels more accurately.
When to consider a battery or port replacement
- The phone only charges at certain angles or stops charging with small movements ⇒ likely a loose port. - The phone overheats while charging and drains quickly ⇒ battery wear. - If the device is out of warranty, a professional battery or charging port replacement is usually cheaper than a new phone.
3. TV With No Signal or No Picture (But Power Light Is On)
Many “broken” TVs are fine—the problem is often cables or input settings.
Step-by-step fix
Confirm the TV is actually on
- Press the power button on the TV itself, not just the remote. - Check for: - Power LED color change - A startup logo - Backlight glow in a dark room
Check the input source carefully
- On the remote, press Input, Source, or a similar button. - Cycle through all inputs (HDMI 1, HDMI 2, AV, etc.) and pause 3–5 seconds on each. - Make sure your device (cable box, console, streaming stick) is on.
Verify your cables and devices
- Unplug and firmly reinsert HDMI or AV cables at both ends. - Try another HDMI port on the TV. - Test with a different device (like a game console or laptop) to isolate whether the TV or the original device is the issue.
Reset external devices
- Power off the TV and any connected device. - Unplug them from power for 30–60 seconds. - Plug the TV in first, turn it on, then the external device. - Some cable/streaming boxes have a reset button—use it if available.
Run a quick TV reset (without losing all settings, if possible)
- Check your TV’s settings menu for Restart, System Reset, or Soft Reset. - Avoid “Factory Reset” unless nothing else works, as it wipes your apps and custom settings.
When it’s probably a hardware problem
- You hear sound but see no image, even with a flashlight test ⇒ likely backlight failure. - The screen shows random lines, flickers, or has large dark zones ⇒ possible panel or internal board issues. - These usually require professional service and are not home‑repair friendly.
4. Wi‑Fi That Keeps Dropping or Is Painfully Slow
Before blaming your ISP, stabilize your own network. Many issues are caused by interference, poor placement, or overloaded hardware.
Step-by-step fix
Power cycle correctly
- Unplug the modem and router from power. - Wait 30 seconds. - Plug in the modem and wait until all key lights stabilize (often 1–2 minutes). - Plug in the router and wait another minute. - Test again with one device close to the router.
Check signal strength and location
- Stand near the router and run a speed test (search “internet speed test” in your browser). - Move to the problem room and repeat. - If speeds drop sharply with distance, consider: - Moving the router to a more central, elevated position - Keeping it away from thick walls, metal shelves, microwaves, and cordless bases
Reduce interference and overload
- Disconnect unused devices from Wi‑Fi (old phones, tablets, smart gadgets). - Switch to the 5 GHz band if your router supports dual‑band; it’s less crowded and often faster at short range. - Avoid running high‑bandwidth tasks (4K streaming, huge downloads, cloud backups) simultaneously if your plan is modest.
Change Wi‑Fi channel and update firmware
- Log into your router’s admin page (the address is usually on a label under the device, e.g., 192.168.0.1). - Look for Wireless Settings and try a different channel on 2.4 GHz (1, 6, or 11 are common stable choices). - Check for firmware updates; apply them if available, then reboot the router.
Decide when you need new hardware or ISP support
- If Wi‑Fi is bad but a wired connection to the router is fast, your router or its location is the weak link. - If both wired and wireless are slow, contact your ISP and report the test results. - Old routers (5+ years) often struggle with modern devices; replacing them can be a bigger fix than upgrading your plan.
5. Game Console Overheating, Shutting Down, or Getting Loud
When a console sounds like a jet engine or shuts off mid‑game, it’s usually overheating—almost always fixable with cleaning and better airflow.
Step-by-step fix
Power down safely
- Shut down from the console menu (avoid pulling the plug). - Wait until all lights turn off. - Unplug the power cable and any external drives.
Check placement and ventilation
- Ensure the console is: - On a hard, flat surface (not carpet, bed, or sofa) - At least 4–6 inches from walls and other electronics - Not inside a closed cabinet while gaming - Run it for 10–15 minutes in an open space and see if fan noise improves.
Clean dust from vents
- Use compressed air can from a short distance; short bursts into vents, not continuous blasts. - Aim air across vents rather than directly inside to avoid forcing dust deeper. - Wipe exterior surfaces with a dry microfiber cloth. - Do not open the console case unless the manufacturer’s documentation clearly allows it without voiding warranty.
Check for software or game-related strain
- Make sure your console software is up to date. - If only one particular game causes overheating or shutdown: - Lower graphics or performance settings if available. - Close all background apps and run only that game.
Know when internal service is needed
- If the console still overheats in a cool, open area after cleaning: - Internal dust buildup - Dried or degraded thermal paste - Failing fan - These fixes involve opening the unit. If it’s under warranty, contact the manufacturer instead of attempting a full teardown.
Conclusion
Most failing electronics give you warning signs long before they’re truly beyond repair. By following structured steps—check power, inspect connections, reset safely, clean carefully, and only then consider hardware replacement—you can rescue many “dead” devices and stretch their lifespan. When in doubt, stop before you force anything, document what you’ve tried, and hand a clear, organized problem report to a professional. That alone can cut your repair time and cost.
Sources
- [Apple Support – If your iPhone or iPod touch won't charge](https://support.apple.com/en-us/HT208076) - Official guidance on diagnosing and fixing common phone charging issues
- [Microsoft Support – Troubleshoot black screen or blank screen errors](https://support.microsoft.com/en-us/windows/troubleshoot-black-screen-or-blank-screen-errors-in-windows-10-3a4a3a41-30de-d876-9e5f-4b9768f305b8) - Step-by-step checks for devices that appear powered but show no display
- [Federal Communications Commission – Interference to Home Electronic Entertainment Equipment](https://www.fcc.gov/consumers/guides/interference-home-electronic-entertainment-equipment) - Explains how interference affects TVs, Wi‑Fi, and other home electronics
- [U.S. Department of Energy – Wireless Router Placement Tips](https://www.energy.gov/energysaver/articles/tips-wireless-router-placement) - Practical recommendations for optimal router placement and performance
- [Sony PlayStation Support – PS4 System Overheating](https://www.playstation.com/en-us/support/hardware/ps4-overheating/) - Official advice on overheating, ventilation, and cleaning game consoles
Key Takeaway
The most important thing to remember from this article is that this information can change how you think about Electronics.


