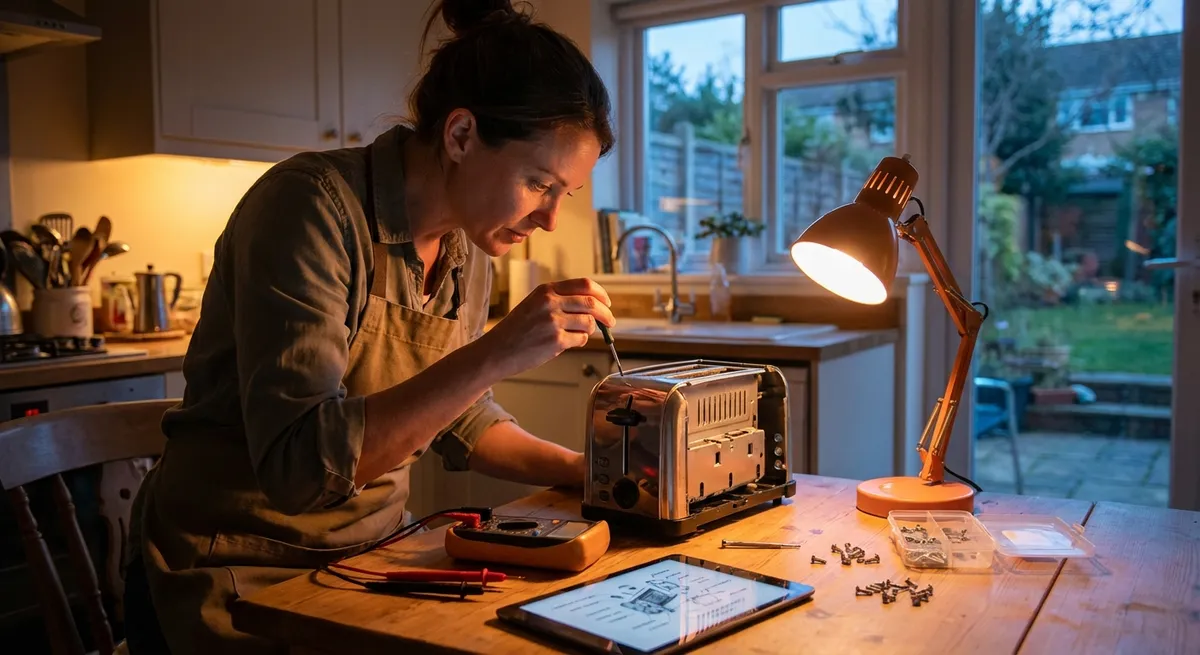
When your electronics act up, it’s tempting to panic, search random forums, or buy a replacement you don’t actually need. In many cases, though, you can fix the issue yourself with a methodical, step‑by‑step approach and a few basic tools. This guide walks you through five common electronics problems and shows you how to troubleshoot them safely and systematically, so you can get your devices working again without guesswork.
1. When Your Phone Won’t Charge Reliably
A flaky charging connection doesn’t always mean you need a new phone or charger. Dirt, pocket lint, and a worn cable are far more common than a failed charging port.
Step‑by‑step fix:
- Verify the outlet and charger.
- Plug a different device into the same outlet.
- Try a known‑good wall adapter and cable that works with another device.
- Inspect the charging cable.
- Look for kinks, exposed wires, or loose ends at the connector.
- Gently bend the cable along its length while plugged into a working device; if charging cuts in and out, replace the cable.
- Clean the charging port (carefully).
- Power off your phone completely.
- Use a bright light to look inside the port.
- With a wooden or plastic toothpick (never metal), gently loosen and pull out lint or debris.
- Finish with a short burst of compressed air held upright, from a slight distance.
- Check for case interference.
- Remove any bulky or damaged phone case.
- Plug in again to see if the cable now seats more firmly.
- Rule out software issues.
- Restart your phone.
- Check battery health in settings (if available) to see if the device is throttling charging.
- Update to the latest system software; some devices optimize or fix charging behavior via updates.
- Know when it’s hardware.
- If you must hold the connector at a specific angle, or the phone only charges intermittently with multiple known‑good cables, the port itself may be worn or damaged.
- At this point, seek a professional repair; DIY port replacement often requires microsoldering and can void warranties.
2. When Your Laptop Overheats or the Fan Is Too Loud
Overheating and loud fans can slow your laptop, crash programs, or even cause shutdowns. Most of the time, airflow problems and dust buildup are to blame, not a failed component.
Step‑by‑step fix:
- Check the environment first.
- Move the laptop from soft surfaces (bed, couch) to a hard, flat table.
- Ensure the vents (usually on the side, rear, or bottom) are not blocked.
- Reboot and close resource‑heavy apps.
- Restart your laptop to clear stuck processes.
- Open Task Manager (Windows) or Activity Monitor (macOS) and close apps using excessive CPU or GPU resources.
- Clean the vents externally.
- Power off and unplug the laptop; disconnect all accessories.
- Use a can of compressed air with short bursts at a slight angle, blowing across (not directly into) vents to lift dust out.
- Avoid continuous airflow that can spin fans excessively or force debris deeper inside.
- Improve airflow under the laptop.
- Use a stand or place two small, sturdy items under the rear corners to create airflow (avoid blocking vents).
- Consider a cooling pad with fans if you regularly run heavy applications (gaming, video editing).
- Update BIOS/firmware and drivers.
- Visit your laptop manufacturer’s support page.
- Install recommended BIOS/firmware and thermal management updates, as these can fine‑tune fan curves and power limits.
- Deep cleaning (if you’re comfortable opening it).
- Look up a model‑specific teardown or service guide from the manufacturer.
- Remove the bottom panel with the correct screwdriver.
- Use compressed air and a soft brush to gently remove dust from the fan and heatsink fins.
- Reassemble carefully, ensuring all screws are snug but not overtightened.
- Know when to stop.
- If you see swollen batteries, corrosion, or damaged fan blades, do not continue. These require professional service and, in the case of swollen batteries, can be hazardous.
3. When Your TV Has No Signal or Blank Screen
A blank TV screen or “No Signal” message often comes down to incorrect input selection, loose cables, or a glitchy streaming device instead of a dead TV panel.
Step‑by‑step fix:
- Confirm power status.
- Check that the TV’s power LED is on or responding to the remote.
- Try turning the TV on/off using the physical power button on the TV, not just the remote.
- Check the input/source.
- Press the “Input” or “Source” button on the remote (or TV) and slowly cycle through HDMI1, HDMI2, AV, etc.
- Pause 3–5 seconds at each input to see if the picture appears.
- Inspect and reseat HDMI and other cables.
- Turn the TV and external devices (cable box, game console, streaming stick) off.
- Unplug and firmly reconnect HDMI cables at both ends.
- If possible, switch cables or try a different HDMI port on the TV.
- Test with a single, known‑good device.
- Disconnect all devices except one (e.g., a streaming stick or game console).
- Plug it into HDMI1 and power it on.
- If this works, reconnect other devices one at a time to identify which device or cable is faulty.
- Power cycle your devices.
- Turn off the TV and connected devices.
- Unplug them from the wall for 1–2 minutes.
- Plug them back in and power on the TV first, then the external device.
- Check resolution and compatibility.
- Some older TVs can’t display certain high resolutions or refresh rates.
- On game consoles or computers, temporarily lower output resolution (e.g., to 1080p) and reconnect.
- Recognize signs of panel or backlight failure.
- Shine a flashlight at an angle on the screen while the TV is on and tuned to a known working source.
- If you see a faint image but no visible backlight, the TV’s backlight system may have failed. This usually needs professional repair or replacement.
4. When Wi‑Fi Is Slow or Keeps Dropping
Laggy streaming, buffering, or constant disconnects can be incredibly frustrating. Often, you can restore stable Wi‑Fi by methodically ruling out congestion, interference, and simple misconfiguration.
Step‑by‑step fix:
- Identify if it’s Wi‑Fi or the internet connection itself.
- Run a speed test on a device connected via Ethernet directly to your router or modem.
- If wired speed is fine but Wi‑Fi is slow, the issue is local wireless. If both are slow, contact your ISP.
- Reboot network equipment in order.
- Unplug the modem, router, and any mesh nodes.
- Wait 30–60 seconds.
- Plug in the modem first, wait until all lights stabilize.
- Plug in the router, then any mesh/extenders.
- Relocate the router for better coverage.
- Place it in a central, elevated location away from thick walls, metal objects, and appliances like microwaves.
- Avoid hiding it in cabinets or behind TVs.
- Reduce interference and congestion.
- If your router supports both 2.4 GHz and 5 GHz, connect nearby devices to 5 GHz for speed and distant devices to 2.4 GHz for range.
- Change your Wi‑Fi channel in the router settings if neighbors’ networks are on the same channel (use a Wi‑Fi analyzer app to check).
- Forget and reconnect on your devices.
- On your phone/laptop, “Forget” the Wi‑Fi network and reconnect, re‑entering the password.
- This can clear out old settings and fix authentication loops.
- Update router firmware.
- Log into your router’s admin page (address is often printed on the router).
- Check for firmware or security updates and install them. This can fix stability bugs and improve performance.
- Segment high‑demand devices.
- If smart TVs, game consoles, and work laptops all compete on one band, spread them across both 2.4 GHz and 5 GHz networks (if available).
- For stationary devices, consider wired Ethernet to free up wireless capacity.
- Consider replacing outdated hardware.
- If your router is more than 5–6 years old or doesn’t support modern standards (like Wi‑Fi 5/6), upgrading can dramatically improve reliability and speed.
5. When Bluetooth Devices Won’t Pair or Keep Disconnecting
Bluetooth problems frequently come down to pairing confusion, interference, or outdated software rather than broken hardware.
Step‑by‑step fix:
- Reset the connection on both ends.
- On your phone/computer, go to Bluetooth settings and “Forget” or “Remove” the problematic device.
- Turn Bluetooth off, wait 10 seconds, then turn it back on.
- Put the device into proper pairing mode.
- For headphones, this usually means holding the power or pairing button for several seconds until a specific light pattern appears.
- Check the manufacturer’s instructions for the exact steps and indicators.
- Move closer and reduce interference.
- Pair within a few feet of the host device, with no thick walls or metal objects in between.
- Turn off or move away from other active Bluetooth devices temporarily to avoid conflicts.
- Check for multi‑device connection limits.
- Some headphones can only remember one or two devices.
- If they’re already paired to another phone or laptop nearby, disconnect or turn off Bluetooth on those devices before pairing to a new one.
- Update software and firmware.
- Ensure your phone or computer OS is up to date.
- For some headphones, speakers, and keyboards, the manufacturer offers firmware updates via an app or USB connection.
- Clear Bluetooth cache (Android/desktop workaround).
- On Android, under Settings > Apps > Show system > Bluetooth, you can clear cache/data (steps vary by device).
- On computers, removing the device and restarting the Bluetooth service often has the same effect.
- Perform a factory reset on the Bluetooth accessory.
- Many devices support a hard reset (e.g., holding power and volume buttons together).
- After reset, pair as if it’s brand new.
- Check for hardware issues.
- If the device fails to enter pairing mode, won’t power on, or repeatedly drops connections with multiple different hosts at close range, the internal Bluetooth module or battery may be failing and require service or replacement.
Conclusion
Most everyday electronics problems—phones that refuse to charge, laptops running hot, TVs with no signal, stubborn Wi‑Fi, or flaky Bluetooth—are fixable at home with a calm, step‑by‑step process. Start with the simplest checks, change only one thing at a time, and pay attention to what actually makes a difference. When you hit clear hardware limits or safety concerns, that’s your signal to stop and bring in a professional. With this practical approach, you’ll save time, money, and frustration—and keep your devices running longer.
Sources
- [Apple Support – If your iPhone or iPad won’t charge](https://support.apple.com/en-us/HT201569) - Official guidance on troubleshooting charging issues and when to seek service
- [Dell Support – How to troubleshoot overheating, fan, and booting issues](https://www.dell.com/support/kbdoc/en-us/000177657/how-to-troubleshoot-overheating-fan-noise-and-boot-issues) - Explains safe ways to address laptop overheating and fan noise
- [Sony – TV is not displaying any picture](https://www.sony.com/electronics/support/articles/00032571) - Step‑by‑step checks for TVs with “No Signal” or blank screens
- [FCC – Interference with Wi-Fi networks](https://www.fcc.gov/consumers/guides/interference-your-wireless-network) - Details on sources of wireless interference and mitigation strategies
- [Bluetooth SIG – Bluetooth basics](https://www.bluetooth.com/learn-about-bluetooth/tech-overview/) - Technical overview of how Bluetooth connections work and common limitations
Key Takeaway
The most important thing to remember from this article is that this information can change how you think about Electronics.


