You don’t need a fully stocked workshop or a contractor on speed dial to handle most everyday home issues. With a few basic tools and a clear plan, you can solve a lot of those “I’ll deal with it later” problems safely and quickly. This guide walks you through five common household headaches and gives you straight, step‑by‑step solutions you can actually use today.
1. Dripping Faucet That Won’t Quit
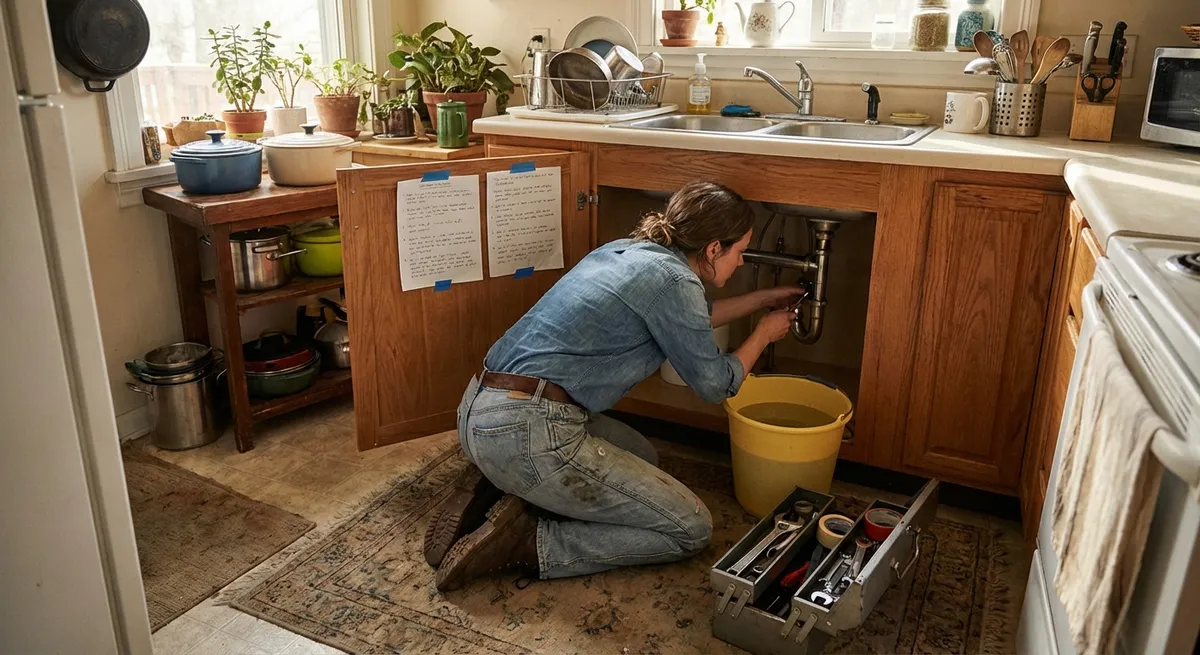
A leaking faucet wastes water, adds to your bill, and is just plain annoying. Most drips come from worn internal parts, not from “bad plumbing.”
What You’ll Need
- Adjustable wrench
- Flathead and Phillips screwdrivers
- Replacement cartridge or washers/O‑rings (depending on faucet type)
- Plumber’s grease (optional but helpful)
- Old towel and small container
Step‑by‑Step: How to Fix It
Shut off the water supply
Look under the sink for shutoff valves. Turn them clockwise until they stop. If there are no valves, turn off the main water supply for your home.
Plug the drain
Use a sink stopper or rag. This prevents small screws or parts from disappearing down the drain.
Remove the handle
- Pop off any decorative cap (often marked hot/cold). - Unscrew the handle screw and pull the handle off. - Keep screws in a small container so you don’t lose them.
Identify and remove the internal mechanism
- For cartridge faucets: Remove the retaining nut or clip, then pull out the cartridge. - For compression faucets: Unscrew the valve stem assembly. - For ball or ceramic disk faucets: Follow manufacturer instructions (you may need a specific repair kit).
Inspect and replace worn parts
- Look for cracked, flattened, or hardened O‑rings and rubber seals. - Replace them with identical parts. Take the old parts to a hardware store to match size and type. - Lightly coat new O‑rings with plumber’s grease before installing.
Reassemble the faucet
Reverse your steps: internal mechanism → handle → caps. Don’t overtighten metal parts; snug is enough.
Turn the water back on and test
Open the shutoff valves slowly while watching for leaks. Turn the faucet on and off several times. If it still drips, the cartridge or internal assembly may need full replacement (bring it to a plumbing supply store for help matching it).
2. Door That Won’t Latch or Keeps Swinging Open
If your door doesn’t catch properly or swings by itself, the cause is usually hinge sag, loose screws, or a slightly misaligned strike plate—not a “bad door.”
What You’ll Need
- Phillips screwdriver
- Longer wood screws (2–3 inches)
- Toothpicks or wooden matchsticks (for stripped screw holes)
- Chisel and hammer (optional, for strike plate adjustment)
- Pencil
Step‑by‑Step: How to Fix It
Check the hinge screws first
Open the door halfway and gently lift it by the doorknob. If there’s play or movement, hinges are loose.
Tighten all hinge screws
Start with the top hinge (it carries most of the weight). If screws just spin and don’t tighten, the holes are stripped.
Repair stripped screw holes
- Remove the loose screw. - Fill the hole with wood glue and several toothpicks or a cut wooden matchstick. - Snap them off flush, let dry, then drive the screw back in. - For a stronger fix, replace short screws with 2–3" screws that bite into the wall framing.
Check the latch alignment
Close the door slowly and see where the latch hits the strike plate. - If it hits above or below the plate’s opening, mark the contact area with a pencil.
Adjust the strike plate (if needed)
- Loosen the screws and shift the plate slightly up, down, or outward, then retighten. - For a bigger adjustment, remove the plate and carefully chisel the mortise (the recessed area) so the plate can move. Fill old screw holes with toothpicks and glue before re-screwing.
Fix a door that swings by itself
- Remove the top hinge pin. - Lay it on a hard surface and tap it gently in the middle with a hammer to create a slight bend. - Reinsert the pin; the friction usually keeps the door from drifting.
Test repeatedly
Open and close the door several times to confirm the latch catches firmly and the door no longer swings.
3. Clogged Sink That Drains Like Molasses
Slow drains aren’t always a job for harsh chemicals. You can often clear them mechanically and keep your plumbing safer in the process.
What You’ll Need
- Rubber gloves
- Bucket
- Plunger (cup plunger, not a toilet flange plunger)
- Zip‑it style plastic drain tool or a wire coat hanger
- Adjustable wrench or channel‑lock pliers
- Old toothbrush or small cleaning brush
- Baking soda and vinegar (optional for cleaning, not heavy clogs)
Step‑by‑Step: How to Fix It
Remove the stopper or drain cover
- For bathroom sinks, the stopper is usually linked to a pivot rod under the sink—unscrew the retaining nut to release it. - For kitchen sinks, lift out the strainer.
Clear hair and debris near the top
- Use a plastic drain tool or bent coat hanger to pull out visible gunk. - Run water to see if the flow improves; if not, continue.
Try plunging the sink
- Fill the sink with a few inches of water. - Block any overflow holes with a wet cloth. - Place the plunger over the drain and plunge firmly 15–20 times. - Lift the plunger to check flow. Repeat as needed.
Clean the P‑trap under the sink
- Place a bucket under the U‑shaped pipe. - Use an adjustable wrench to loosen the slip nuts and remove the trap. - Empty contents into the bucket and clean the trap thoroughly with a brush. - Check the pipes leading into the wall for additional debris you can reach.
Reassemble and test
- Reinstall the P‑trap, hand‑tighten the nuts, then give them a slight extra turn with the wrench—don’t overtighten. - Run water and check for leaks. Tighten slightly if needed.
Optional: mild cleaning flush
If the drain is flowing but smells, pour ½ cup baking soda followed by 1 cup vinegar. Let it fizz for 10–15 minutes, then flush with hot (not boiling) water.
4. Wall Anchor Pulling Out of Drywall
Loose shelves, towel bars, or hooks often fail because they were installed with the wrong anchors or in damaged drywall. You can repair the wall and re‑mount the item so it actually holds.
What You’ll Need
- Utility knife
- Spackle or joint compound
- Putty knife
- Sanding sponge or fine sandpaper
- New drywall anchors appropriate for the load (self‑drilling, toggle, or molly bolts)
- Drill and drill bits
- Paint (optional, for touch‑up)
Step‑by‑Step: How to Fix It
Remove the failing anchor and hardware
Unscrew the item and gently wiggle out the old anchor. If it crumbles, carefully cut around it with a utility knife and scrape it out.
Assess the damage
If the hole is small and only slightly enlarged, you can patch it. If the drywall is crushed or the hole is large, you’ll need a bigger repair area.
Patch the damaged hole
- Use a putty knife to fill the hole with spackle or joint compound. - Slightly overfill so you can sand it flat. - Let it dry completely (follow the product’s recommended time).
Sand and repeat if needed
Sand the area smooth. If you see low spots or cracks, apply a second thin coat, dry, and sand again.
Relocate or reinforce the mounting point
- For heavy items, try to move the mounting point so at least one screw goes into a wall stud (use a stud finder if available). - If you must stay in drywall, choose the right anchor: - Plastic expansion anchors: light loads only (small pictures). - Self‑drilling anchors: medium loads (towel bars, small shelves). - Toggle bolts / molly bolts: heavier loads (large shelves, cabinets—check weight ratings).
Install the new anchor correctly
- Drill the correct size pilot hole if required. - Insert or drive the anchor per the instructions. - Tighten screws firmly but don’t over‑torque; that can spin or crush the anchor.
Touch up and rehang
Paint the repaired area if needed, then reinstall your shelf, hook, or bar onto the new, solid anchor.
5. GFCI Outlet That Keeps Tripping (Bathroom or Kitchen)
Ground Fault Circuit Interrupter (GFCI) outlets are designed to protect you from electric shock, especially near water. If yours keeps tripping, it’s doing its job—but you still need to find and correct the cause.
Safety First
If you’re uncomfortable around electrical work or your breakers trip repeatedly without explanation, stop and call a licensed electrician.
What You’ll Need
- Small appliance (like a phone charger or lamp) for testing
- GFCI outlet tester (optional but very helpful)
- Flashlight
Step‑by‑Step: How to Fix It
Unplug everything from the circuit
Disconnect all devices from the GFCI outlet and from any outlets connected “downstream” (others in the same bathroom or nearby areas).
Press RESET on the GFCI
- The RESET button should click and stay in. - If it won’t reset with nothing plugged in, the outlet itself may be faulty or there may be a wiring problem—time to call a pro.
Test the outlet with a single low‑load device
Plug in a small lamp or phone charger and turn it on. - If it works without tripping, the outlet is likely OK. - If it trips immediately, don’t keep resetting—there may be a fault in the wiring.
Reintroduce devices one at a time
- Plug in one device and use it for a few minutes. - If no trip, unplug and try the next device. - When it trips, you’ve likely found the problem appliance (hairdryers, space heaters, and old chargers are frequent culprits).
Inspect and retire problem devices
- Check cords for cracks, exposed wires, or burn marks. - If any damage is visible, stop using it immediately and replace it. - If undamaged but still trips the GFCI, the internal insulation may be compromised—replace the device.
Test the GFCI safety function
- Press the TEST button; the outlet should click off and cut power. - Press RESET to restore power. - If the outlet fails either test, replace the GFCI outlet (or have an electrician do it).
Know when to get help
Call a licensed electrician if: - The GFCI won’t reset with nothing plugged in. - Multiple outlets or lights go out when the GFCI trips. - There’s a burning smell, buzzing sound, or heat at the outlet.
Conclusion
Most everyday home problems aren’t major emergencies—they’re maintenance issues that respond well to a steady hand and clear steps. Fixing a dripping faucet, realigning a stubborn door, clearing a clogged sink, reinforcing wall anchors, or diagnosing a tripping GFCI can all be done safely with basic tools and a methodical approach. Start with the simplest checks, work step by step, and don’t force anything you’re unsure about. When in doubt, pause and ask a professional—but for a lot of these repairs, you’ll find you can handle more than you thought.
Sources
- [U.S. Environmental Protection Agency – WaterSense: Fix a Leak](https://www.epa.gov/watersense/fix-leak-week) - Explains how household leaks waste water and provides basic guidance on fixing common leaks like faucets.
- [Family Handyman – How to Fix a Leaky Faucet](https://www.familyhandyman.com/project/how-to-fix-a-leaky-faucet/) - Practical, detailed walkthroughs for different faucet types and leak locations.
- [Energy.gov – Electric Safety in the Home](https://www.energy.gov/energysaver/electrical-safety-home) - U.S. Department of Energy tips on safe handling of electrical systems and devices, including outlets.
- [University of Kentucky Cooperative Extension – Household Drain Maintenance](https://extension.ca.uky.edu/files/nep_052_household_drain_maintenance_and_repair.pdf) - Educational resource on maintaining and clearing household drains safely.
- [This Old House – How to Fix a Door That Won’t Latch](https://www.thisoldhouse.com/doors/21015117/how-to-fix-a-door-that-won-t-latch) - Step‑by‑step instructions and illustrations for troubleshooting and repairing door latch problems.
Key Takeaway
The most important thing to remember from this article is that this information can change how you think about Household Repairs.


