Most “little” problems around the house stay little… right up until they turn into a leak, a short, or a bill you didn’t budget for. The good news: you can solve a lot of these issues yourself with basic tools and zero previous experience. This guide walks you through five common household problems, step by step, so you can fix them safely, quickly, and with confidence.
Silencing a Dripping Faucet (Without Replacing the Whole Thing)
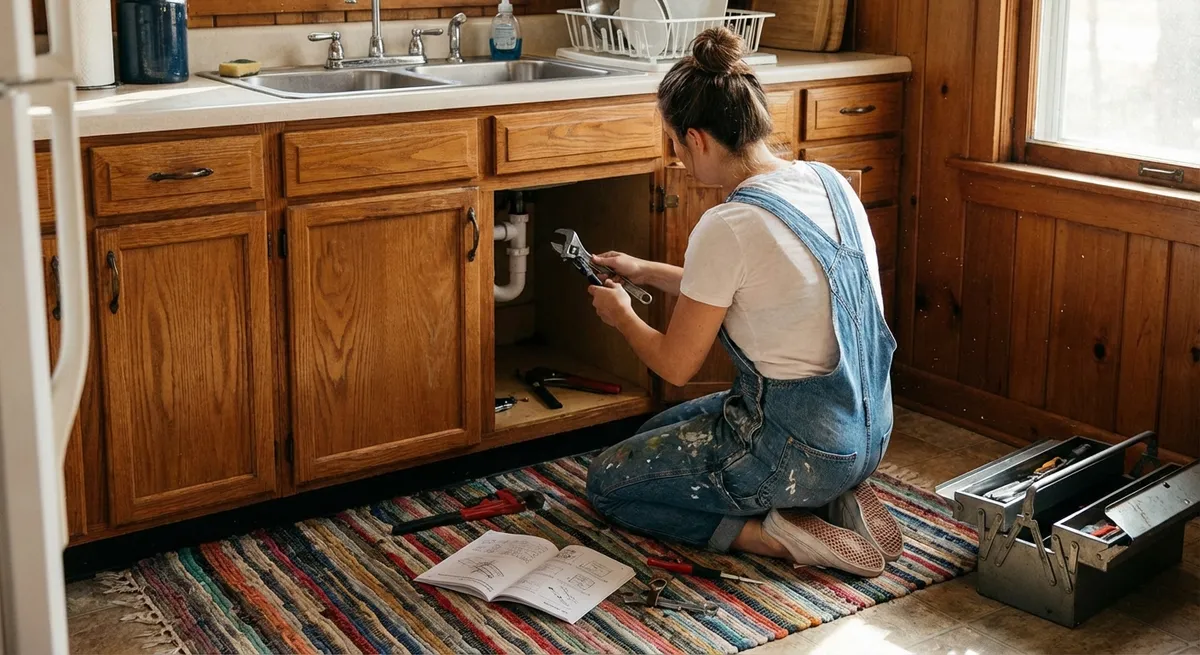
A dripping faucet wastes water, raises your bill, and is just plain annoying. In many cases, the fix is as simple as replacing a worn-out washer or cartridge.
What you’ll need: Adjustable wrench, flathead and Phillips screwdrivers, replacement washer or cartridge (take the old one to the store to match), towel, plumber’s tape (optional).
Step-by-step:
- Shut off the water supply.
Look under the sink for two shutoff valves (hot and cold). Turn both clockwise until they stop. Open the faucet to confirm the water is off.
- Plug the drain and prep the area.
Use a sink plug or a rag so small parts don’t fall in. Lay a towel down to protect the sink and catch drips.
- Remove the handle.
Pry off the decorative cap (if present) with a flathead screwdriver. Unscrew the handle screw and lift the handle off. If it’s stuck, wiggle gently—don’t force it.
- Expose the cartridge or stem.
Remove any decorative collar or cover. Use an adjustable wrench to loosen the retaining nut. Lift out the cartridge (for cartridge faucets) or the stem (for compression faucets).
- Inspect and replace worn parts.
- For compression faucets (separate hot/cold knobs): Replace the rubber washer and O-rings on the stem.
- For cartridge faucets (single-handle or modern dual handles): Replace the entire cartridge.
Take the old parts to a hardware store to find exact matches.
- Reassemble carefully.
Seat the new parts in the same orientation as the old ones. Hand-tighten the retaining nut first, then snug with a wrench—don’t overtighten. Reinstall the handle and decorative cap.
- Turn the water back on slowly.
Open the shutoff valves gradually while the faucet is in the “on” position to bleed air. Close the faucet and check for drips.
When to stop and call a pro: If the valve won’t shut off, the faucet body is cracked, or the leak is coming from under the sink and not the spout, you’re in plumber territory.
Reviving a Dead Outlet (Safely Restoring Power)
An outlet that suddenly stops working doesn’t always mean wiring failure. Often it’s a tripped GFCI or breaker. You can usually diagnose and fix it in minutes.
What you’ll need: Non-contact voltage tester or plug-in outlet tester, flashlight, access to your breaker panel.
Step-by-step:
- Test the outlet with a known working device.
Plug in a lamp or phone charger you know works. No power? Move on to the next checks.
- Look for a GFCI outlet upstream.
Check nearby outlets in the same room, the bathroom, kitchen, garage, or outside for a GFCI (with “TEST” and “RESET” buttons). The dead outlet may be wired through it.
- Reset the GFCI.
Press the “RESET” button firmly. If it clicks and stays in, test the dead outlet again. If power is back, problem solved.
If it immediately trips again, unplug all devices on that circuit and try once more. A bad appliance could be the cause.
- Check your breaker panel.
Open the main electrical panel. Look for any breaker that is in the middle position or slightly off from the others. That’s usually a tripped breaker.
- Reset the breaker correctly.
Push the tripped breaker fully to the OFF position, then back to ON until it clicks. Test your outlet again.
- Test for power safely.
Use a non-contact voltage tester at the outlet. If it shows no power and you’ve reset GFCI and breakers, don’t open the outlet unless you’re confident and experienced—this is where many DIYers should stop.
When to stop and call a pro: If the breaker keeps tripping, the GFCI won’t reset, outlets are warm or discolored, or you smell burning, shut off that circuit and call a licensed electrician.
Fixing a Running Toilet That Won’t Shut Up
A toilet that runs constantly wastes a surprising amount of water. Common causes: a worn flapper, a bad fill valve, or a high water level.
What you’ll need: Adjustable wrench or pliers, replacement flapper (and possibly fill valve), towel.
Step-by-step:
- Remove the tank lid and observe.
Flush once and watch what happens. Note if water continues to flow into the bowl or if the tank overfills and water goes down the overflow tube.
- Check the flapper seal.
The flapper is the rubber piece at the bottom of the tank. If it’s warped, cracked, or doesn’t seat flat over the flush valve, it lets water leak into the bowl, causing constant refilling.
- Adjust or replace the flapper.
- Turn off the water at the shutoff valve next to the toilet.
- Flush to empty most of the tank, then unhook the old flapper from the overflow tube and chain.
- Install the new flapper, connect the chain to the flush handle arm (slight slack, but not so much that it can’t open fully).
Turn water back on and test.
- Adjust water level if tank overfills.
If water reaches the top of the overflow tube:
- For a float arm: Bend the metal arm down slightly so the float shuts off sooner.
- For a float cup: Squeeze the clip and slide the float down the fill valve shaft.
- Replace a noisy or weak fill valve if needed.
- Turn off water, flush to drain tank.
- Unscrew water supply line from the tank bottom.
- Remove the hold-down nut for the fill valve, lift the old valve out.
- Install new valve per instructions, adjust height, reconnect supply line, and test.
If the valve never fully shuts off or makes screeching sounds:
When to stop and call a pro: If the toilet base leaks onto the floor, rocks noticeably, or you see cracks in the tank or bowl.
Clearing a Slow Drain Without Harsh Chemicals
A sink or tub that drains slowly usually means hair, soap scum, or grease buildup—not a failed pipe. You can clear most clogs mechanically and avoid damaging your plumbing.
What you’ll need: Plunger (dedicated to sinks/tubs, not toilets), drain snake or plastic drain cleaning tool, bucket, old rag, rubber gloves.
Step-by-step:
- Remove visible debris at the drain.
Take off the stopper or strainer. Pull out hair and gunk using a plastic drain tool or gloved fingers. Rinse with hot water and check the flow.
- Try a plunger (properly).
- Block any overflow openings with a damp rag so you get full suction.
- Fill the sink or tub with enough water to cover the plunger cup.
- Place the plunger directly over the drain and plunge vigorously 10–15 times.
- Lift quickly to see if water drains.
- Use a drain snake for stubborn clogs.
- Feed the snake slowly into the drain until you feel resistance.
- Rotate the handle while gently pushing to break through or snag the clog.
- Pull the snake out and remove debris. Repeat if needed.
- Clean the P-trap if accessible (sinks).
Place a bucket under the P-shaped pipe under the sink.
- Flush with hot water.
Run hot (not boiling) water for a few minutes to clear residue. Consider using a mild baking soda and vinegar flush afterward to help with odor, but don’t rely on it for serious clogs.
Avoid: Regular use of chemical drain cleaners. They can damage older pipes and are hazardous if they don’t clear the clog and you later open the plumbing.
When to stop and call a pro: If multiple drains back up at once (could be a main line issue), you hear gurgling in other fixtures, or you see sewage backing up anywhere.
Stopping a Door From Sticking or Sagging
A door that rubs, doesn’t latch, or scrapes the floor is more than an annoyance—it can damage your flooring and put stress on the frame. Most fixes involve simple hinge adjustments.
What you’ll need: Screwdriver, long wood screws (same color/size head as existing), utility knife, pencil, wood shims or toothpicks, wood glue (optional), sandpaper.
Step-by-step:
- Find where it’s sticking.
Close the door slowly and note where it rubs: top, latch side, or bottom. Look at the gap around the door—uneven or very tight areas show where it’s sagging.
- Tighten hinge screws first.
Open the door and tighten all hinge screws on both the door and frame. Loose screws are the number one cause of sagging.
- Replace stripped screws with longer ones.
If a screw just spins:
- Remove it and insert a longer wood screw into the same hole to bite into the framing behind the jamb—especially on the top hinge.
- If the hole is too loose, pack it with glued toothpicks or a small wood shim, break off flush, then drive a new screw in.
- Lift a sagging door via the top hinge.
The top hinge on the frame usually needs the longest screw (e.g., 2.5–3 inches) near the doorstop side to pull the door back up and in toward the jamb. Install one long screw there and test the door.
- Adjust the strike plate if the latch doesn’t catch.
- Mark where the latch hits the strike plate using a bit of lipstick, chalk, or marker on the latch.
- If it’s slightly off, loosen the strike plate screws and shift the plate up/down or in/out as needed. Retighten.
- For bigger adjustments, you may need to chisel the mortise slightly and fill old screw holes with wood filler.
- Lightly sand swollen edges.
If humidity caused the door edge to swell and bind:
When to stop and call a pro: If the frame itself is out of square because of foundation movement, cracks around the door are widening, or the door rubs even after hinge and latch adjustments.
Conclusion
Most everyday home problems—drips, clogs, sticking doors, running toilets, and even “dead” outlets—are less mysterious than they look. With basic tools and a step-by-step plan, you can handle a surprising amount yourself and catch issues before they become expensive emergencies. Start with the simple checks, respect your limits (especially with anything electrical or structural), and don’t hesitate to call a professional when warning signs pop up. But for many of the problems you see week after week, you’ll now have a clear, practical way to repair them—right now, not “someday.”
Sources
- [U.S. Environmental Protection Agency – Fix a Leak](https://www.epa.gov/watersense/fix-leak-week) - Details how much water common household leaks waste and basic steps to address them
- [Energy.gov – Electrical Safety: Safety Precautions at Home](https://www.energy.gov/ceser/activities/electricity-operations-and-planning/electrical-safety) - Guidance on safe handling of home electrical systems and when to involve a professional
- [The Family Handyman – How to Repair a Leaky Single-Handle Cartridge Faucet](https://www.familyhandyman.com/project/how-to-repair-a-cartridge-faucet/) - Illustrated walkthrough for fixing common faucet cartridges
- [University of Georgia Extension – Preventing and Fixing Clogged Drains](https://extension.uga.edu/publications/detail.html?number=C970-2) - Educational resource on safe, non-chemical methods to maintain and clear drains
- [Mayo Clinic – Household Chemical Safety](https://www.mayoclinic.org/healthy-lifestyle/adult-health/in-depth/household-chemicals/art-20046411) - Explains health risks of harsh cleaners, including many drain products, and safer handling practices
Key Takeaway
The most important thing to remember from this article is that this information can change how you think about Household Repairs.


