You don’t need a full toolbox or a contractor on speed dial to solve everyday home problems. With a few basic tools and clear steps, you can fix a lot of what goes wrong in a typical day at home. This guide walks you through five practical DIY solutions that are safe for beginners and genuinely useful, not just “life hacks” that fall apart next week.
1. Quiet a Squeaky Door Without Replacing the Hinge
A squeaky door sounds minor, but hearing it 20 times a day is enough to drive anyone crazy. The good news: you usually don’t need new hinges—just a little cleaning and lubrication.
What you’ll need
- Old towel or rag
- Flathead screwdriver or butter knife
- Lubricant: silicone spray, white lithium grease, or petroleum jelly
- Paper towel or cloth
Step-by-step
Protect the floor
Put an old towel under the door hinge to catch any drips from the lubricant.
Check the hinge screws first
Use a screwdriver to tighten the hinge screws on the door and the frame. Loose screws can cause squeaks and sagging.
Test the door
Open and close it a few times. If the squeak is gone, you’re done. If not, continue.
Loosen the hinge pin
Starting with one hinge at a time, insert a flathead screwdriver or butter knife under the hinge pin’s head and gently tap the handle with your hand or a light tool to lift it slightly. You don’t need to remove it all the way; just raise it enough to expose some of the pin.
Apply lubricant
Put a bit of lubricant on the exposed part of the pin and along the hinge joint. Avoid overdoing it—too much will drip and attract dust.
Work the door
Push the pin back down, then open and close the door 10–15 times to work the lubricant into the hinge.
Wipe away excess
Clean any drips with a paper towel or cloth so you don’t end up with greasy fingerprints later.
Repeat for other hinges if needed
If the door still squeaks, repeat the process for the remaining hinges.
2. Fix a Running Toilet That Won’t Stop Filling
A constantly running toilet wastes water and money, and that “trickle” sound can keep you up at night. The cause is usually inside the tank and often takes minutes to fix.
What you’ll need
- Adjustable wrench (sometimes optional)
- Sponge or rag (for drips)
- Replacement flapper (if needed; inexpensive and widely available)
Step-by-step
Lift the tank lid and set it aside carefully
Tank lids are heavy ceramic; place it on a towel to avoid chips or cracks.
Identify the three main parts
Inside the tank, look for: - The flapper (rubber piece at the bottom that lifts when you flush) - The chain connecting the flapper to the flush handle - The fill valve and float (controls water level)
Test the flapper first
Push down gently on the flapper with your finger. - If the running stops, the flapper isn’t sealing properly.
Adjust or replace the flapper
- Check for mineral buildup, warping, or cracks. - Clean it with a sponge if it’s just dirty. - If it’s worn or misshapen, turn off the water supply valve behind the toilet, flush to empty most of the water, then unhook the old flapper and clip the new one onto the two side pegs. Attach the chain.
Adjust chain length
The chain should have a little slack but shouldn’t be so long that it gets trapped under the flapper. - Aim for about half an inch (1–1.5 cm) of slack. - Test flush and make sure the flapper opens fully and closes cleanly.
Set the water level
- Turn the water back on and let the tank fill. - The water should stop about 1 inch below the top of the overflow tube. - If it’s too high and keeps running into the tube, adjust the float (screw on top for older ball floats, sliding clip on newer cup-style floats).
Final test
Flush 3–4 times and listen. If the water shuts off within a minute each time, you’ve fixed it.
3. Unclog a Slow Sink Without Harsh Chemicals
Slow drains are usually caused by hair, soap scum, and gunk—not a plumbing disaster. Before pouring chemical drain cleaner, try a safer, hands-on approach that protects your pipes and the environment.
What you’ll need
- Rubber gloves
- Small bucket or bowl
- Old toothbrush or small brush
- Zip-it style drain cleaning tool or a straightened wire hanger
- Baking soda and white vinegar (optional but helpful)
Step-by-step
Clear out under-sink storage
You may need access to the P-trap (the curved pipe under the sink), so move cleaning products or supplies out of the way.
Remove the drain stopper (bathroom sinks)
- Look under the sink for the horizontal rod connected to the drain. - Loosen the nut holding the rod (hand-tight if possible, or use pliers gently). - Slide the rod out; the stopper should lift right out from the top.
Clean the stopper
- Remove any hair and buildup using gloved hands and an old toothbrush. - Rinse thoroughly.
Use a drain tool or hanger
- Insert the plastic Zip-it tool or straightened hanger into the drain. - Move it up and down and twist to catch hair and debris. - Pull it out and throw away the gunk (don’t wash it back into the sink).
Optional: baking soda and vinegar flush
- Pour about 1/2 cup baking soda down the drain. - Follow with about 1/2 cup white vinegar. - Let it fizz for 10–15 minutes, then flush with hot (not boiling) water.
Check the P-trap (if still slow)
- Place a bucket under the P-trap. - Loosen the slip nuts on each end by hand or with adjustable pliers. - Remove the trap and clear out any buildup. - Reassemble, making sure the washers are seated correctly and nuts are snug but not overtightened.
Reinstall the stopper
- Drop the stopper back in from the top. - Reinsert the rod from below so it catches the stopper hole. - Tighten the nut.
Test the drain
Run water for 1–2 minutes to confirm it flows freely and there are no leaks under the sink.
4. Reset a Tripped Breaker When Half Your Outlets Die
If certain outlets or lights suddenly stop working, you may not need an electrician. Often, a single tripped breaker in your electrical panel is the culprit.
What you’ll need
- Flashlight (if the area is dim)
- Dry hands and dry floor (for safety)
Step-by-step
Unplug or turn off affected devices
If you know what was running when the power went out (space heater, microwave, hair dryer), unplug those items. Overloaded circuits trip more easily.
Locate your breaker panel
Common locations: basement, garage, hallway closet, or utility room. Use a flashlight if the area is dark.
Open the panel door and look for the odd switch
- Most breakers should be in the ON position. - A tripped breaker will often sit between ON and OFF, or have a little red/orange indicator.
Reset the breaker properly
- First, flip the tripped breaker firmly to the OFF position. - Then push it back to ON in one smooth motion. - You may feel a slight resistance or “click” as it resets.
Test the circuit
Return to the affected outlets or lights and turn them on. If they work, the breaker reset was successful.
Prevent repeat trips
- Don’t run multiple high-wattage devices (e.g., space heater + hair dryer + microwave) on the same circuit. - Spread them across different outlets or rooms if possible.
When to stop and call a pro
- If the same breaker trips repeatedly with normal use - If you smell burning, see scorch marks, or feel heat from the panel - If breakers are loose or won’t stay in the ON position
In these cases, stop using that circuit and contact a licensed electrician. DIY ends where safety risks begin.
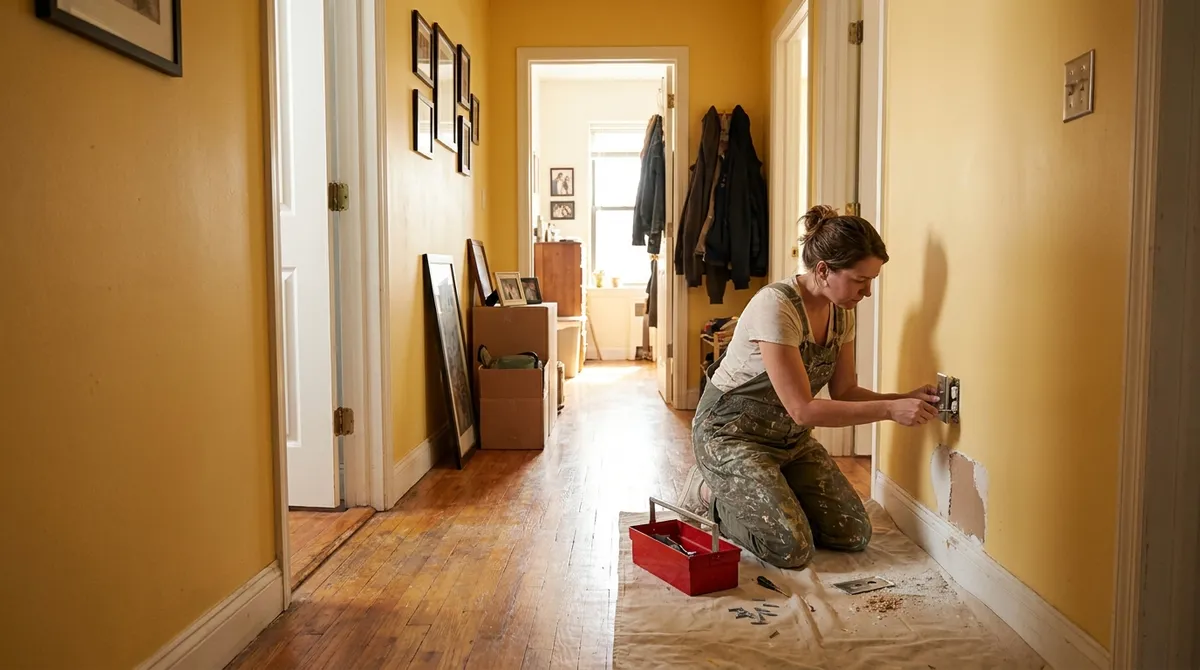
5. Patch a Small Hole in Drywall So It Actually Blends In
Whether it’s from a door handle or a misplaced wall anchor, small holes in drywall make a room look tired. With basic supplies, you can hide them so they disappear after paint.
What you’ll need
- Putty knife (2–4 inch)
- Lightweight spackling or joint compound
- Sanding sponge or fine-grit sandpaper (120–220 grit)
- Damp cloth
- Matching wall paint and small brush or roller
Step-by-step
Clean the damaged area
- Use your hand or a dry cloth to remove loose dust and debris. - For nail or screw holes, scrape lightly with the putty knife to remove loose bits.
Apply spackle
- Scoop a small amount of spackle on the putty knife. - Press it into the hole, then smooth over the surface using a few light strokes. - Feather the edges so it blends with the surrounding wall, not a thick blob.
Scrape off excess
- Hold the knife almost flat and drag across the area to remove extra spackle. - You want just enough to fill the hole and level it with the wall.
Let it dry completely
- Follow the product instructions—usually 30 minutes to a few hours for small repairs. - The patch should look uniformly dull and solid, not soft or darker in the center.
Lightly sand the patch
- Use a sanding sponge or fine sandpaper to smooth the area. - Aim for a seamless transition between the patch and wall. - Wipe away dust with a damp cloth and let the area dry.
Paint the repair
- Use the same paint type (flat, eggshell, satin) and color as the rest of the wall. - For small spots, a small brush is fine; for larger patches, a mini-roller will blend better. - Feather the paint slightly beyond the patch so it doesn’t look like a sharp square.
Check in different light
After it dries, look at the wall in both daylight and artificial light. If you see ridges, lightly sand and add a thin second coat of spackle, then repeat the paint step.
Conclusion
Many everyday home problems look bigger than they are. A squeaky hinge, a running toilet, a slow drain, a tripped breaker, or a dinged wall can usually be fixed in under an hour with basic tools and clear steps. The more you tackle these small repairs yourself, the more confident and prepared you’ll feel when the next issue pops up.
Save this guide, share it with someone who keeps saying “I’m not handy,” and start with the easiest fix on this list. Once you see what you can handle on your own, calling a pro becomes a choice—not your only option.
Sources
- [U.S. Department of Energy – Electrical Safety](https://www.energy.gov/energysaver/electrical-safety) - Guidance on safe interaction with home electrical systems and circuits
- [EPA – Safer Choice: Using Drain Cleaners Safely](https://www.epa.gov/saferchoice/what-safer-choice-label) - Information on safer product choices and why to minimize harsh chemical cleaners
- [Family Handyman – How to Fix a Running Toilet](https://www.familyhandyman.com/project/how-to-fix-a-running-toilet/) - Visual walkthrough of toilet tank components and common fixes
- [Lowe’s – How to Patch and Repair Drywall](https://www.lowes.com/n/how-to/patch-and-repair-drywall) - Step-by-step drywall repair techniques with diagrams
- [Consumer Product Safety Commission – Home Electrical System Safety](https://www.cpsc.gov/Safety-Education/Safety-Guides/Electrical) - Official safety recommendations for electrical panels, outlets, and circuits
Key Takeaway
The most important thing to remember from this article is that this information can change how you think about DIY Solutions.


