Things break at the worst possible time—right before work, as guests arrive, or when you finally sit down to relax. This guide is built for those moments. No jargon, no overcomplicated tools—just clear, step-by-step fixes you can do fast with what you probably already have at home.
Fix 1: Wobbly Chair or Table Stabilized Without Power Tools
A wobbly chair or table is more than annoying—it’s a safety risk. Before you toss it or call a pro, try this quick stabilization method. You’ll use simple household materials and a bit of observation to stop the rocking and restore balance.
What you’ll need:
- Folded cardboard, felt pads, or an old mouse pad
- Scissors or utility knife
- Ruler (optional)
Step-by-step:
Find the problem leg
- Place the furniture on a flat, hard surface (tile, hardwood, concrete). - Gently rock it and press down on each corner to see which leg is shorter or looser.
Confirm the height difference
- Slide a thin piece of cardboard or folded paper under the short leg. - Add or remove layers until the wobble stops. - This stack is your template for how much you need to add permanently.
Cut a permanent shim or pad
- Use that thickness to cut a small, neat piece from cardboard, cork, or an old mouse pad. - Make it slightly smaller than the bottom of the leg so it’s discreet.
Attach the pad
- For a non-permanent fix, secure it with strong tape or double-sided tape. - For a longer-lasting solution, use wood glue or construction adhesive (if you have it) and press firmly. - Wipe off any excess glue and let it dry as recommended on the label.
Re-test stability
- Put the furniture back in place and test again. - If there’s still a mild rock, add a thin extra layer or trim the pad slightly until the wobble is gone.
Pro tip: If the leg is loose rather than short, try tightening any visible screws or brackets with a screwdriver before shimming.
Fix 2: Slow Draining Sink Cleared Without Harsh Chemicals
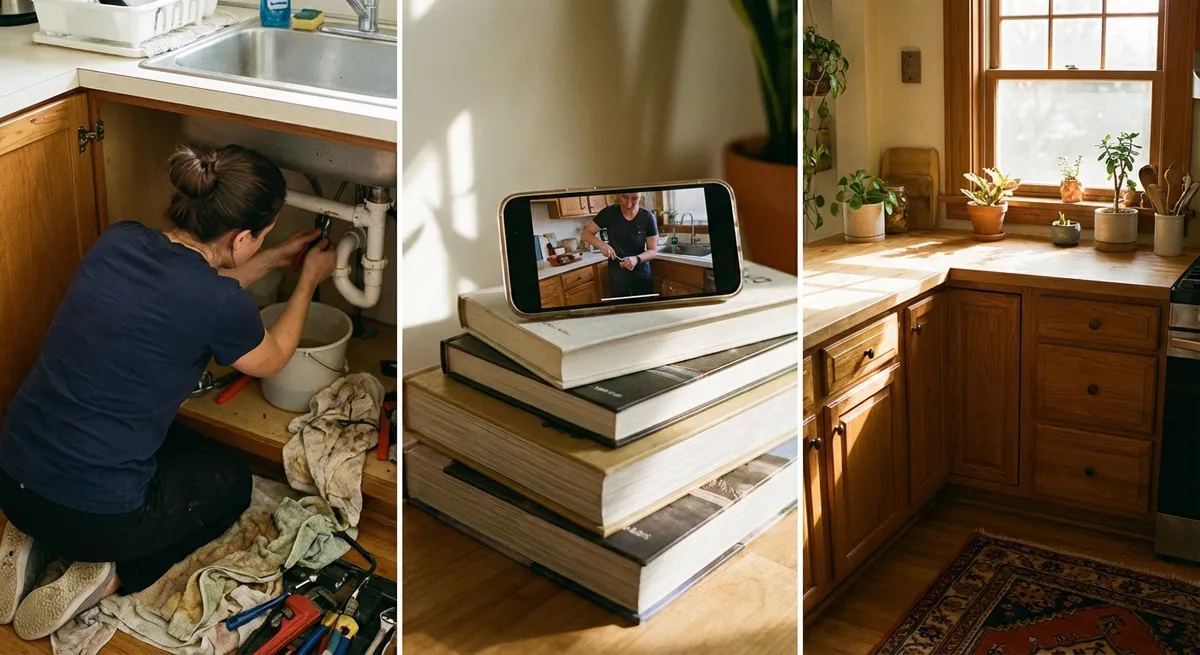
A sluggish sink usually means a partial clog from hair, soap scum, or grease—not an immediate call for a plumber. You can often restore normal flow in minutes with basic kitchen items and a bit of patience.
What you’ll need:
- Baking soda
- White vinegar
- Kettle or pot for boiling water
- Rubber gloves
- Cup or small container
Step-by-step:
Remove standing water
- If the sink is full, use a cup or small container to bail out most of the water. - You don’t need it bone-dry, just low enough to reach the drain.
Clear visible debris
- Take out the drain stopper or strainer. - Remove any hair, food scraps, or buildup you can see or grab with your fingers (wear gloves).
Boil water
- Heat a kettle or pot of water until it reaches a rolling boil. - Carefully pour about half down the drain to melt grease and loosen residue.
Use the baking soda + vinegar combo
- Pour roughly 1/2 cup of baking soda directly into the drain. - Follow with about 1 cup of white vinegar. - You’ll hear fizzing—this helps break up light clogs and residue.
Let it sit
- Plug the drain or cover it with a plate for about 10–15 minutes. - This traps the reaction in the pipe and improves effectiveness.
Flush again with hot water
- Pour the remaining boiling water down the drain to flush out loosened debris. - Run hot tap water for 30–60 seconds to confirm the flow has improved.
When to stop and call a pro
- If the sink is still backing up or you hear gurgling from other drains, stop. - This can signal a deeper blockage in the plumbing line that needs professional tools.
Pro tip: Use a simple mesh drain screen after this fix to prevent hair and food from building up again.
Fix 3: Door That Won’t Latch Properly (No More Slamming)
If your interior door only closes when you slam it—or pops back open—the problem is usually alignment, not the door itself. Often you can fix it in minutes by adjusting how the latch meets the strike plate.
What you’ll need:
- Phillips or flathead screwdriver (depending on your screws)
- Pencil or masking tape
- Optional: nail file or small metal file
Step-by-step:
Identify the issue
- Slowly close the door and watch where the latch hits the strike plate (the metal piece on the frame). - If it hits above, below, or on the metal edge instead of entering the hole, that’s the issue.
Mark contact points
- Put a small strip of masking tape over the strike plate. - Close the door so the latch hits the tape, then open it again. - The mark in the tape shows exactly where the latch is contacting.
Try the easy screw adjustment first
- Slightly loosen the screws holding the strike plate (do NOT remove fully). - Gently move the plate up, down, in, or out by 1–2 millimeters as needed. - Retighten the screws and test the door.
If it still sticks, adjust the latch area
- If the latch just barely catches, you may need to slightly widen the opening. - Very gently file the inside edge of the strike plate opening where the latch hits. - Remove only a small amount at a time and keep testing.
Test the close and latch
- The door should close smoothly without slamming and click firmly into place. - You should be able to pull lightly on the handle without it popping open.
Pro tip: If the door used to latch well and recently stopped after weather changes, slight movement in the frame is common—small adjustments like this usually fix it.
Fix 4: Phone That Won’t Charge Reliably (Port Cleaning Method)
Before you buy a new charging cable or phone, check the simplest culprit: dust and lint packed into the charging port. This can block the connector from making proper contact and mimic hardware failure.
What you’ll need:
- Wooden toothpick or plastic dental pick (never metal)
- Flashlight
- Soft brush (clean, dry toothbrush or small paintbrush)
Step-by-step:
Safety first
- Turn off your phone completely. - Unplug any cable and remove the case so you can see the port clearly.
Inspect the port
- Use a flashlight to look inside the charging port. - Look for lint, dust, or dark packed material at the bottom.
Gently loosen debris
- Use a wooden toothpick or plastic pick to carefully scrape along the bottom and sides. - Work slowly and lightly—do not force or dig hard. - Your goal is to lift out lint, not scratch the contacts.
Brush out the port
- Use a soft, dry brush to sweep across the opening. - Turn the phone port-side down and gently tap to let debris fall out.
Repeat as needed
- Inspect again with the flashlight. - If you still see buildup, lightly repeat the process until the port looks clean.
Test charging
- Plug in your charger and gently wiggle the connector (without force). - If the cable now clicks in firmly and charges reliably, you’ve solved the problem.
When to stop and seek help
- If the port looks damaged, corroded, or wobbly, do not keep poking. - Visit a trusted repair shop or an authorized service provider.
Pro tip: Avoid blowing hard into the port with your mouth—moisture plus dust can create more problems. If you use compressed air, use short, gentle bursts from a distance.
Fix 5: Wi‑Fi Suddenly Dropping or Crawling (Fast Home Reset Routine)
When Wi‑Fi slows to a crawl, the instinct is to blame your provider—but many issues start inside the home network. A quick reset routine often restores normal speeds without a tech visit.
What you’ll need:
- Access to your modem and router
- Your phone or laptop to test speeds
- Optional: your Wi‑Fi network name and password (in case you reset)
Step-by-step:
Check the basics
- Confirm if all devices are slow or just one. - If only one device is affected, restart that device first before touching the router.
Power cycle the modem and router
- Unplug the power from both the modem and the router. - Wait at least 30 seconds (a full minute is better). - Plug the modem back in first; wait until all its lights stabilize. - Then plug in the router and wait for it to fully restart.
Position check
- Ensure the router isn’t hidden behind a TV, inside a cabinet, or buried near metal objects. - Move it to a more open, central location if the cable allows—even a few feet can help.
Reduce interference
- If a microwave, cordless phone base, or baby monitor is right next to the router, move one of them. - These can interfere with Wi‑Fi, especially on the 2.4 GHz band.
Test your connection
- Stand near the router and run a quick speed test on your phone or laptop. - Compare this to what your internet plan promises (it doesn’t need to be exact, just in the range).
Forget and rejoin the network (device-level reset)
- On your device, “Forget” the Wi‑Fi network in settings. - Reconnect by entering the password again. - This clears out old connection data that may be causing issues.
Know when to call your provider
- If speeds are still very low next to the router OR the modem lights show errors (like blinking red), contact your provider. - There may be an outage or line problem they need to fix.
Pro tip: If you frequently stream, work from home, or game, consider writing your modem/router model down and checking the manufacturer’s site occasionally for firmware updates—which can improve stability.
Conclusion
Quick fixes don’t have to be guesswork. With a clear process and simple tools, you can stabilize wobbly furniture, clear slow drains, get doors closing smoothly, revive fussy phone chargers, and tame misbehaving Wi‑Fi—often in under 10 minutes.
Save this guide and share it with someone who always says they’re “not handy.” With straightforward steps and a calm approach, most people can handle these everyday repairs confidently—and avoid a lot of unnecessary replacements and service calls.
Sources
- [U.S. Environmental Protection Agency – Safer Choice: Drain Maintenance](https://www.epa.gov/saferchoice) - Guidance on safer household cleaning options, including avoiding harsh chemicals for basic maintenance
- [Family Handyman – How to Fix a Sticky Door](https://www.familyhandyman.com/project/how-to-fix-a-sticky-door/) - Practical methods for resolving common door and latch alignment problems
- [Apple – Clean iPhone](https://support.apple.com/en-us/HT207123) - Official recommendations on safely cleaning ports and external surfaces of Apple devices
- [Federal Communications Commission (FCC) – Consumer Guide to Broadband Speed](https://www.fcc.gov/consumers/guides/broadband-speed-guide) - Explains home internet performance and factors that affect Wi‑Fi speed and reliability
- [Bob Vila – How to Fix a Wobbly Chair](https://www.bobvila.com/articles/how-to-fix-a-wobbly-chair/) - Additional approaches and background on stabilizing loose or uneven furniture
Key Takeaway
The most important thing to remember from this article is that this information can change how you think about Quick Fixes.


