When something breaks or stops working, the hardest part is often knowing where to start. Instead of panicking or immediately booking a service call, there are a few quick, practical checks that can solve common problems in minutes. This guide walks you through five everyday fixes you can do safely at home, with clear steps and zero fluff.
1. When a Light Won’t Turn On
A dead light doesn’t always mean a wiring problem or an expensive electrician visit. Often, it’s something small and fixable in minutes.
Step-by-step:
Check the obvious first: the switch and other lights
Turn the switch fully off and on. See if lights in the same room or nearby are working. If everything is off, you might be dealing with a tripped breaker instead of a bad bulb.
Test the bulb in a working fixture
Unscrew the bulb (let it cool if it was recently on), and try it in another lamp you know works. - If it works there, the problem is the fixture or switch. - If it doesn’t, you’ve found the culprit: replace the bulb.
Inspect the bulb socket
Turn off the switch. If possible, switch off the circuit at the breaker. Use a flashlight to look inside the socket. - Look for corrosion, burns, or bent contacts. - If the center contact tab is flattened, gently lift it slightly with a non-metal tool (like a wooden stick), never with power on.
Check the breaker panel
Go to your electrical panel and look for any breaker that’s not fully in the ON position. - Flip it fully OFF, then firmly back to ON. - If it keeps tripping, stop there and call a licensed electrician—don’t keep resetting it.
Try a different lamp or fixture outlet
Plug a lamp or device into the same outlet (for lamps with plugs). - If the lamp works, the issue is in the fixture or switch. - If it doesn’t, you may have a wiring or outlet problem that needs a pro.
2. When a Toilet Keeps Running
A constantly running toilet wastes water and money, but most of the time it’s just a misadjusted part inside the tank.
Step-by-step:
Turn off the water (if needed)
If the sound is intense or water is splashing, close the shutoff valve behind the toilet by turning it clockwise. Most minor adjustments can be done with water still on, but know where the valve is.
Remove the tank lid and observe
Flush once and watch what happens inside: - Does water keep flowing from the fill valve? - Does the flapper not seal properly? - Is the water level too high and spilling into the overflow tube?
Check and adjust the flapper
The rubber flapper at the bottom should close fully after each flush. - Make sure the chain isn’t too tight (holding it open) or too loose (stopping it from lifting properly). - Adjust chain so it has a little slack when the flapper is closed. - If the flapper looks warped, brittle, or doesn’t seal, replace it (they’re cheap and designed to be DIY-friendly).
Adjust the water level
Most modern toilets have a float attached to the fill valve. - If water is going into the overflow tube, lower the float height using the adjustment screw or clip. - Aim for a water level about 1 inch below the top of the overflow tube (check your toilet’s markings if available).
Clean the flapper and seat
Grit or mineral buildup can prevent a proper seal. - Turn off the water, flush to empty the tank. - Wipe the flapper and the rim it sits on with a sponge or cloth. - Turn the water back on, let it refill, and listen—silence means success.
3. When Wi‑Fi Suddenly Gets Slow or Drops Out
Before assuming your internet provider is down or you need a new router, run through a few quick checks that fix many Wi‑Fi issues.
Step-by-step:
Confirm if it’s Wi‑Fi or the whole internet
- Test a wired device (if you have one connected via Ethernet). - Test Wi‑Fi on multiple devices. If only one device is slow, the problem is likely that device, not your router.
Power-cycle the modem and router
- Unplug the power from both modem and router. - Wait at least 30 seconds. - Plug in the modem first, wait until all its usual lights stabilize. - Then plug in the router and wait 1–2 minutes. This solves many “out of nowhere” slowdowns.
Check for physical obstructions and interference
- Make sure the router isn’t hidden in a cabinet or behind metal objects. - Keep it away from microwaves, cordless phone bases, and thick walls. - If possible, place it in a central, elevated, open spot in your home.
Switch Wi‑Fi bands or channels
- If you have both 2.4 GHz and 5 GHz networks, try connecting to the 5 GHz one (often faster but shorter range). - Log into your router’s admin page (address is usually on a sticker) and set channels to “auto” or try a less crowded channel if your area is dense with networks.
Check for background hogs
- On your devices, close large downloads, streaming on multiple tabs, or cloud backup tasks. - Restart problem devices—this clears stuck network processes that can choke connections.
If speeds stay low on all devices even after these checks, it’s worth running a speed test and comparing it with your plan. If it’s consistently far below, contact your ISP with those results.
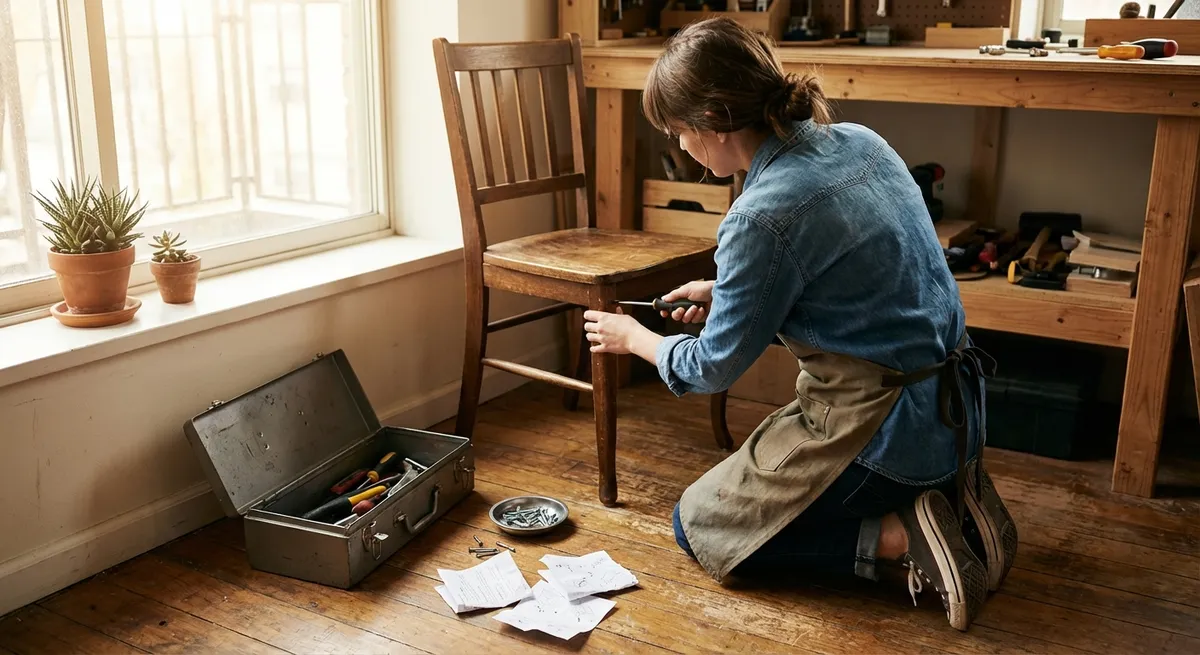
4. When a Door Won’t Latch or Keeps Swinging Open
A door that doesn’t quite latch or swings itself open isn’t just annoying—it’s usually a straightforward mechanical adjustment.
Step-by-step:
Identify the symptom
- Door doesn’t latch unless you slam it. - Latch hits the strike plate instead of going into the hole. - Door swings fully open or closed by itself.
Tighten hinge screws
Use a screwdriver (not a drill at first) to snug all hinge screws. - Pay special attention to the top hinge—loose screws there can cause sagging. - If a screw just spins and won’t tighten, replace it with a slightly longer wood screw (same diameter).
Check latch and strike plate alignment
Close the door slowly and watch where the latch hits. - If the mark is above or below the strike hole, the door or latch is misaligned. - If it’s slightly off, sometimes tightening or loosening hinge screws can pull the door back into line.
Adjust the strike plate (minor fix first)
- For a small misalignment, remove the strike plate screws and slightly shift the plate up, down, or sideways. - Reattach and test. Sometimes just a millimeter or two is enough.
Correct a self-swinging door
- Remove the pin from the top hinge (tap it out with a nail and hammer). - Place the pin on a hard surface and gently bend it slightly by tapping the center with a hammer. - Reinsert the pin. The added friction usually keeps the door from drifting on its own.
If the frame is badly warped or the misalignment is large, you may need to enlarge the strike opening with a file or chisel, but the above steps solve many everyday door issues.
5. When a Sink Drains Slowly
A slow drain doesn’t always require harsh chemicals or a plumber. Most bathroom and kitchen sink clogs are near the top of the drain and reachable with simple tools.
Step-by-step:
Run hot water for a minute
Especially for kitchen sinks, this can soften grease buildup and sometimes restore flow enough to move on to prevention.
Clean the stopper or strainer
- Bathroom sinks: Remove the stopper (often attached under the sink with a pivot rod and clip). Clean hair and gunk, rinse thoroughly, and reinstall. - Kitchen sinks: Lift out the strainer and scrub away food buildup.
Use a drain snake or plastic hair remover
- Insert the tool into the drain, push gently, and pull up slowly to catch debris. - Repeat until it comes up mostly clean. This is often enough for hair-based clogs in bathroom sinks.
Try a plunger (sink-specific)
- Block any overflow holes with a damp cloth. - Fill the sink with a little water (enough to cover the plunger cup). - Plunge firmly up and down for 15–20 seconds, then check the flow.
Skip harsh chemicals when possible
- If you must use a chemical cleaner, follow the label exactly and never mix different drain products—they can create toxic reactions. - Alternatively, a mix of hot water, mild dish soap, and patience can help dissolve greasy deposits over time.
If water backs up completely or affects multiple fixtures (e.g., sink and tub), the blockage may be deeper in the plumbing, in which case a professional is the safer next step.
Conclusion
Most everyday problems around the home have a “first line” of simple checks you can do safely with basic tools and a calm, systematic approach. By working through these small, targeted steps—testing bulbs before blaming wiring, adjusting toilet parts before calling a plumber, restarting and repositioning routers before upgrading—you often fix the issue on the spot and avoid unnecessary costs.
Bookmark or share this guide so it’s handy the next time something stops working. The more you practice these quick fixes, the more confident and efficient you’ll become at keeping your home running smoothly.
Sources
- [U.S. Department of Energy – Lighting Choices to Save You Money](https://www.energy.gov/energysaver/lighting-choices-save-you-money) - Background on lighting types, safety, and efficiency considerations
- [Environmental Protection Agency (EPA) – WaterSense: Fix a Leak](https://www.epa.gov/watersense/fix-leak-week) - Details on common household leaks, including toilets, and how to address them
- [Federal Communications Commission (FCC) – Consumer Guide: Wi-Fi Router Security](https://www.fcc.gov/consumers/guides/protecting-your-wi-fi-network) - Helpful context on router settings and management that relates to home Wi‑Fi troubleshooting
- [University of Kentucky Cooperative Extension – Home Plumbing System Care and Maintenance](https://extension.ca.uky.edu/files/hometip_sheet_plumbing_system.pdf) - Practical guidance on basic plumbing maintenance and clog prevention
- [Family Handyman – How to Fix a Door That Won’t Latch](https://www.familyhandyman.com/project/how-to-fix-a-door-that-wont-latch/) - Step-based illustrations and tips on door and latch adjustments
Key Takeaway
The most important thing to remember from this article is that this information can change how you think about Quick Fixes.


