Small problems around the house pile up fast—flickering lights, wobbly chairs, dripping faucets. Instead of ignoring them (or waiting weeks for a pro), you can knock many of these out in a few minutes with basic tools. This guide walks you through five fast, practical fixes you can handle right now, even if you don’t consider yourself “handy.”
Each solution is step‑by‑step, beginner‑friendly, and designed to save you time, money, and frustration.
Stop a Dripping Faucet (Without Replacing the Whole Thing)
A dripping faucet wastes water, raises your bill, and is just plain annoying. In many cases, the culprit is a worn‑out cartridge or washer you can reach with a screwdriver and an adjustable wrench.
What you’ll need
- Adjustable wrench
- Phillips or flathead screwdriver
- Replacement cartridge or washer (bring the old one to the store to match)
- Small towel
Step‑by‑step
Turn off the water supply
Look under the sink for the shutoff valves (one for hot, one for cold). Turn them clockwise until they stop. Open the faucet to relieve pressure and confirm water is off.
Plug the drain
Use the sink plug or a rag so you don’t lose small parts down the drain.
Remove the handle
- Pry off the decorative cap (if present) with a flathead screwdriver. - Unscrew the handle screw underneath. - Lift off the handle to expose the cartridge or stem.
Take out the cartridge or stem
- Use the adjustable wrench to loosen the retaining nut. - Carefully pull out the cartridge or stem. - Note orientation (take a quick photo for reference).
Inspect and replace the part
- Check O‑rings, rubber seals, and the cartridge/washer for cracks or wear. - Replace with an identical new part. Lubricate O‑rings lightly with plumber’s silicone grease if you have it.
Reassemble the faucet
- Insert the new cartridge or stem in the same orientation. - Tighten the retaining nut (snug, not over‑tight). - Reattach the handle and decorative cap.
Turn water back on and test
Slowly open the shutoff valves. Turn the faucet on and off a few times. Check for leaks at the base and spout.
If it’s still dripping, the valve seat may be worn or corroded—at that point, a full faucet replacement or professional repair might be the most efficient move.
Silence a Squeaky Door in One Simple Session
That door that squeals every time someone walks through? Easy target. Most squeaks come from dry hinge pins that just need cleaning and lubrication.
What you’ll need
- Hammer
- Small nail or thin screwdriver
- Rag or paper towel
- Lubricant (silicone spray, WD‑40 Specialist for hinges, or petroleum jelly)
Step‑by‑step
Open and close to identify the squeak
Slowly move the door and listen. If the sound lines up with hinge movement, you’re in the right place.
Support the door (for heavy doors)
For solid or exterior doors, slide a thin book or wood shim under the door edge to reduce stress on hinges when you remove pins.
Remove one hinge pin at a time
- Place the nail or small screwdriver under the bottom of the hinge pin. - Lightly tap upward with the hammer to push the pin out. - Wiggle it out the rest of the way by hand.
Clean the pin and hinge
Wipe the pin thoroughly with a rag to remove old grime and rust. If it’s heavily rusted, lightly sand with fine sandpaper.
Lubricate the pin
- Apply a thin, even coat of lubricant along the length of the pin. - Avoid over‑spraying; excess drips and attracts dust.
Reinstall the pin
Slide the pin back into the hinge, tap gently with the hammer until it’s fully seated.
Repeat for other squeaky hinges
Do one hinge at a time so the door stays aligned and supported.
Test the door
Open and close several times. If you still hear noise, add a small amount of lubricant directly to the hinge knuckles and wipe off any drips.
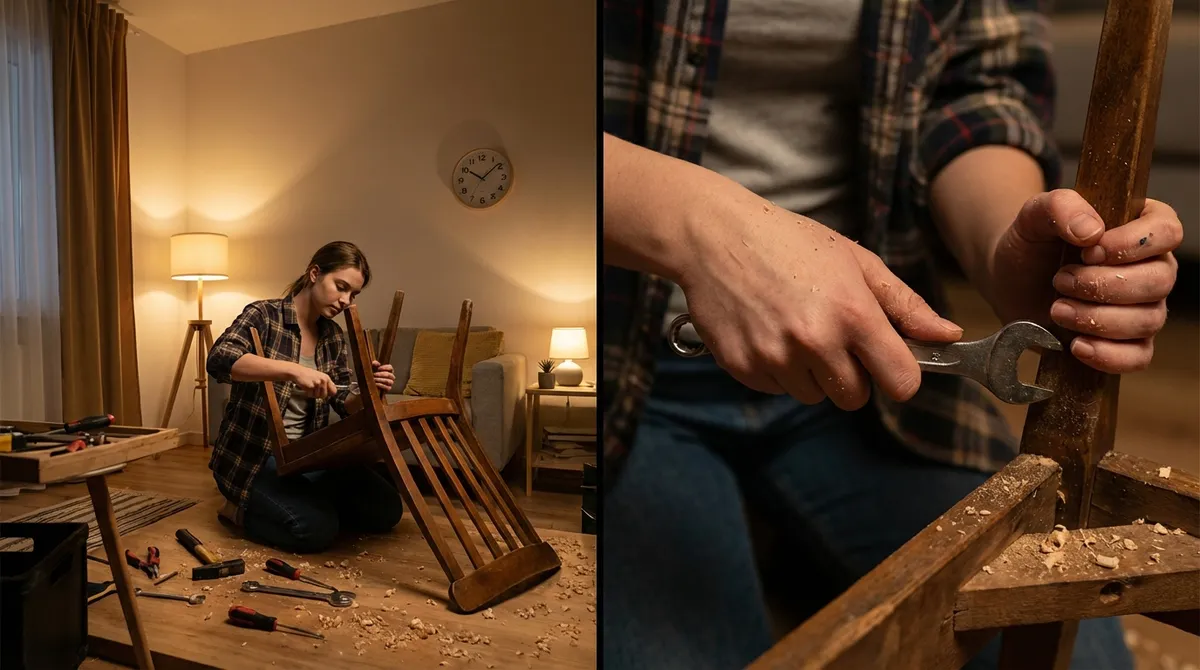
Fix a Wobbly Chair or Table for Good
Loose furniture is annoying and unsafe. Most wobble problems come from loose screws/bolts or shrunken wooden joints that need tightening and reinforcement.
What you’ll need
- Screwdriver (Phillips and flathead)
- Allen key set (for hex bolts)
- Wood glue (for wooden chairs/tables)
- Small clamps or heavy books (optional)
- Felt pads or shims (for uneven floors)
Step‑by‑step
Flip the furniture over safely
Place the chair or small table upside‑down on a soft surface (rug or blanket) to avoid scratching.
Check all visible screws and bolts
- Tighten each screw and bolt firmly, but don’t strip them. - Replace any missing screws with similar size/length.
Test joints for movement
Gently move legs and joints by hand. If you feel movement where two wooden pieces meet, that joint needs attention.
Reinforce loose wooden joints
- Carefully pull the joint apart just enough to see the gap. - Apply a small amount of wood glue into the joint (use a toothpick or small brush). - Push the joint back together and wipe off excess glue with a damp cloth.
Clamp or weight if needed
- Use clamps to hold the joint tight while the glue dries. - If you don’t have clamps, place the furniture upright and stack heavy books to keep pressure on the joint. - Follow the glue’s recommended drying time (typically a few hours).
Address uneven floors
If the furniture is solid but still wobbles in one location, the floor may be uneven. Stick felt pads or shims under the shortest leg to stabilize.
Final test
Set the furniture upright on a flat surface, sit or press on it, and rock gently. If there’s still movement, recheck specific joints or consider adding metal corner braces for extra strength.
Bring a Dead Outlet Back Safely
If one outlet suddenly stops working, you might assume a massive electrical problem. In many cases, the fix is as simple as resetting a GFCI outlet or a tripped breaker—no electrical work required.
What you’ll need
- Plug‑in device (lamp or phone charger) for testing
- Flashlight (if panel is in a dark area)
- Basic understanding of your home’s breaker panel layout
Safety note
If you see scorch marks, smell burning, or feel heat from an outlet, stop and call a licensed electrician immediately.
Step‑by‑step
Confirm the outlet is really dead
Plug in a device you know works (like a lamp). Try another outlet with the same device to be sure the device itself isn’t the issue.
Look for GFCI outlets in the same area
GFCI (Ground‑Fault Circuit Interrupter) outlets are common in kitchens, bathrooms, garages, and outdoor areas. They have “TEST” and “RESET” buttons.
Reset the GFCI outlet
- Press the RESET button firmly until you feel a click. - If it won’t reset, unplug all devices on that circuit and try again. - Go back to the dead outlet and test it.
Check your breaker panel
- Locate your electrical panel (basement, garage, utility room, or closet). - Carefully open the panel door and look for any breaker that’s halfway between ON and OFF or clearly labeled TRIPPED.
Reset a tripped breaker
- Turn the breaker fully to OFF first. - Then push it firmly back to ON. - Do not force any breaker that resists moving; call an electrician if it feels stuck.
Test the outlet again
Return to the outlet with your test device. If it now works, you’re done.
If it keeps tripping
- Unplug all devices from that circuit and add them back one by one. - If a specific device causes the trip every time, it’s likely faulty. - If the breaker or GFCI trips with nothing plugged in, call an electrician—there may be a wiring issue.
Clear a Slow Drain Before It Becomes a Clog
A sink or shower that slowly drains is your early warning sign. Acting now usually means no harsh chemicals, no standing water, and no emergency plumber.
What you’ll need
- Rubber gloves
- Cup plunger (for sinks) or flange plunger (for toilets)
- Zip‑it style plastic drain snake or wire hanger
- Baking soda and white vinegar
- Kettle or large pot for hot (not boiling) water
Step‑by‑step
Remove visible debris
- Pull out hair catchers or stoppers and clean off hair/soap scum. - For bathroom sinks, unscrew and remove the pop‑up stopper if possible.
Try a simple hot water flush
- Heat water until very hot but not boiling (boiling water can damage some pipes). - Slowly pour down the drain in two or three stages, pausing between pours. - Test drainage by running the tap for 10–15 seconds.
Use a drain snake or improvised tool
- Insert a plastic drain snake into the drain and pull up hair and debris. - If you don’t have one, straighten a wire hanger, bend a small hook at the end, and gently fish around inside the drain. - Do not force the tool if it catches hard; you don’t want to damage pipes.
Apply a baking soda + vinegar treatment
- Pour about 1/2 cup of baking soda into the drain. - Slowly add 1/2–1 cup of white vinegar. It will fizz. - Plug the drain or cover it with a cloth and let it sit for 10–15 minutes.
Flush with hot water again
After the fizzing stops and the wait time is up, pour another round of hot (not boiling) water down the drain.
Use a plunger if needed
- For sinks: cover the overflow hole with a wet cloth. - Place the plunger over the drain, ensuring a good seal. - Push down and pull up in steady, strong strokes for 15–20 seconds, then release to see if water drains faster.
Avoid harsh chemical drain cleaners
They can damage pipes, especially in older homes, and create hazardous splashes if you later plunge or snake the line. If your efforts fail, call a professional rather than layering chemicals.
Conclusion
Quick fixes don’t require a workshop full of tools or years of experience—just a calm approach, basic gear, and a clear set of steps. By tackling drips, squeaks, wobbles, dead outlets, and slow drains as they show up, you prevent small irritations from turning into expensive repairs.
Pick one problem in your home today and walk through the steps. The more of these you handle yourself, the more confident and capable you become—and the fewer repair bills you’ll face down the road.
Sources
- [U.S. Environmental Protection Agency – Fixing Leaks at Home](https://www.epa.gov/watersense/fix-leak-week) – Explains how small leaks waste water and offers guidance on common household leak repairs
- [Family Handyman – How to Fix a Leaky Faucet](https://www.familyhandyman.com/project/how-to-repair-a-compression-faucet/) – Detailed walkthroughs for different faucet types and common causes of drips
- [U.S. Consumer Product Safety Commission – Electrical Safety in the Home](https://www.cpsc.gov/safety-education/safety-guides/electrical) – Official guidance on safe handling of outlets, cords, and breakers
- [Massachusetts Institute of Technology (MIT) – Plumbing: Sink Drain Maintenance](https://facilities.mit.edu/sites/default/files/documents/plumbing_sink_drain_maintenance.pdf) – Practical instructions for maintaining and clearing slow sink drains
- [This Old House – How to Fix a Wobbly Chair](https://www.thisoldhouse.com/furniture/21015036/how-to-fix-a-wobbly-chair) – Step‑by‑step advice on tightening and gluing loose furniture joints
Key Takeaway
The most important thing to remember from this article is that this information can change how you think about Quick Fixes.


