Small issues around the house have a way of turning into big headaches if you ignore them. The good news: many of the most common household problems are surprisingly simple to fix with basic tools and a bit of guidance. No fancy skills, no expensive equipment—just clear steps and a practical plan.
This guide walks you through five realistic, high‑impact fixes you can tackle today. Each one is broken down into simple steps so you know exactly what to do, what to watch for, and when it’s time to call in a pro.
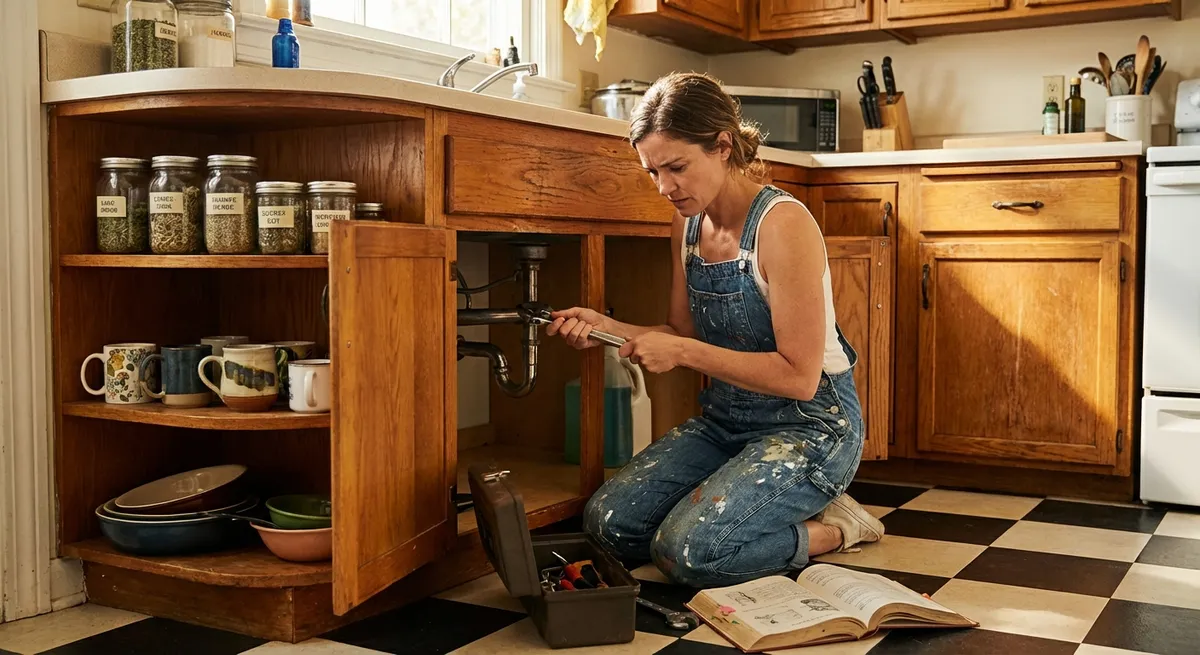
Stop a Dripping Faucet Before It Wrecks Your Sink
A dripping faucet doesn’t just drive you crazy—it wastes water and can stain your sink. Most of the time, the cause is a worn‑out washer or cartridge inside the faucet.
What you’ll need
- Adjustable wrench or basin wrench
- Screwdriver (Phillips or flathead, depending on your faucet)
- Replacement washer or cartridge (match your faucet brand/model)
- Towel or rag
Step-by-step
Shut off the water supply
Look under the sink for two small valves (hot and cold). Turn them clockwise until they stop. Open the faucet to confirm water is off and to relieve pressure.
Plug the drain
Use the sink stopper or a rag. This prevents small screws or parts from falling down the drain.
Remove the faucet handle
Look for a small cap or screw on the handle. Pry off decorative caps with a flathead screwdriver, then unscrew the handle. Lift it off carefully.
Identify your faucet type
- Single handle with smooth motion: likely a cartridge - Two handles: likely uses washers or ceramic discs Take a quick photo to remember how it’s assembled.
Remove internal parts
Use your wrench to loosen the retaining nut. Gently pull out the cartridge or stem. Keep all parts organized in the order you remove them.
Inspect and replace worn parts
Look for: - Cracked rubber washers - Worn O‑rings - Mineral buildup on the cartridge Take the old parts to a hardware store to get exact matches.
Reassemble the faucet
Reinstall the new parts in the reverse order. Hand‑tighten first, then snug gently with the wrench—don’t over‑tighten or you can crack components.
Turn water back on and test
Slowly turn the shutoff valves back on. Open the faucet and check for leaks at the base and spout. If it still drips, recheck that the new parts are seated correctly.
When to call a pro:
If your shutoff valves won’t turn, you see corrosion on pipes, or the faucet body is cracked, stop and call a plumber. For everything else, this fix is usually very DIY‑friendly.
Silence Squeaky Doors Without Replacing Hinges
A squeaky door is annoying but easy to fix. The noise comes from friction between the hinge pin and hinge plates.
What you’ll need
- Lubricant (silicone spray, lithium grease, or petroleum jelly)
- Hammer
- Small nail or screwdriver
- Rag or paper towels
Step-by-step
Open and close the door to locate the noise
Usually, the sound comes from one specific hinge. Place your hand on each hinge while moving the door; you’ll feel the vibration at the noisy one.
Support the door if needed
If you’re working on a heavy door, place a doorstop or folded cardboard under the door edge to relieve pressure on the hinges.
Remove the hinge pin (one hinge at a time)
- Start with the noisiest hinge. - Place a nail or small screwdriver under the bottom of the hinge pin and gently tap upward with a hammer. - Wiggle and pull the pin out from the top.
Clean the hinge pin
Wipe off dust, old grease, and rust with a rag. If it’s rusty, lightly scrub with fine steel wool or a scouring pad.
Lubricate the hinge pin
Apply a thin, even coat of your chosen lubricant along the pin. Avoid using cooking oil—it gums up and attracts dirt.
Reinsert the hinge pin
Slide the lubricated pin back into the hinge. Tap gently with a hammer until it’s fully seated. Wipe away any excess lubricant that squeezes out.
Repeat for other hinges if needed
If the door still squeaks, repeat the process for the remaining hinges one by one.
Final test
Open and close the door several times. The motion should be smooth and quiet. Add a tiny bit more lubricant to the top of the hinge if there’s a faint squeak.
Pro tip for sharing:
Before/after squeak videos make great short clips—record the noise, do the fix, then show the silence. Tag it as a “90‑second door rescue.”
Clear a Slow Drain Without Harsh Chemicals
A slow bathroom or kitchen sink often comes from hair, soap scum, or grease buildup. You can usually fix it without pouring dangerous chemicals down the drain.
What you’ll need
- Rubber gloves
- Bucket or bowl
- Old toothbrush or small cleaning brush
- Plastic drain snake or zip‑it tool (very inexpensive)
- Baking soda and white vinegar (optional but helpful)
Step-by-step
Remove the stopper or strainer
- For bathroom sinks: lift the stopper; if it won’t come out, look under the sink for a pivot rod connected to the drain and unscrew the retaining nut to release it. - For kitchen sinks: lift out any metal strainer.
Physically clear visible gunk
Put on gloves and remove hair, soap chunks, and debris by hand. Use a paper towel to toss it straight into the trash.
Use a drain snake
- Insert the plastic snake into the drain as far as it will go. - Twist gently and pull out; it will grab hair and buildup. - Repeat several times until you pull out less debris.
Flush with hot water
Run very hot (not boiling if you have PVC pipes) water for 1–2 minutes to soften and rinse away remaining buildup.
Optional: baking soda and vinegar treatment
- Pour about 1/2 cup baking soda into the drain. - Follow with 1/2–1 cup white vinegar. - Let it fizz for 10–15 minutes. - Flush again with hot water.
Clean and reinstall the stopper
Scrub the stopper and any accessible drain parts with an old toothbrush. Reinstall everything securely.
Test the flow
Fill the sink halfway with water, then remove the stopper and watch how quickly it drains. A strong, steady whirlpool means the clog is gone.
When to call a pro:
If multiple fixtures in the same area are slow (e.g., sink and tub), you may have a deeper line blockage. That’s usually beyond DIY.
Fix a Running Toilet That Won’t Stop Filling
A toilet that runs constantly wastes a surprising amount of water. The cause is almost always inside the tank and usually fixable without special tools.
What you’ll need
- Adjustable wrench (maybe)
- Replacement flapper or fill valve (if needed)
- Towel
Step-by-step
Remove the tank lid and set it aside carefully
Tank lids are heavy and fragile. Place it on a towel to avoid chips or cracks.
Identify the main parts
Inside the tank you’ll see: - Flapper: rubber piece at the bottom that lifts when you flush - Chain: connects handle to flapper - Fill valve: tall assembly on one side that controls water level - Overflow tube: vertical tube in the center
Check for a simple chain problem
If the chain is too tight, it can hold the flapper open. - Leave about 1/2 inch of slack in the chain. - If it’s tangled or too long, adjust or hook it to a different link.
Test the flapper seal
Push down gently on the flapper while the toilet is running: - If the running stops, the flapper is likely worn and not sealing. - Look for warping, cracks, or buildup.
Replace a faulty flapper
- Turn off the water valve behind the toilet (clockwise). - Flush to empty most of the tank. - Unhook the old flapper from the overflow tube and chain. - Clip on the new flapper and reconnect the chain. - Turn water back on and test.
Adjust water level if it’s too high
If water is flowing into the overflow tube, the fill valve is set too high. - Newer fill valves often have a screw or sliding adjustment. - Turn the adjustment screw or slide the float down slightly to lower the water level. Aim for about 1 inch below the top of the overflow tube.
Replace the fill valve if adjustment fails
If the toilet still runs or refills erratically, the fill valve may be worn out. Replacement kits include step‑by‑step instructions and usually just require shutting off water, disconnecting the supply line, and swapping in the new valve.
Final test
Flush several times. The toilet should fill, stop, and sit quietly. Check around the base and supply line for any leaks.
Water‑saving angle:
Fixing a running toilet is one of the quickest ways to cut unnecessary water use at home—perfect for a “save money + save water” social post.
Patch a Small Wall Hole Without Calling a Contractor
Accidental bump with furniture, a door handle, or removing wall anchors can leave ugly holes in drywall. For anything smaller than your fist, you can handle the repair yourself.
What you’ll need
- Spackle or premixed joint compound
- Putty knife (2–4 inches wide)
- Sanding sponge or fine‑grit sandpaper (120–220 grit)
- Damp cloth
- Primer and touch‑up paint
Step-by-step
Clean the damaged area
Brush away loose drywall dust or broken paper edges. Wipe gently with a damp cloth and let dry completely.
For nail or screw holes (small)
- Load a small amount of spackle onto the putty knife. - Press into the hole, scraping across at a slight angle. - Remove excess so the patch is flush or just slightly raised. - Let it dry according to the product instructions.
For larger holes (up to about 2 inches)
- If edges are ragged, trim them clean with a utility knife. - Use a self‑adhesive wall repair patch or mesh tape over the hole. - Apply a thin layer of joint compound over the patch, extending a couple of inches beyond the edges. - Feather the edges by pressing lighter as you move away from the center. - Let it dry thoroughly.
Sand the area smooth
Lightly sand the dried compound until the patch is smooth and flush with the wall. Avoid over‑sanding down to the mesh.
Apply a second thin coat if needed
If you can still see an indentation or mesh, apply another very thin coat of compound, feathering the edges wider. Let dry and sand again.
Prime the patch
Unprimed patches absorb paint differently and will “flash” (show through). Apply a small amount of primer over the repaired area and let it dry fully.
Touch up with paint
Use leftover wall paint if you have it. Blend the paint slightly beyond the patch so it transitions cleanly into the surrounding wall. For best results, paint corner‑to‑corner on a small section rather than just a tiny circle.
Stand back and check in different light
Look at the repair from an angle and in different lighting. If you see ridges, lightly sand and spot‑paint again.
Share‑friendly idea:
Before/after wall shots are perfect for social media. Show the hole, the tools used, then the invisible repair.
Conclusion
Most “annoying but not catastrophic” home issues have straightforward fixes once someone shows you the steps. Stopping a drip, quieting a squeak, freeing a slow drain, taming a running toilet, and patching a wall are all realistic wins you can grab in an afternoon.
Start with the problem that bugs you the most and work through the instructions slowly. Take photos as you go in case you need to reassemble anything—and they double as great content if you decide to share your repair success. If you hit something that feels beyond your comfort zone (major leaks, electrical issues, structural damage), that’s your signal to press pause and bring in a pro.
The more you tackle these small repairs yourself, the more confident and capable you’ll feel every time something else pops up around the house.
Sources
- [U.S. Environmental Protection Agency – Fix a Leak](https://www.epa.gov/watersense/fix-leak-week) – Explains how common household leaks (like dripping faucets and running toilets) waste water and why fixing them matters
- [Family Handyman – How to Fix a Leaky Faucet](https://www.familyhandyman.com/project/how-to-repair-a-compression-faucet/) – Detailed walkthroughs and diagrams for different faucet types
- [This Old House – How to Stop a Running Toilet](https://www.thisoldhouse.com/plumbing/21015135/how-to-fix-a-running-toilet) – Visual guide to diagnosing and repairing common toilet tank problems
- [The Spruce – How to Clear a Clogged or Slow Sink Drain](https://www.thespruce.com/clear-a-clogged-sink-2718706) – Step‑by‑step instructions for clearing drains with mechanical methods and household products
- [Lowe’s – How to Patch and Repair Drywall](https://www.lowes.com/n/how-to/patch-and-repair-drywall) – Home center guide with photos for patching small to medium drywall holes
Key Takeaway
The most important thing to remember from this article is that this information can change how you think about Household Repairs.


