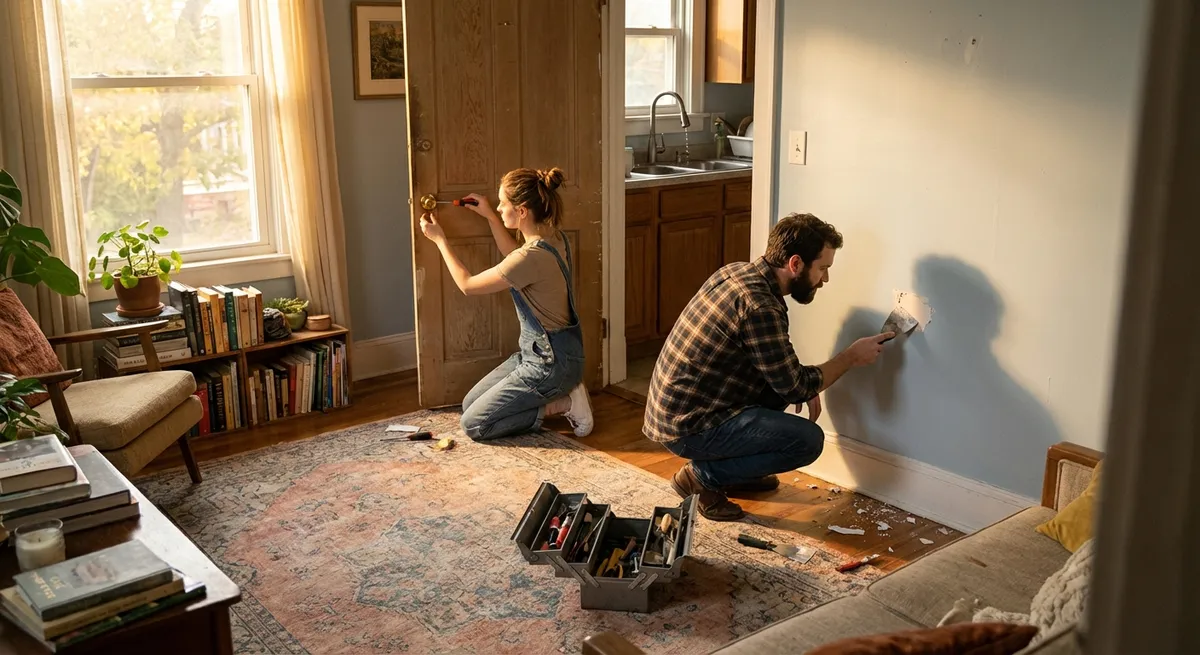
Small issues around the house rarely stay small. A dripping faucet, a door that won’t latch, or a running toilet can quietly waste money and drive you nuts. The good news: you can fix many of these problems yourself with basic tools and a clear plan. This guide walks you through five common household repairs, step by step, so you can stop the problem and move on with your day.
1. Stop a Dripping Faucet (Standard Compression Faucet)
A dripping faucet doesn’t just annoy you—it wastes gallons of water over time and bumps up your bill. Most drips in older-style faucets come from worn washers or O-rings. If your faucet has separate hot and cold handles that turn, you likely have a compression faucet you can repair in under an hour.
What you’ll need:
- Adjustable wrench or basin wrench
- Flathead and Phillips screwdrivers
- Replacement washers/O-rings (take old ones to the store to match)
- Plumber’s grease (optional but helpful)
- Rag or towel
Step-by-step:
- Shut off the water supply.
Look under the sink for two shutoff valves (hot and cold). Turn both clockwise until snug. Open the faucet to release any remaining water and confirm it’s off.
- Plug the drain.
Use the sink stopper or a rag so you don’t lose screws or small parts down the drain.
- Remove the handle.
- Pry off the decorative cap (if present) with a flathead screwdriver.
- Unscrew the handle screw and pull the handle off. You might need to wiggle it gently.
- Take out the stem or cartridge.
- Use a wrench to loosen the packing nut below the handle.
- Pull out the stem or cartridge carefully. Note how it’s oriented—take a photo if needed.
- Inspect and replace the washer/O-ring.
- At the bottom of the stem, you’ll see a rubber washer held by a small screw. Remove and replace it.
- Check for O-rings along the stem and replace any that look worn, cracked, or flattened.
- Lightly coat new parts with plumber’s grease.
- Reassemble the faucet.
- Insert the stem/cartridge back in the same orientation.
- Tighten the packing nut (snug, not over-torqued).
- Reattach the handle and screw, and snap the cap back on.
- Turn the water back on slowly.
Open the shutoff valves, then test the faucet. Check for drips and minor leaks around the base. Gently tighten if needed.
When to call a pro: If the faucet body is corroded, parts crumble as you remove them, or it still leaks after replacing washers and O-rings, a full replacement or professional repair may be smarter.
2. Fix a Toilet That Won’t Stop Running
A running toilet can waste hundreds of gallons per day. In most cases, the problem is inside the tank: a worn flapper, chain issue, or incorrect float level. You don’t need special tools and you won’t be touching wastewater—everything you work on is in the clean tank.
What you’ll need:
- Adjustable wrench (for shutoff valve if stiff)
- Replacement flapper (universal types fit many toilets)
- Towel or sponge
Step-by-step:
- Remove the tank lid and set it aside carefully.
Place it somewhere safe—it’s heavy and can crack if dropped.
- Identify where the water is going.
- If you see water running into the overflow tube (open pipe in the middle), your water level is set too high or the fill valve/float needs adjustment.
- If you see tiny ripples at the flapper seat, the flapper isn’t sealing.
- Check the flapper and chain.
- Turn off the water at the shutoff valve behind the toilet (turn clockwise).
- Flush once to empty most of the tank.
- Inspect the flapper: if it’s warped, slimy, cracked, or not sitting flat, replace it.
- Ensure the chain has a little slack when the flapper is down (not so tight it holds it up, not so loose it tangles).
- Replace the flapper if needed.
- Unhook the old flapper from the overflow tube and chain.
- Attach the new flapper to the same spots, then adjust the chain so the handle lifts it fully when flushed.
- Adjust the water level.
- For float-cup fill valves: Squeeze or loosen the clip on the side and slide the float down to lower water level (aim for about 1 inch below the top of the overflow tube).
- For float-ball types: Slightly bend the metal arm downward so the ball sits lower, or adjust the screw at the top of the fill valve.
- Turn water back on and test.
Let the tank fill. The water should stop below the overflow tube, and the toilet should sit silent—not trickling—once filled.
When to consider replacing the whole fill valve: If the fill valve never fully shuts off, screams, or is visibly corroded/cracked, a replacement kit is inexpensive and usually includes step-by-step instructions.
3. Quiet a Squeaky Door and Fix a Loose Latch
Squeaks and doors that don’t latch properly are usually hardware problems, not structural ones. Often, you can fix both in a few minutes.
What you’ll need:
- Phillips screwdriver
- Hammer and small block of wood
- Lubricant (silicone spray, white lithium grease, or petroleum jelly)
- Optional: longer wood screws (2–3 inches) if hinges are loose
A. Fix the squeak
- Determine the source.
Slowly open and close the door. If you hear squeaks at the hinges, that’s the target.
- Support the door if it’s heavy.
Place a wedge or folded cardboard under the door to relieve strain on the hinges.
- Lubricate the hinges.
- You can often lubricate without removing the hinge pin: apply a small amount of lubricant at the top of each hinge and work the door back and forth.
- Wipe away any drips to avoid staining the door or wall.
- For stubborn squeaks, pull the hinge pin.
- Starting with the center hinge, tap the bottom of the pin upward using a nail and hammer.
- Remove the pin, coat it lightly with lubricant, then reinsert and tap it back down.
- Repeat for the other hinges if needed.
B. Fix a door that won’t latch properly
- Check hinge screws.
- Tighten all hinge screws on the door and frame.
- If a screw just spins, replace it with a longer wood screw that bites deeper into the stud.
- Test the latch alignment.
Close the door slowly. If the latch hits above or below the strike plate hole, alignment is off.
- Adjust the strike plate slightly.
- Loosen the screws in the strike plate.
- Gently tap the plate up or down as needed using a hammer and a wood block.
- Retighten and test.
- Widen the strike plate opening if needed.
If the latch almost catches but rubs, use a metal file to slightly enlarge the opening. File a little at a time and test.
When to call for help: If the door frame itself is cracked or obviously warped from moisture or structural movement, a carpenter’s assessment is worth it.
4. Seal a Drafty Window with Simple Weatherstripping
Drafty windows make your home uncomfortable and waste energy. In many cases, you don’t need to replace the entire window—adding or replacing weatherstripping can dramatically reduce drafts.
What you’ll need:
- Self-adhesive foam or rubber weatherstripping
- Scissors or utility knife
- Measuring tape
- Mild cleaner and cloth
Step-by-step:
- Find the draft.
On a windy day, close the window and hold the back of your hand around the frame. You can also use a lit incense stick: watch where the smoke moves quickly.
- Clean the surface.
Wipe down the inside frame where you’ll stick the weatherstripping. Allow it to dry completely so the adhesive sticks well.
- Measure the gaps.
- Measure the length of each side of the sash (the moving part of the window).
- Note where the biggest gaps are—usually along the bottom and sides.
- Choose the right weatherstripping.
- Thin foam tape for small gaps.
- Thicker rubber or V-strip for larger gaps around sash windows.
Match thickness so the window can still close and latch without force.
- Cut and apply.
- Cut strips to length with scissors or a utility knife.
- Peel the backing as you go, pressing firmly along the frame where the sash meets the frame when closed.
- Avoid stretching the strip; that can cause it to peel later.
- Test the window.
Close and lock the window. It should shut fully and latch without excessive resistance. Check for remaining drafts; adjust or add more stripping as needed.
- Consider temporary solutions for very leaky windows.
In colder seasons, clear plastic window insulation kits (shrink film) can provide a temporary extra barrier for old, drafty windows.
When replacement is needed: If glass is cracked, frames are rotten, or you see condensation between double panes, long-term efficiency may require professional window repair or replacement.
5. Reset a Tripped Circuit Breaker and Safely Restore Power
Losing power in part of your home can be alarming, but often it’s just a tripped breaker protecting your wiring. Knowing how to safely reset it—and when not to—can save you a service call and prevent hazards.
What you’ll need:
- Flashlight
- Dry hands and shoes
- Optional: small label maker or masking tape and pen for labeling circuits
Step-by-step:
- Unplug or switch off devices in the affected area.
If a high-demand appliance (space heater, hair dryer, microwave) was running when power cut out, unplug it first.
- Locate your electrical panel.
Typically in a basement, garage, utility room, or closet. Use a flashlight if the area is dark.
- Identify the tripped breaker.
- Open the panel door.
- Look for a breaker whose switch is in the middle position or clearly not aligned with the others. Some may show a colored indicator (like orange or red) when tripped.
- Turn the breaker fully off, then on.
- Push the tripped breaker firmly to the OFF position.
- Then push it back to ON until it clicks.
- If it immediately trips again, stop and leave it OFF.
- Restore power gradually.
- Go back and turn on one device at a time.
- Avoid running multiple high-wattage devices on the same circuit (e.g., space heater + hair dryer) to reduce overload risk.
- Label the breaker if it wasn’t already.
While you’re there, use masking tape or a label to note which rooms/outlets that breaker controls. This speeds up future troubleshooting.
When to call an electrician immediately:
- The same breaker keeps tripping again and again.
- You smell burning or see scorch marks at outlets or the panel.
- Breakers feel hot to the touch.
- Lights flicker or dim when you plug in normal appliances.
Never bypass, jam, or tape a breaker in the ON position. It’s a critical safety device.
Conclusion
You don’t need a workshop full of tools or a contractor’s license to solve many everyday home issues. By focusing on clear, manageable tasks—stopping leaks, tightening hardware, blocking drafts, and safely restoring power—you protect your home, reduce bills, and avoid bigger headaches later. Start with the problem that bothers you most, follow the steps carefully, and keep notes on what you do. Over time, you’ll build a personal repair playbook that makes your home easier and cheaper to live in.
Sources
- [U.S. Environmental Protection Agency – Fixing Household Leaks](https://www.epa.gov/watersense/fix-leak-week) - Explains how small plumbing leaks waste water and provides guidance on common fixes
- [Energy.gov – Air Sealing Your Home](https://www.energy.gov/energysaver/air-sealing-your-home) - U.S. Department of Energy guide on sealing drafts around windows and doors to improve efficiency
- [NYC Department of Environmental Protection – Fix a Running Toilet](https://www.nyc.gov/assets/dep/downloads/pdf/environment/education/fix-a-running-toilet.pdf) - Step-by-step instructions with diagrams for diagnosing and repairing running toilets
- [U.S. Consumer Product Safety Commission – Home Electrical Safety Checklist](https://www.cpsc.gov/safety-education/safety-guides/home-electrical-safety-checklist) - Official safety recommendations for dealing with household electrical systems and breakers
- [Family Handyman – How to Fix a Leaky Faucet](https://www.familyhandyman.com/project/how-to-fix-a-leaky-faucet/) - Practical walkthrough of diagnosing and repairing common faucet leaks
Key Takeaway
The most important thing to remember from this article is that this information can change how you think about Household Repairs.


