Household problems always seem to show up at the worst possible moment: a faucet starts dripping at midnight, a door won’t close when you’re rushing out, or a circuit keeps tripping right before an online meeting. You don’t always need a professional to get things under control. With a few basic tools and a clear process, you can safely tackle a lot of everyday issues yourself—and know when it’s time to stop and call a pro.
This guide walks you through five practical, step-by-step solutions you can use right away to make your home safer, quieter, and easier to live in.
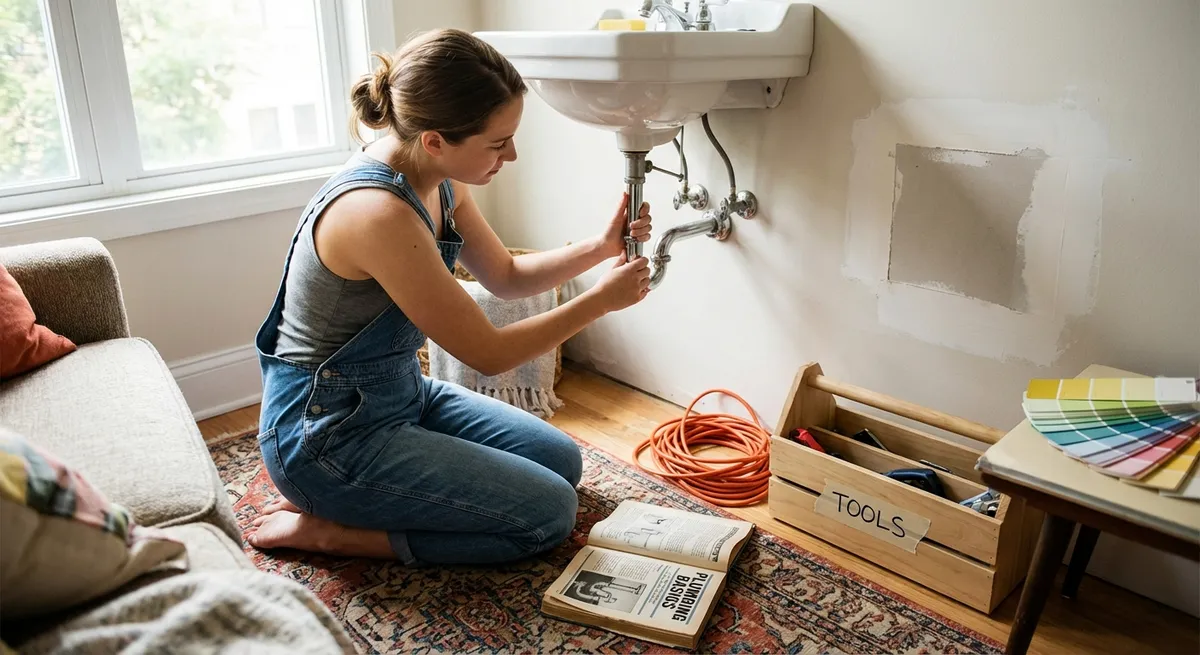
1. Stopping a Leaky Faucet (Without Replacing the Whole Thing)
A dripping faucet wastes water and money. In many cases, the fix is as simple as replacing a worn-out cartridge or washer. The exact steps vary slightly by faucet type, but the basic approach is similar.
What you’ll need:
Adjustable wrench, screwdriver, replacement cartridge or O-rings (for your faucet model), plumber’s grease, towel, small container.
Steps:
- Shut off the water supply.
Look under the sink for two small valves (hot and cold). Turn them clockwise until they stop. Open the faucet to relieve pressure and drain remaining water.
- Plug the drain.
Use a sink plug or a rag. This keeps screws and small parts from falling into the drain.
- Remove the handle.
Look for a small cap or screw (often hidden under a decorative cover). Pry off the cap with a flat screwdriver if needed, then unscrew and lift off the handle.
- Disassemble the faucet body.
Use an adjustable wrench or screwdriver (depending on the design) to remove any retaining nut or trim piece. Take photos as you go so you can reassemble it correctly.
- Identify and remove the cartridge/washer.
Gently pull out the cartridge or stem. If it’s stuck, wiggle it back and forth instead of forcing it. Inspect O-rings and rubber seals—these are often the source of leaks.
- Take old parts to the store.
Match them at a hardware store to get the correct replacement cartridge, O-rings, or washer. Brand and model matter, so bring photos or the faucet manual if you have it.
- Reassemble with new parts.
Lightly coat O-rings and moving parts with plumber’s grease (not petroleum jelly). Insert the new cartridge or washer in the same orientation, then reinstall nuts, trim, and handle.
- Turn water back on and test.
Slowly open the shutoff valves and run the faucet. Check for drips at the spout and around the base. If it still drips, tighten the retaining nut slightly—but don’t overtighten, which can damage parts.
When to call a pro: If you see corrosion, cracks in the faucet body, or if shutoff valves won’t close or start leaking.
2. Fixing a Door That Won’t Close or Keeps Swinging Open
Sticking, sagging, or self-opening doors are usually hinge and alignment issues—not a sign you need a new door. You can often fix them with a screwdriver and a few adjustments.
What you’ll need:
Screwdriver, wood toothpicks or wood shims, wood glue (optional), hammer, pencil.
Steps:
- Check the hinges first.
Open the door halfway and gently lift it by the handle. If it moves up and down significantly, the hinges are loose.
- Tighten all hinge screws.
Use a screwdriver (hand tool is better than a drill to avoid stripping). Tighten top hinge screws first—this hinge carries most of the load and helps correct sagging.
- Fix stripped screw holes.
If a screw keeps spinning and won’t tighten:
- Remove the screw.
- Fill the hole with wood toothpicks coated in wood glue (packed tightly).
- Snap them off flush with the surface.
- Reinsert the screw once the glue is tacky or dry per instructions.
- Check the door alignment with the frame.
Close the door slowly and watch where it hits: at the latch, top, or bottom. Also look at the gap between door and frame; it should be fairly even.
- Adjust the strike plate if the latch misses.
If the latch is hitting above or below the hole in the strike plate:
- Mark where the latch meets the plate with a pencil.
- Loosen the strike plate screws slightly.
- Shift the plate up/down or in/out as needed.
- Retighten and test several times.
- Tame a door that swings open or closed by itself.
- Remove the top hinge pin.
- Gently tap the middle of the pin with a hammer to create a very slight bend.
- Reinsert the pin. The added friction often keeps the door in place.
- Use thin shims for stubborn misalignment.
This usually means the frame isn’t perfectly plumb. Try this simple trick:
For a door rubbing at the top on the latch side, loosen the bottom hinge a bit and slip a thin cardboard shim behind it, then retighten. This slightly pivots the door and can eliminate rubbing.
When to call a pro: Doors out of square due to foundation movement, major frame cracks, or if the door is also binding heavily in multiple spots.
3. Resetting a Tripping Circuit Breaker Safely
A breaker that trips occasionally when you run too many devices is annoying but often normal. A breaker that trips repeatedly—even after you unplug things—can signal a problem. You can safely reset a breaker and do basic checks before deciding if an electrician is necessary.
What you’ll need:
Flashlight, access to the electrical panel, paper and pen (for labeling).
Safety first: If you smell burning, see scorch marks at outlets, or hear buzzing in the panel, do not attempt DIY troubleshooting. Call an electrician immediately.
Steps:
- Locate and open your electrical panel.
It’s usually in a basement, garage, hallway, or utility area. Open the door and look for switches in a different position (often between ON and OFF).
- Identify the tripped breaker.
A tripped breaker is typically slightly shifted from the ON position. Some have an orange or red indicator window when tripped.
- Turn the breaker fully OFF before resetting.
Push the switch firmly to the OFF position, pause for a second, then push it back to ON. If it won’t stay in ON, don’t force it.
- Unplug or turn off devices on that circuit.
Go to the affected room(s) and unplug high-wattage appliances—space heaters, hair dryers, microwaves, portable AC units. Breakers often trip from overload.
- Turn devices back on one at a time.
Plug in and run each device separately. If a specific device causes the breaker to trip again, stop using that device and replace or repair it.
- Watch for patterns.
If the breaker trips even with minimal load—few lights and small electronics—there may be a wiring issue, a failing breaker, or a short.
- Label your panel while you’re there.
If circuits are unclear, use this moment to figure out what each breaker controls. Turn off one breaker at a time and see which lights/outlets go off. Label clearly in plain language (e.g., “Kitchen outlets – north wall”).
When to call a pro: Breaker trips immediately with little load, frequent tripping on the same circuit, warm outlets or panel, burning smells, or if you’re uncomfortable working around the electrical panel at all.
4. Clearing a Slow Sink Drain Without Harsh Chemicals
A slow-draining bathroom or kitchen sink is usually caused by hair, soap scum, or food buildup—not a deep sewer problem. You can often clear it with tools you already have and avoid damage from strong chemical drain cleaners.
What you’ll need:
Bucket, old toothbrush, rubber gloves, plunger (cup-style for sinks), baking soda, white vinegar, kettle or pot for hot water, drain snake or plastic hair clog remover (optional but helpful).
Steps:
- Remove the sink stopper.
In many bathroom sinks, you’ll need to access the rod under the sink:
- Look for a small nut on the back of the drain pipe.
- Unscrew it by hand or with pliers.
- Slide out the rod, then lift the stopper from the sink.
In kitchen sinks, simply pull the strainer or stopper out.
- Clean the stopper thoroughly.
Remove hair, gunk, and soap buildup with an old toothbrush and hot water. This alone often improves drainage.
- Physically remove debris in the drain.
Use a plastic hair remover strip or a small drain snake to pull out clogs near the top of the drain. Work slowly to avoid pushing debris deeper.
- Try a plunger (for sinks with standing water).
- Plug any overflow holes with a wet cloth.
- Add enough water to cover the plunger cup.
- Plunge with short, quick motions for 20–30 seconds, then check flow.
Avoid using a plunger if you’ve already poured strong chemical cleaners down the drain—this can splash chemicals back at you.
- Use a baking soda and vinegar flush.
For mild clogs and maintenance:
- Pour about 1/2 cup baking soda into the drain.
- Follow with 1/2–1 cup white vinegar.
- Let it fizz for 10–15 minutes.
- Flush with a full kettle of hot (not boiling on porcelain sinks) water.
- Reassemble and test.
Reinstall the stopper and linkage under the sink. Run water for a few minutes to confirm improved drainage and check for leaks under the sink.
- Prevent future clogs.
Use a mesh drain screen, avoid pouring grease down kitchen sinks, and do a monthly baking soda–vinegar flush followed by hot water as a maintenance routine.
When to call a pro: Multiple fixtures backing up at once, sewage smells, water backing up into other drains when you run a different fixture—these can signal a main line or vent issue.
5. Silencing a Noisy or Running Toilet
A toilet that won’t stop running can waste hundreds of gallons of water per day. Thankfully, most fixes are inside the tank and don’t require specialized tools.
What you’ll need:
Adjustable wrench (optional), replacement flapper (if needed), towel, flashlight.
Steps:
- Remove the tank lid carefully.
Place it safely on a flat surface to avoid cracks. Look inside the tank: you should see the fill valve, float, flapper, and chain.
- Identify where the water is going.
- If you see water trickling into the bowl continuously, the flapper may not be sealing.
- If water rises too high and spills into the overflow tube, the fill level is set too high or the fill valve is faulty.
- Check the chain and flapper.
- Ensure the chain has a little slack but isn’t so long that it gets stuck under the flapper.
- Inspect the flapper for warping, mineral buildup, or cracks. If it’s stiff or misshapen, replace it.
- Replace a faulty flapper.
- Turn off the water valve behind the toilet and flush to empty most of the tank.
- Unhook the old flapper from the overflow tube and the chain.
- Hook the new flapper in place and attach the chain (adjust length so the flapper lifts fully but still closes easily).
- Turn water back on and test.
- Adjust the water level.
Look for a line or mark inside the tank indicating the proper fill level.
- Listen for hissing or intermittent refills.
If the toilet periodically refills by itself (a “phantom flush”), it’s often a leaky flapper or high water level spilling into the overflow tube. After adjustments, wait 10–15 minutes and see if the water line holds steady.
- Check for external leaks.
While you’re there, inspect the base of the toilet and the supply line for any moisture. A running toilet is one issue; water on the floor is another and may need prompt professional help.
When to call a pro: Cracked tank, rusted or stuck shutoff valve, water at the base of the toilet, or if repairs require removing the entire toilet.
Conclusion
Household problems don’t have to derail your day or drain your budget. By learning a few targeted skills—like how to stop a leaky faucet, align a stubborn door, reset a breaker safely, clear a slow drain, and quiet a running toilet—you gain control over some of the most common issues at home.
The key is to work methodically, use the right tools, and respect your limits. If something looks unsafe, more complex than expected, or doesn’t respond to basic troubleshooting, pausing and calling a professional is part of smart DIY. For everything else, keep this playbook handy and turn breakdowns into quick, confident fixes.
Sources
- [U.S. Environmental Protection Agency – Fix a Leak](https://www.epa.gov/watersense/fix-leak-week) – Guidance on common household leaks (including faucets and toilets) and their impact on water use
- [Family Handyman – How to Fix a Leaky Faucet](https://www.familyhandyman.com/project/how-to-repair-a-compression-faucet/) – Detailed walkthroughs and diagrams for different faucet types
- [U.S. Consumer Product Safety Commission – Electrical Safety](https://www.cpsc.gov/Safety-Education/Safety-Education-Centers/Electrical-Safety) – Safety principles for working around home electrical panels and circuits
- [Lowe’s – How to Fix a Running Toilet](https://www.lowes.com/n/how-to/fix-a-running-toilet) – Step-by-step instructions with photos for common toilet tank repairs
- [University of Illinois Extension – Household Plumbing Tips](https://extension.illinois.edu/plumbing/household-plumbing) – Educational guide to basic home plumbing systems and maintenance
Key Takeaway
The most important thing to remember from this article is that this information can change how you think about Household Repairs.


