When something breaks at home, you don’t always need a contractor or a full weekend to deal with it. With a few basic tools and a clear plan, you can handle a surprising number of repairs safely and confidently. This guide walks you through five common household issues with direct, step‑by‑step solutions you can put into action right away.
1. Stop a Dripping Faucet and Save Water (and Money)
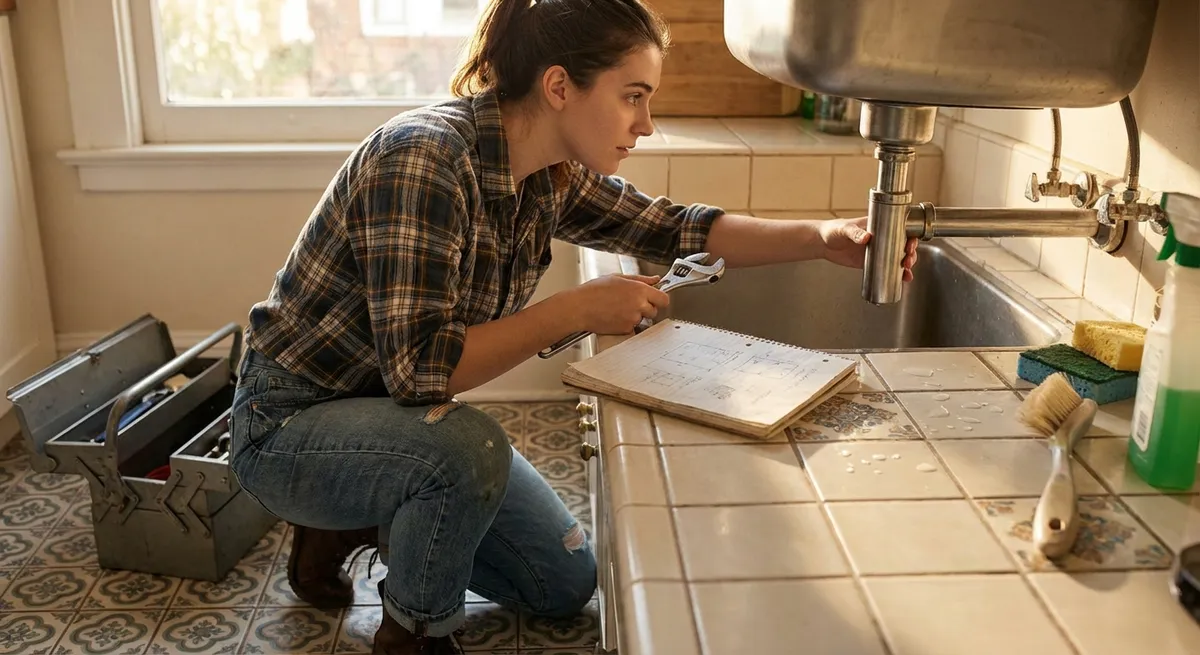
A dripping faucet is usually caused by a worn-out cartridge or washer. Fixing it is more about patience than strength.
What you’ll need:
Adjustable wrench, screwdriver, replacement cartridge or washer (check brand/model), plumber’s tape (optional), towel.
Steps:
Shut off the water supply
- Look under the sink for two small shut-off valves (hot and cold). - Turn them clockwise until fully closed. - Turn the faucet on to release any remaining pressure.
Plug the drain and prepare the area
- Use a sink plug or a rag to cover the drain so small screws don’t disappear. - Lay a towel in the sink to protect the surface and catch parts.
Remove the handle
- Pop off any decorative cap to reveal the screw. - Unscrew the handle with a screwdriver and gently pull it off. - Take a quick photo so you remember how everything goes back together.
Access the cartridge or washer
- Use the wrench to loosen the retaining nut or collar. - Carefully pull out the cartridge (for cartridge faucets) or stem (for compression faucets). - Inspect rubber seals and O-rings for cracks or flattening.
Replace worn parts
- Match the old cartridge/washer at a hardware store, or check your faucet brand’s site for the exact model. - Install the new part in the same orientation as the old one. - If applicable, lightly wrap threads with plumber’s tape for a better seal.
Reassemble and test
- Reattach the retaining nut, handle, and any caps. - Turn the shut-off valves back on slowly. - Run the faucet and then turn it off—watch for leaks at the base and spout.
If it still drips, double-check that the cartridge is seated correctly and all parts are tightened snugly (but not over-tightened).
2. Quiet a Squeaky Door Without Replacing Hinges
Squeaky doors are usually caused by friction between the hinge pin and hinge leaves. Lubricating and resetting the pin is often all it takes.
What you’ll need:
Hammer, small screwdriver or nail punch, rag, lubricant (silicone spray, white lithium grease, or petroleum jelly).
Steps:
Identify the squeaky hinge
- Slowly open and close the door to see which hinge (top, middle, or bottom) is making the noise. - Work on one hinge at a time so the door stays supported.
Remove the hinge pin
- Place the screwdriver or nail punch under the head of the hinge pin. - Tap upward gently with the hammer until the pin rises enough to grab. - Pull the pin out and set it on a rag.
Clean the pin and hinge
- Wipe off old, dark grease or debris from the pin. - If needed, use a bit of mild cleaner and dry thoroughly before lubricating.
Apply lubricant
- Coat the hinge pin lightly with your lubricant. - Also add a tiny amount in the hinge barrel itself. - Avoid overdoing it to prevent drips on the door or floor.
Reinstall the pin
- Slide the pin back into the hinge from the top. - Tap gently with the hammer until it is fully seated.
Test and repeat if necessary
- Open and close the door several times. - If it’s still squeaking, repeat for the other hinges. - Wipe away any excess lubricant.
3. Fix a Running Toilet That Won’t Stop Refilling
A constantly running toilet wastes a lot of water and is usually caused by a misadjusted float, sticky flapper, or faulty fill valve.
What you’ll need:
Adjustable wrench, replacement flapper or fill valve (if needed), towel.
Steps:
Remove the tank lid and inspect
- Gently lift off the tank lid and set it safely aside. - Flush once and watch what happens inside: look at the flapper, float, and water level.
Check the flapper
- If the flapper doesn’t seal tightly after flushing or looks warped, it’s probably the culprit. - Turn off the water valve at the wall (clockwise). - Flush to empty most of the water from the tank.
Replace the flapper (if damaged)
- Unhook the old flapper from the overflow tube and detachable chain. - Attach the new flapper in the same way, adjusting chain length so there’s a slight slack when the flapper is closed. - Turn water back on, let the tank fill, and test a flush.
Adjust the float and water level
- If water level is above the overflow tube, the toilet will run. - For a float arm: gently bend the metal arm downward so the valve closes sooner. - For a float cup: turn the adjustment screw or squeeze the clip to slide the float down the rod.
Check the fill valve (if toilet still runs)
- With the water on and tank full, lift the float manually. - If water doesn’t stop, the fill valve may be faulty. - Turn off the water, drain the tank, and follow the fill valve replacement instructions that come with the new part.
Final test
- Turn water back on fully. - Flush several times and confirm that the toilet fills to the right level and then stays quiet.
4. Patch a Small Drywall Hole So It Disappears
From door handles to picture-hanging mistakes, small holes in drywall are common—and fixable without calling a pro.
What you’ll need:
Spackle or joint compound, putty knife, sandpaper (120–220 grit), primer, matching paint, clean cloth.
Steps:
Clean and prep the hole
- Brush away loose debris or flaking drywall around the damage. - For nail/screw holes, slightly widen the opening with the putty knife to remove loose bits, then dust with a dry cloth.
Apply spackle or joint compound
- Scoop a small amount onto the putty knife. - Press firmly into the hole, then scrape across the surface to make it flush with the wall. - Remove excess so you don’t create a big mound.
Let it dry completely
- Follow the drying time on the product label (usually 30 minutes to a few hours). - Do not sand until fully dry; it will just smear.
Sand the area smooth
- Lightly sand in circular motions until the patch is flush and the edges feather into the wall. - Wipe off dust with a slightly damp cloth and let dry.
Prime the patch
- Apply a thin coat of primer to the patched area. - This step helps the paint match and prevents a dull “spot” later. - Allow primer to dry thoroughly.
Paint to blend
- Use leftover wall paint if you have it; otherwise, color-match at a paint store. - Feather your brush strokes from the center of the patch outward. - Let dry and apply a second coat if needed.
5. Restore Power to a Dead Outlet Safely
When an outlet suddenly stops working, the problem is often a tripped GFCI or breaker—not a major wiring failure. Work carefully and stop if anything looks burned or damaged.
What you’ll need:
Non-contact voltage tester (strongly recommended), flashlight, access to your breaker panel.
Steps:
Rule out the device or appliance
- Plug the item into a different outlet you know works. - If it doesn’t power on there either, it’s the device, not the outlet.
Check for GFCI outlets on the same circuit
- Look for outlets with “TEST” and “RESET” buttons (commonly in kitchens, bathrooms, garages, basements). - Press the RESET button firmly until it clicks. - Test your dead outlet again.
Inspect the breaker panel
- Open your electrical panel and look for switches that are not fully aligned with the others. - A tripped breaker may be slightly between ON and OFF. - To reset, push it fully to OFF, then firmly back to ON.
Use a voltage tester (if available)
- Turn off the breaker controlling the outlet (if labeled). - Remove the outlet cover plate carefully. - Turn the breaker back on and use a non-contact tester near the wires to confirm if power is reaching the box. - If you’re not experienced or comfortable, stop here and call an electrician.
Look for warning signs
- If you see charring, melted plastic, a burning smell, or feel heat at the outlet or wall, do not continue. - Turn the breaker off and contact a licensed electrician immediately.
- When to replace vs. call a pro
- Swapping a standard outlet is a basic job if you are familiar with electrical safety and your local codes.
- If you are unsure about wire connections, ground wires, or code requirements, it’s safer and often cheaper long-term to bring in a professional.
Conclusion
Most everyday home issues—dripping faucets, squeaky doors, running toilets, wall dings, and dead outlets—can be handled with basic tools and a methodical approach. The key is to work safely, take your time, and tackle one clear step at a time. As you build confidence with these practical fixes, you’ll save money, reduce downtime, and keep your home running smoothly without turning every small problem into a big project.
Sources
- [U.S. Environmental Protection Agency – Fix a Leak](https://www.epa.gov/watersense/fix-leak-week) - Details on how leaks (like dripping faucets and running toilets) waste water and basic guidance on fixing common leaks
- [Kohler Support – Faucet Repair Guides](https://support.kohler.com/hc/en-us/categories/360000047014-Faucets) - Manufacturer instructions and diagrams for identifying and replacing faucet parts
- [The Family Handyman – How to Fix Squeaky Doors](https://www.familyhandyman.com/project/how-to-fix-a-squeaky-door/) - Practical step-by-step advice for diagnosing and quieting door hinges
- [U.S. Consumer Product Safety Commission – Electrical Outlet Safety](https://www.cpsc.gov/safety-education/safety-guides/home/electrical) - Safety guidelines for working around household electrical systems and outlets
- [U.S. Department of Energy – Home Energy Saver Tips](https://www.energy.gov/energysaver/energy-saver) - Explains how small maintenance tasks (like fixing leaks and optimizing fixtures) contribute to overall home efficiency
Key Takeaway
The most important thing to remember from this article is that this information can change how you think about Household Repairs.


