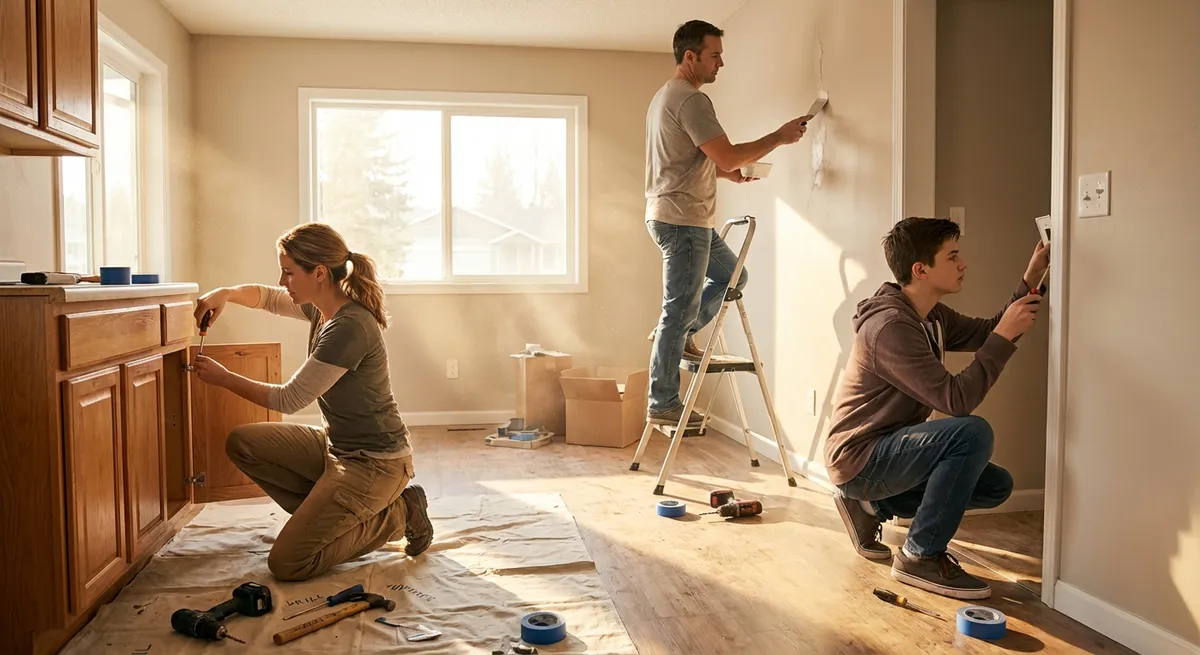
Things break, jam, drip, and rattle at the worst possible moment. You don’t always need a full toolbox or a pro on speed dial to get your home back on track. With a few basic supplies and straightforward steps, you can stabilize common problems quickly and safely.
Below are five practical, beginner-friendly fixes you can do right now, even if you don’t consider yourself “handy.”
Stop a Running Toilet and Save Water
A running toilet wastes water and money but is usually simple to tame.
What you’ll need
- Rubber gloves (optional but helpful)
- Towel or rag
- Replacement flapper (if needed)
- Scissors (for trimming chain, if needed)
Step-by-step
Remove the tank lid carefully
Set it on a towel to avoid chips and cracks.
Identify where the water is flowing
- If water is constantly trickling into the bowl, the flapper (rubber seal at the bottom) is usually the issue. - If water is overflowing into the vertical tube, the fill level is likely set too high.
Check the flapper seal
Press down gently on the flapper with your finger. - If the running sound stops, the flapper isn’t sealing properly. - Inspect it for warping, buildup, or cracks.
Adjust or replace the flapper
- Turn off the water at the valve behind the toilet (turn clockwise). - Flush once to empty most of the water from the tank. - Unhook the old flapper from the overflow tube and chain. - Attach the new flapper and connect the chain so there’s a little slack, but not so much that it gets stuck under the flapper. - Turn the water back on and test flush.
Adjust the water level if needed
- For float-cup fill valves, turn the adjustment screw on top (clockwise to lower water). - For older float-ball types, gently bend the metal arm down to reduce the fill level. Aim for the water line to sit just below the top of the overflow tube.
Final test
Flush and listen. The tank should refill, then go silent within a minute. Replace the lid carefully.
Silence a Squeaky Door Without Special Tools
A squeaky door is annoying but usually fixable in minutes.
What you’ll need
- Lubricant: silicone spray, white lithium grease, or petroleum jelly
- Paper towel or rag
- Flathead screwdriver (optional)
Step-by-step
Identify the squeak source
Slowly open and close the door. Most squeaks come from the hinges, not the handle.
Try quick lubrication in place first
- Put a rag under the hinge to catch drips. - Spray or dab a small amount of lubricant on the hinge pin and moving parts. - Gently swing the door back and forth to work it in.
If it still squeaks, remove the hinge pin
- Close the door. - Use a flathead screwdriver under the hinge pin head and tap upward gently with your palm to loosen it. - Pull the pin out.
Clean the pin
Wipe off dust, rust, or old paint with a rag. A clean pin accepts lubricant better.
Lubricate thoroughly
- Coat the pin with a thin layer of lubricant or petroleum jelly. - Add a small amount inside the hinge barrel.
Reinstall and test
- Slide the pin back in from the top and tap lightly to seat it. - Open and close the door several times. Wipe off any excess lubricant to avoid drips or stains.
Unclog a Slow Drain Without Harsh Chemicals
Slow sink or shower drain? You can often clear it with simple tools and hot water instead of caustic cleaners.
What you’ll need
- Rubber gloves
- Bucket or bowl
- Old toothbrush or small brush
- Baking soda and white vinegar or dish soap and hot water
- Plastic drain snake or straightened wire hanger (optional but very useful)
Step-by-step
Remove the stopper or drain cover
- For sinks, pull up the stopper and twist or wiggle it free. - For showers, unscrew or pry up the metal cover (use a flathead carefully).
Physically remove hair and debris
- Use a plastic drain snake or bent wire hanger to fish out gunk. - Pull out as much as you can and deposit in a trash bag, not back down the drain.
Clean the stopper itself
Stoppers often collect hair and soap scum. Scrub them with dish soap and an old toothbrush.
Flush with hot water and cleaner
Pick one method: - Baking soda + vinegar: - Pour about 1/2 cup baking soda down the drain. - Follow with 1/2–1 cup white vinegar. - Let it fizz for 10–15 minutes, then flush with very hot water. - Dish soap + hot water (grease-heavy clogs): - Pour a generous squeeze of dish soap down the drain. - Slowly pour a kettle of hot (not boiling for PVC) water down after it.
Check flow and repeat if needed
Run water for 30–60 seconds. If it’s still slow, repeat once or try another round of manual cleaning.
Reinstall the stopper or cover
Once the drain runs freely, reinstall the parts securely.
Secure a Wobbly Chair or Table
Loose chairs and wobbly tables are both annoying and unsafe. Tightening and stabilizing them is simple.
What you’ll need
- Screwdriver (Phillips and/or flathead)
- Allen (hex) keys (often included with furniture)
- Wood glue (for wooden joints)
- Damp cloth
- Small wedges or furniture pads (for uneven floors)
Step-by-step
Flip or lay the furniture carefully
Work on a padded surface (towel, blanket) to avoid scratches.
Identify all loose joints and screws
Gently move each leg side to side and see where play occurs. Mark or mentally note wobbly areas.
Tighten all hardware first
- Use the correct screwdriver or hex key. - Tighten each screw or bolt snugly, but don’t overtighten and strip the threads. Sometimes just tightening everything solves the wobble.
Reinforce loose wooden joints with glue
If a leg still moves: - Loosen and remove the screw or dowel if possible. - Apply a small amount of wood glue to the joint. - Reassemble and tighten the screw. - Wipe excess glue with a damp cloth.
Allow glue to cure
Follow drying time on the glue label (often 30–60 minutes for handling, longer for full strength). Avoid heavy use until then.
Compensate for uneven floors
If the furniture is solid but still rocks: - Add self-adhesive furniture pads under the shortest leg(s). - For a persistent wobble, use a small wedge designed for furniture.
Test stability
Place the piece upright and gently rock it side to side. It should feel firm and even.
Patch a Small Wall Hole for a Clean Finish
From doorknob dents to picture-hanger holes, small wall damage is easy to hide with the right approach.
What you’ll need
- Spackling paste (for small holes) or lightweight joint compound
- Putty knife (2–4 inch)
- Fine-grit sandpaper (120–220 grit)
- Damp sponge or cloth
- Touch-up paint and small brush or roller
Step-by-step
Clean the damaged area
- Remove loose paint, dust, or crumbling drywall with your fingers or a dry cloth. - For nail or screw holes, gently widen the opening just enough to remove loose material.
Apply spackle or joint compound
- Scoop a small amount onto the putty knife. - Press it firmly into the hole or dent, then smooth across the surface. - Remove excess so the patch is just slightly raised above the wall.
Let it dry completely
Check the product label; drying can take from 30 minutes to several hours depending on depth and humidity.
Sand for a smooth finish
- Lightly sand the patch with fine-grit sandpaper until it’s flush with the wall. - Wipe off dust with a damp cloth or sponge and let dry.
Check for low spots
- Run your fingers lightly over the area. - If you feel a dip, apply a thin second coat of compound, let dry, then sand again.
Prime if needed, then paint
- For small spots, you can often spot-prime or use paint + primer. - Apply touch-up paint in thin layers, feathering out around the repair so it blends with the surrounding wall. - Let dry and add a second coat if necessary.
Inspect in good light
Look from different angles; if you can’t see the patch, you’re done.
Conclusion
Most everyday problems around your home don’t require expensive tools or emergency appointments. With a bit of patience and the right steps, you can stop wasted water, silence annoying noises, clear slow drains, stabilize furniture, and erase wall damage on your own.
Start with the issue that bothers you most right now. Work methodically, stay safe (turn off water or power when needed), and keep basic supplies on hand. Over time, you’ll build a small toolkit—and a lot of confidence—for tackling the next problem before it turns into a bigger one.
Sources
- [U.S. Environmental Protection Agency – Fix a Leak](https://www.epa.gov/watersense/fix-leak-week) – Explains how running toilets and other leaks waste water and provides basic guidance on finding and fixing common leaks.
- [Family Handyman – How to Fix a Running Toilet](https://www.familyhandyman.com/project/how-to-fix-a-running-toilet) – Detailed visual guide on troubleshooting toilet tank components and making common adjustments.
- [This Old House – How to Unclog a Drain Without Toxic Chemicals](https://www.thisoldhouse.com/plumbing/21015007/how-to-unclog-a-drain-without-toxic-chemicals) – Covers safe, mechanical and household methods for clearing slow or clogged drains.
- [Lowe’s – How to Patch and Repair Drywall](https://www.lowes.com/n/how-to/patch-and-repair-drywall) – Step-by-step instructions and best practices for filling small holes, sanding, and repainting walls.
- [Consumer Product Safety Commission – Furniture and TV Tip-Over Information Center](https://www.cpsc.gov/Safety-Education/Safety-Education-Centers/Tipover-Information-Center) – Background on furniture stability and safety considerations when securing or repairing furniture.
Key Takeaway
The most important thing to remember from this article is that this information can change how you think about DIY Solutions.


