Most people live with small annoyances at home way longer than they should—dripping faucets, wobbly chairs, doors that squeak every time you move. You don’t always need a pro or a full weekend to deal with them. With a few basic tools and clear steps, you can knock out a surprising number of repairs yourself and make your home work the way it should.
This guide walks you through five practical fixes you can safely handle with basic tools and no previous DIY experience.
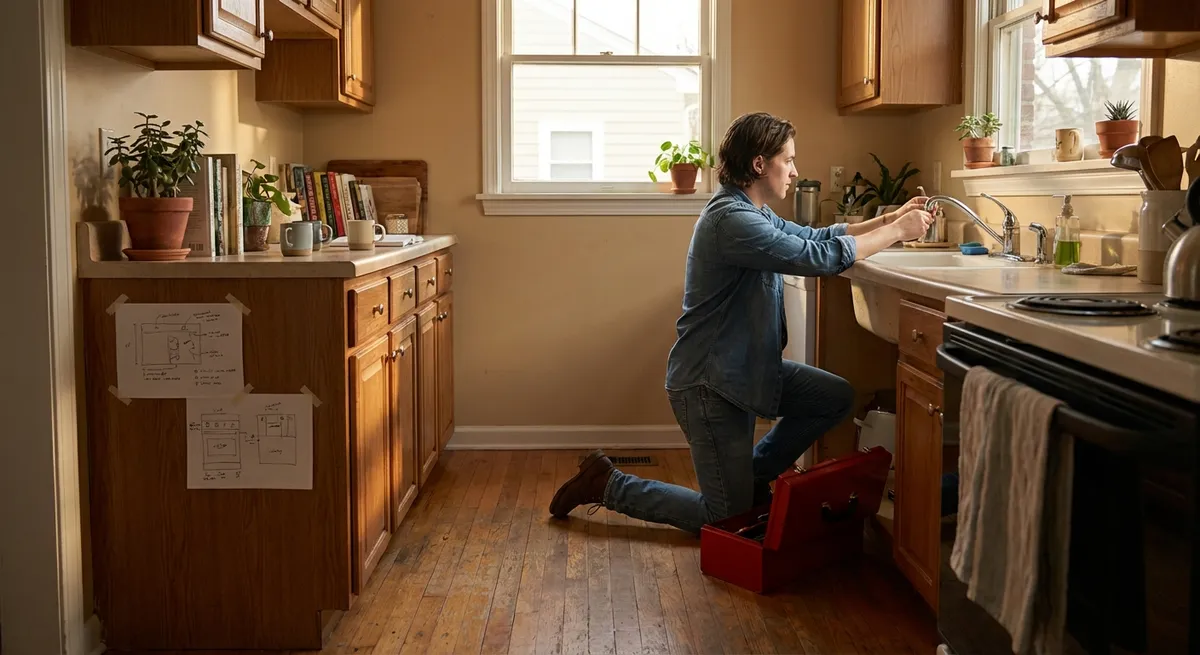
Silence a Dripping Faucet
A dripping faucet wastes water, adds to your bill, and can stain sinks over time. In many cases, the fix is a worn‑out washer or cartridge—something you can replace in under an hour.
Tools & materials:
- Adjustable wrench or basin wrench
- Screwdriver (Phillips and flathead)
- Replacement washer or cartridge (match to your faucet brand/model)
- Plumber’s tape (Teflon tape)
- Towel or rag
Step‑by‑step:
Shut off the water supply
Look under the sink for the hot and cold shutoff valves. Turn them clockwise until they stop. Open the faucet to release any remaining water and pressure.
Plug the drain
Use the sink stopper or a rag. Small screws and parts can easily fall into the drain if it’s open.
Remove the handle
- Pry off any decorative cap with a flathead screwdriver. - Unscrew the handle screw underneath. - Gently pull the handle off the stem.
Access the cartridge or stem
You’ll usually see a nut or retaining clip holding the faucet cartridge or stem in place. Use your wrench to loosen and remove it. Take note of the orientation of parts as you remove them (take a quick phone photo for reference).
Inspect and replace the internal parts
- For compression faucets (two separate handles that you turn many times): replace the rubber washer and O‑ring at the end of the stem. - For cartridge faucets (lever handle type): replace the cartridge with a matching one from the hardware store.
Wrap threads with plumber’s tape
If your faucet has threaded connections, wrap the threads with plumber’s tape to help prevent leaks when you reassemble.
Reassemble the faucet
Reinstall the stem or cartridge, tighten the nut (snug, not over‑tight), then reattach the handle and decorative cap.
Turn water back on and test
Turn the shutoff valves back on slowly. Open the faucet and watch for drips around the handle or spout. If it still drips, double‑check that you used the correct replacement part and that everything is seated correctly.
Fix a Door That Won’t Close or Latch Properly
A door that sticks or won’t latch can usually be traced to loose hinges or slight misalignment—not a “new door” situation. A few turns of a screwdriver can often bring it back in line.
Tools & materials:
- Screwdriver
- Longer wood screws (2–3 inches)
- Utility knife or chisel (optional)
- Pencil
Step‑by‑step:
Identify what’s actually wrong
Close the door slowly and watch what happens: - Does it rub at the top, side, or bottom? - Does the latch hit too high or low on the strike plate? - Does the door bounce back instead of latching?
Tighten hinge screws first
Open the door and tighten all screws on both the door‑side hinges and the frame‑side hinges. Many problems are simply from loose screws allowing the door to sag.
Use longer screws if the frame is loose
If screws just spin and don’t bite into wood, replace one or two of the top hinge screws (on the frame side) with longer wood screws. This pulls the door closer to the framing and can correct sagging.
Check the latch and strike plate alignment
- Close the door until it barely touches the frame. - See where the latch hits the strike plate. - If it’s slightly off, you may be able to loosen the strike plate screws and adjust it up, down, or sideways.
Enlarge the strike plate opening (if needed)
If the latch is just catching the edge of the strike plate, remove the plate and use a utility knife or chisel to gently enlarge the mortise (the recessed area in the frame) or slightly widen the opening in the plate so the latch can fully engage.
Plane or sand if the door is rubbing badly
If the door is clearly too tight against the frame at one spot, mark the area with a pencil, then lightly sand or plane that edge. Work slowly—removing too much wood can create a gap.
Test frequently as you go
Close and open the door after every small adjustment. You’re aiming for smooth movement and a firm latch without having to slam.
Stop a Running Toilet
A toilet that never stops running is usually not a sign of major plumbing trouble. Most often, one or two small parts in the tank need adjustment or replacement.
Tools & materials:
- Adjustable wrench or pliers
- Replacement flapper or fill valve (if needed)
- Towel
Step‑by‑step:
Remove the tank lid and observe
Flush the toilet and watch what happens inside. You’re looking at three main parts: - Flapper (rubber piece over the flush valve) - Chain (connects handle to flapper) - Fill valve and float (controls water level)
Check the flapper seal
If you see water trickling into the bowl, the flapper might not be sealing properly. - Push down gently on the flapper. If the running stops, the flapper is likely worn or dirty. - Clean around the rim where it sits. If it’s warped, replace it.
Adjust or replace the flapper
Turn off the water supply (valve behind the toilet). Flush to empty the tank. - Unclip the old flapper from the overflow tube and disconnect the chain. - Install the new flapper, making sure it sits flat on the valve opening. - Reattach the chain with a small amount of slack—too tight or too loose can cause problems.
Set the water level correctly
If water is flowing into the overflow tube, the tank is overfilling. - Adjust the float: for a float cup, squeeze and slide it down the fill tube. For a float ball, turn the adjustment screw or carefully bend the arm downward. - Aim for the water line to sit about 1 inch below the top of the overflow tube.
Replace the fill valve (if it’s noisy or not shutting off)
If adjusting doesn’t help, the fill valve may be worn. Follow the instructions on the replacement kit; in general: - Turn off water, flush, and sponge out remaining water. - Unscrew the supply line from the bottom of the tank. - Remove the old valve, insert the new one, and tighten the nut. - Reattach the water line, turn the water on, and adjust height and water level.
Test for silent, complete shutoff
Let the tank refill and listen. The water should stop completely with no trickling sounds. Check for leaks at the base of the tank and around connections.
Secure a Wobbly Chair or Table
Loose joints in chairs and tables can get worse quickly—and eventually break. Tightening and reinforcing them early adds years of life to your furniture.
Tools & materials:
- Screwdriver or Allen wrench (for screws/bolts)
- Wood glue (for wooden joints)
- Clamps or heavy books (for pressure while glue dries)
- Sandpaper (optional)
Step‑by‑step:
Flip the furniture and inspect all joints
Turn the chair or table upside down on a soft surface. Gently move each leg side to side to find which joints are loose. Note any screws, dowels, or brackets.
Tighten existing hardware
Use the correct screwdriver or Allen wrench to snug up all screws and bolts. Don’t over‑tighten to the point of stripping the wood.
Disassemble very loose joints
If a leg or brace is extremely loose, carefully pull it apart. Remove old, flaky glue with sandpaper or a scraper. Clean surfaces give new glue something to bond to.
Apply wood glue to wooden joints
Squeeze a thin, even layer of wood glue into the joint—too much will just squeeze out. Fit the pieces back together firmly.
Clamp and let it cure
Use clamps to hold the joint tight while drying. If you don’t have clamps, use strong tape or strap the area and stack heavy books to apply pressure. Wipe away any excess glue with a damp cloth. Let it cure at least as long as the glue instructions recommend (often 24 hours).
Reinforce with corner braces if needed
For repeatedly loose tables, small metal corner braces can add strength. Position them on the inside corners where they’re less visible, pre‑drill pilot holes if the wood is hard, then screw them in.
Test for stability
Once everything is dry, gently rock the chair or table in different directions. If it still wobbles, repeat the inspection; you may have missed a joint.
Clear a Slow‑Draining Sink Without Chemicals
A slow drain doesn’t always mean a major clog deep in your plumbing. Hair, soap scum, grease, and debris near the top of the drain are often the problem—and you can usually clear them without harsh chemicals.
Tools & materials:
- Rubber gloves
- Plunger (cup plunger for sinks)
- Drain snake or plastic clog remover
- Bucket or bowl
- Old toothbrush or small brush
Step‑by‑step:
Remove the sink stopper or drain cover
- For bathroom sinks: the stopper is often connected to a pivot rod under the sink. Loosen the retaining nut, slide out the rod, and lift the stopper. - For kitchen sinks: unscrew or pry up the strainer or cover if possible.
Physically remove visible debris
Put on gloves and pull out hair, food bits, or gunk you can reach by hand or with a plastic clog remover. Clean the stopper itself with an old toothbrush.
Try plunging the drain
- Block any overflow openings with a wet rag. - Fill the sink with a small amount of water (enough to cover the plunger’s rubber cup). - Place the plunger over the drain and plunge firmly up and down for 15–20 seconds. - Lift the plunger and see if water drains more quickly.
Use a drain snake for deeper buildup
Feed the snake or plastic strip into the drain, twisting gently. When you feel resistance, move it back and forth to break up or snag the clog. Pull it out and dispose of any debris.
Clean the P‑trap (if the clog persists)
Place a bucket under the curved section of pipe (P‑trap) under the sink. - Loosen the slip nuts by hand or with pliers. - Remove the trap and dump its contents into the bucket. - Clean inside with a brush, then reinstall, ensuring washers are seated correctly.
Flush with hot water
Run hot tap water for several minutes to rinse away loosened buildup. Avoid pouring boiling water directly into porcelain sinks (it can crack), but very hot tap water is fine.
Prevent future slow drains
Use a drain screen, avoid pouring grease or coffee grounds down the kitchen sink, and periodically clean stoppers and strainers before buildup becomes a clog.
Conclusion
Most everyday home problems are less about “big repairs” and more about small issues that add up: a drip here, a wobble there, a door that annoys you every time you walk through it. With a few basic tools and clear steps, you can handle many of these fixes yourself, save money, and keep your home running smoothly.
Tackle one repair at a time, work safely (always shut off water or power when needed), and don’t hesitate to stop and look up model‑specific instructions when a part looks different from what you expect. The more you fix, the more confident you’ll get—and the fewer small problems you’ll be tempted to live with.
Sources
- [U.S. Environmental Protection Agency – Fix a Leak](https://www.epa.gov/watersense/fix-leak-week) – Information on water waste from leaks and basic guidance on fixing common household leaks
- [This Old House – How to Fix a Leaky Faucet](https://www.thisoldhouse.com/plumbing/21017637/how-to-fix-a-leaky-faucet) – Detailed walkthroughs for different faucet types and internal parts
- [Family Handyman – How to Fix a Sticking Door](https://www.familyhandyman.com/project/how-to-fix-a-sticking-door/) – Visual guide to diagnosing and correcting door alignment issues
- [Energy.gov – Leaks in Your Home](https://www.energy.gov/energysaver/reducing-water-heating-bills) – Overview of how leaks impact energy and water use, plus efficiency tips
- [University of Georgia Extension – Household Plumbing Repairs](https://extension.uga.edu/publications/detail.html?number=C1025) – Educational guide on basic plumbing maintenance and simple DIY repairs
Key Takeaway
The most important thing to remember from this article is that this information can change how you think about Household Repairs.


