Things don’t have to be “bad enough to call someone” before you take action. A lot of everyday home problems can be stabilized, made safe, or fully fixed with simple tools and a clear plan. This guide walks you through five common issues—step by step—so you can stop ignoring them and start getting your home back under control.
Quiet That Dripping Faucet
A constantly dripping faucet wastes water and slowly drives you crazy. In many cases, the fix is a worn‑out cartridge, O‑ring, or washer—parts that are easy to replace once you know where everything sits.
What you’ll need
- Adjustable wrench or basin wrench
- Flathead and Phillips screwdrivers
- Replacement cartridge/washer/O‑rings (matched to your faucet brand/model)
- Towel or rag
- Small container for screws
Step‑by‑step
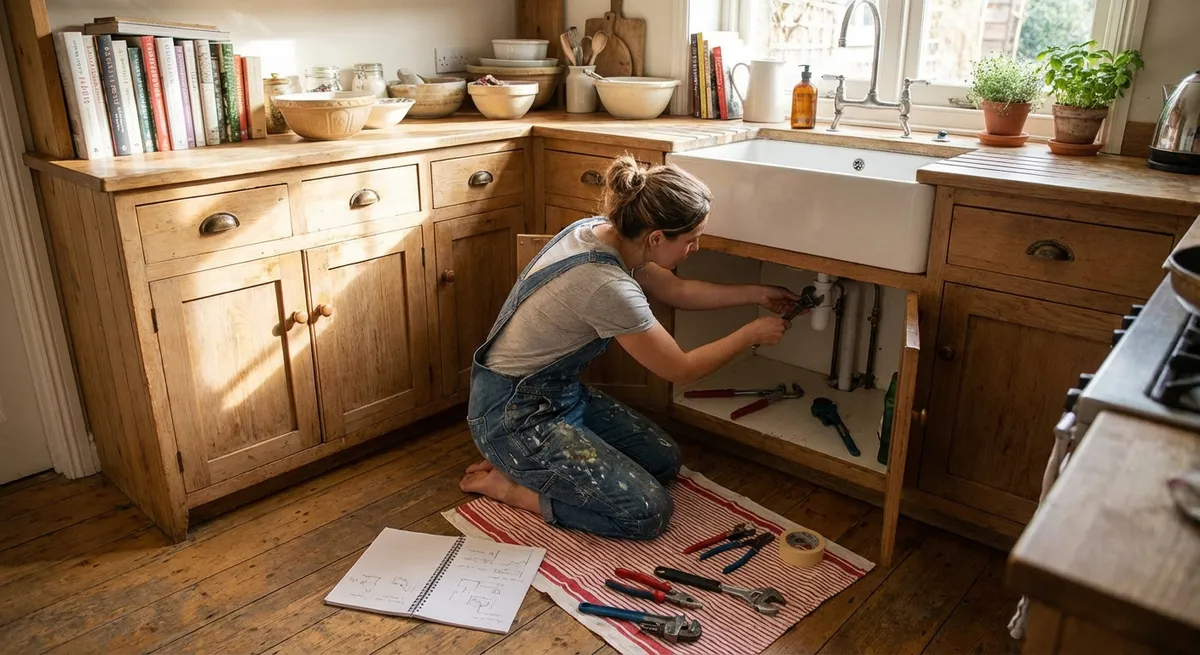
Shut off the water supply
Look under the sink for the hot and cold shutoff valves. Turn them clockwise until they stop. Open the faucet to release pressure and confirm the water is off.
Prepare the area
Close the sink drain or cover it with a rag so you don’t lose small parts. Lay a towel in the basin to protect the finish.
Remove the faucet handle
- Look for a decorative cap or small screw on the handle. - Pry off the cap with a flat screwdriver if present. - Unscrew the handle screw and pull the handle straight up and off.
Expose the cartridge or stem
Under the handle, you’ll see a retaining nut or clip. - Use your wrench to loosen the nut, or a screwdriver/pliers to remove the clip. - Gently pull out the cartridge or stem. If it’s stuck, wiggle it slowly; avoid twisting hard and damaging the body of the faucet.
Inspect and match the parts
- Check O‑rings, rubber seals, and the cartridge for cracks, flattening, or buildup. - Take these parts (or a clear photo with measurements) to a hardware store to get exact replacements, ideally by brand and model.
Clean and reassemble with new parts
- Wipe mineral deposits from the faucet body with a cloth or a bit of white vinegar on a rag (avoid soaking internal parts). - Install new O‑rings/seals and the replacement cartridge or stem in the same orientation as the old one. - Reinstall the retaining nut/clip snugly but don’t overtighten. - Reattach the handle and screw, then snap the decorative cap back on if present.
Turn water back on and test
Slowly open the shutoff valves and watch for leaks around the base. Open and close the faucet several times. If it still drips, double‑check that the cartridge is seated correctly and the retaining nut is tight.
Stabilize a Wobbly Chair or Table
A wobbly piece of furniture can be more than annoying—it’s a safety risk, especially around kids, hot drinks, or electronics. Most of the time, the fix is tightening or shimming, not replacing.
What you’ll need
- Screwdriver set (Phillips and flat)
- Allen (hex) keys, if applicable
- Wood glue
- Wood toothpicks or matchsticks (plain wood, no coating)
- Sandpaper (optional, fine grit)
- Felt pads or furniture shims
Step‑by‑step
Identify the wobble point
Place the chair or table on a flat surface. Press down on corners and legs to find which leg or joint moves. Watch closely to see if the leg is loose at the joint or if it’s actually shorter.
Tighten all hardware first
- Flip the furniture over. - Tighten every visible screw, bolt, or bracket—don’t just fix the leg you think is the problem. - If the piece uses Allen bolts, use the correct size key to avoid stripping.
Repair stripped screw holes
If a screw spins without grabbing: - Remove the screw. - Dip a few wood toothpicks in wood glue and push them into the hole, packing tightly. - Snap them off flush with the surface. - Let the glue dry (follow bottle instructions, usually 30–60 minutes). - Reinsert the screw; it should now bite firmly into the “new” wood.
Reinforce loose joints
For wooden joints that wiggle: - Gently pull the joint apart just enough to work some wood glue into the seam (use a small brush or toothpick). - Press the joint back together firmly and wipe away excess glue with a damp cloth. - If you can, clamp it while drying; if not, store the piece in a way that keeps pressure on the joint until dry.
Level uneven legs
If one leg is slightly shorter: - Start with felt pads or furniture shims under the short leg. - Test for stability each time you add padding. - As a last resort, you can sand down the longer legs slightly—but remove very small amounts at a time and test frequently.
Final stability check
Return the furniture to its usual location and test it the way you actually use it: sitting, leaning, and placing items. If it still rocks, reassess whether you need additional shims or missed a loose connection.
Clear a Slow‑Draining Bathroom Sink (Without Harsh Chemicals)
Standing water in the bathroom sink usually comes from hair and soap buildup at the stopper or near the top of the drain—not always deep in the pipes. You can clear most clogs mechanically and keep pipes safer by avoiding strong chemical drain cleaners.
What you’ll need
- Bucket or small container
- Old toothbrush or small nylon brush
- Rubber gloves
- Wire hanger (straightened) or a plastic drain snake
- Adjustable wrench or pliers
- Baking soda and white vinegar (optional for cleaning, not as the primary unclogger)
Step‑by‑step
Remove items and protect the area
Clear the countertop and place a towel under the sink to catch drips. Put on gloves.
Check and clean the stopper
- Many bathroom sinks have a lift‑rod stopper controlled from behind the faucet. - Try twisting and pulling the stopper straight up. If it doesn’t come out, move to the next step to disconnect it from underneath.
Disconnect the stopper rod under the sink
- Under the sink, find the horizontal rod that goes into the drainpipe—it’s held by a small nut. - Place the bucket under this area. - Loosen the nut by hand or with pliers and gently pull the rod out. - Now pull the stopper out from the top of the sink.
Clean the stopper and drain opening
- Remove hair and gunk from the stopper with a paper towel or your brush. - Use the brush and running water to scrub it clean. - Shine a flashlight into the drain. Use a plastic drain snake or a straightened hanger with a small hook to pull out any hair clumps near the top.
Flush with hot water (and optional baking soda + vinegar)
- Run hot tap water into the drain for a minute. - Optionally, pour ½ cup baking soda followed by 1 cup vinegar into the drain. Let it fizz 10–15 minutes and then flush with more hot water. This helps remove residue but will not break up solid blockages.
Reassemble the stopper mechanism
- Insert the stopper back into the drain with the hole on the bottom facing the back. - Under the sink, slide the horizontal rod back into the drainpipe so it passes through that hole in the stopper. - Tighten the retaining nut snugly; test the up‑down motion of the stopper with the lift rod. Adjust if needed.
Final test and prevention
- Run the water and check the drain speed. - Inspect under the sink for leaks around the horizontal rod nut and trap. - To prevent new clogs, use a hair‑catching drain screen and clean it weekly.
Silence a Squeaky Interior Door
That door squeal you keep ignoring is usually dry or slightly misaligned hinges. With a few minutes of attention, you can make doors move more smoothly and put less strain on the jamb and hardware.
What you’ll need
- Hammer
- Small nail, punch, or thin screwdriver
- Lubricant: silicone spray, dry Teflon spray, or petroleum jelly
- Rag or paper towels
- Level (optional, for alignment issues)
Step‑by‑step
Pinpoint the squeak
Slowly open and close the door and listen near each hinge. Lightly press on the door edge to see if pushing up or down changes the sound; this helps identify which hinge or alignment issue is involved.
Try lubricating without removing pins (quick option)
- Place a rag under the hinges to catch drips. - Spray a small amount of silicone or dry lubricant directly onto the hinge knuckles and pin top. - Open and close the door several times to work it in. If the squeak persists, move to removing and treating the hinge pins.
Remove a hinge pin safely
Work one hinge at a time so the door stays supported. - Place the nail or punch under the bottom of the hinge pin. - Tap upward gently with a hammer until the pin moves up enough to grab. - Pull the pin out; if it’s stubborn, wiggle while pulling with a rag-wrapped hand.
Clean and lubricate the pin
- Wipe off old grime and rust from the pin with a rag. - Apply a thin coating of petroleum jelly or a few drops of lubricant along the pin. - Avoid using cooking oil—it gums up over time.
Reinstall the pin and repeat
- Slide the lubricated pin back into the hinge and tap gently with the hammer until it seats fully. - Open and close the door several times. - Repeat for other squeaky hinges, one at a time.
Check and correct basic alignment
If the door drags or the latch doesn’t meet the strike plate cleanly: - Tighten all hinge screws on the door and jamb. - If a screw won’t tighten, repair the hole using the toothpick‑and‑glue method from the wobbly chair section. - For minor misalignment, tightening the top hinge screws usually helps lift the latch side slightly.
Final noise and fit check
Open and close the door at different speeds. Listen for any remaining squeaks and check for smooth latching. If the door still sticks badly or the frame is out of square, that’s a sign you may need more advanced carpentry help.
Secure a Loose Towel Bar or Toilet Paper Holder
A loose towel bar or TP holder is usually a sign that the wall anchors failed or were installed incorrectly. Fixing it properly now prevents wall damage and keeps the brackets from ripping out of the drywall.
What you’ll need
- Screwdriver
- Drill with appropriate bits
- New wall anchors (toggle bolts, plastic expansion anchors, or self‑drilling drywall anchors)
- Level
- Pencil
- Tape measure
Step‑by‑step
Remove the bar and inspect the brackets
- Many bars have hidden set screws underneath. Loosen them to remove the bar and escutcheons (decorative covers). - Unscrew the mounting brackets from the wall to see how they were attached and what condition the drywall is in.
Assess the wall condition
- If holes are enlarged or crumbling, they’ll need patching or fresh locations. - For heavy towel bars or areas that get yanked on (like next to a shower), stronger anchors or direct mounting into a stud are best.
Locate studs (if possible)
- Use a stud finder along the wall. Mark stud locations lightly with a pencil. - If at least one bracket can mount into a stud, do it—it adds a lot of strength.
Plan new anchor locations
- Hold the bracket in place where you want it. Use a level to make sure it’s straight. - Mark new screw hole positions slightly offset from the damaged ones if the old holes are weak. - Make sure the distance between the two brackets matches the bar length exactly (measure twice).
Install appropriate anchors
- For standard drywall and light loads, plastic expansion or self‑drilling drywall anchors usually work. - For heavier loads or crumbly drywall, consider toggle bolts. - Drill pilot holes sized to your anchors’ instructions, then insert anchors until flush.
Attach brackets firmly
- Place the mounting brackets over the anchors and drive the screws snugly—but don’t over‑tighten and strip the anchors. - Recheck with a level if needed before fully tightening.
Reassemble the bar or holder
- Slide the escutcheons over the brackets. - Attach the bar or arm and tighten any set screws. - Test by gently pulling in different directions; there should be no wobble.
Conclusion
A home that “kind of works” slowly turns into a home that constantly fights you. Small problems—drips, squeaks, slow drains, loose fixtures—are exactly the ones you can tackle yourself with basic tools and a little guidance. By shutting off water properly, supporting joints, cleaning instead of just masking problems, and using the right anchors, you’re not just making things quieter or prettier—you’re extending the life of your home’s systems.
The next time something starts to rattle, drip, or drag, treat it as a simple project, not a crisis. The more of these you knock out, the more confident and capable you’ll feel every time something new pops up.
Sources
- [U.S. Environmental Protection Agency – Fix a Leak](https://www.epa.gov/watersense/fix-leak-week) - Explains how small leaks waste water and provides guidance on finding and fixing common household leaks
- [Family Handyman – How to Fix a Leaky Faucet](https://www.familyhandyman.com/project/how-to-repair-a-compression-faucet/) - Detailed repair instructions and diagrams for different faucet types
- [This Old House – How to Unclog a Bathroom Sink](https://www.thisoldhouse.com/plumbing/21016532/how-to-unclog-a-bathroom-sink) - Step‑by‑step walkthrough for cleaning stoppers and clearing sink drains
- [University of Missouri Extension – Fastening to Masonry and Drywall](https://extension.missouri.edu/publications/w1302) - Overview of choosing and using anchors and fasteners in different wall materials
- [Consumer Product Safety Commission – Furniture and TV Tip‑Over Information](https://www.cpsc.gov/safety-education/safety-guides/furniture-and-tv-tip-over) - Background on stability and why securing and stabilizing furniture matters for home safety
Key Takeaway
The most important thing to remember from this article is that this information can change how you think about Household Repairs.


