Unexpected problems at home don’t wait for a free weekend or a professional appointment. A dripping faucet, a dead outlet, or a wobbly chair can derail your day—but only if you let them. This guide walks you through five common issues you can stabilize or fully fix on your own, using basic tools and clear, step-by-step actions.
Each fix is designed to be doable in under an hour, with safety notes and when to stop and call a pro.
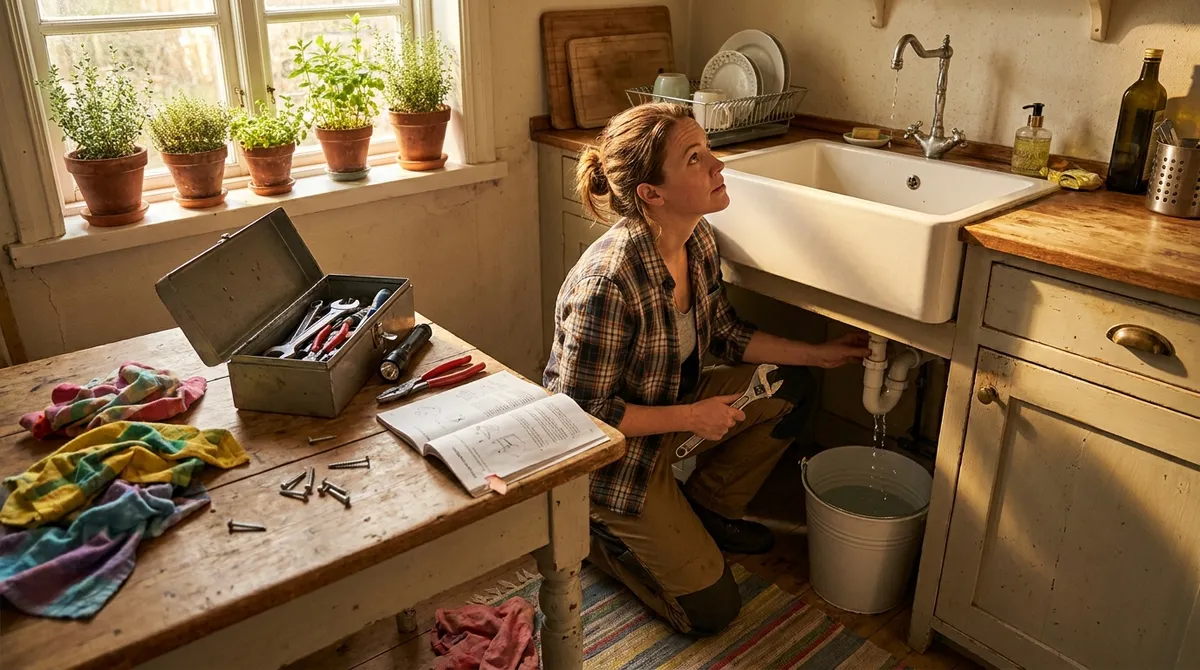
Silence a Dripping Faucet Without Calling a Plumber
A constant drip wastes water, hikes your bill, and is just plain annoying. Most of the time, the cause is a worn-out washer, cartridge, or O-ring inside the faucet.
What you’ll need
- Adjustable wrench or basin wrench
- Screwdriver (Phillips and flathead)
- Replacement parts (washer/O-ring/cartridge for your faucet model)
- Rag or towel
- Plumber’s grease (optional but helpful)
Step-by-step
Shut off the water supply
- Look under the sink for two small shutoff valves (hot and cold). - Turn both clockwise until they stop. - Turn the faucet on to confirm water flow stops.
Plug the drain
- Use the sink stopper or a rag. - This prevents small screws or parts from falling into the drain.
Remove the handle
- Look for a decorative cap or visible screw. - Pry off the cap with a flathead screwdriver if needed, then unscrew the handle. - Gently pull the handle off to expose the inner mechanism.
Identify your faucet type
- Cartridge, ball, compression, or ceramic disc. - A quick image search of your faucet brand/model can help confirm which it is.
Disassemble the working parts
- Take photos at each stage so you know how to reassemble. - For compression faucets: remove the stem and washer at the base. - For cartridge faucets: pull out the cartridge straight up. - For disk/ball types: follow your brand’s diagram if available.
Inspect and replace worn pieces
- Look for cracked, flattened, or brittle rubber washers or O-rings. - Replace them with matching new parts. - Lightly coat new O-rings or rubber parts with plumber’s grease to help them seat properly.
Reassemble carefully
- Reverse your disassembly steps, referencing your photos. - Don’t overtighten metal parts; snug is enough to seal without stripping threads.
Turn the water back on slowly
- Open the shutoff valves gradually. - Turn the faucet on and off to test. - Watch for leaks around the faucet body and under the sink.
Stop and call a pro if: the shutoff valves won’t turn, you see corrosion on water lines, or the faucet body is cracked.
Rescue a “Dead” Outlet or Power Strip Safely
When an outlet or power strip suddenly stops working, it’s often fixable without touching live wiring—if you approach it safely and methodically.
What you’ll need
- Plug-in outlet tester or small lamp/phone charger
- Flashlight
- Access to your electrical panel (breaker box)
- Flathead screwdriver (for GFCI reset if needed)
Step-by-step
Unplug everything first
- Disconnect all devices from the outlet or power strip. - This protects your devices if there’s a surge when power returns.
Test the outlet with a simple device
- Plug in a small lamp or charger you know works. - If it doesn’t power on, move to the next step.
Check nearby GFCI outlets
- Look in the bathroom, kitchen, laundry, garage, and exterior walls for outlets with “TEST” and “RESET” buttons (GFCI). - One tripped GFCI can disable several outlets downstream.
Reset the GFCI
- Press the RESET button firmly until it clicks. - Test the original outlet again with your lamp/charger. - If it works now, your issue was just a tripped GFCI.
Inspect your power strip (if used)
- Look for a built-in reset switch or breaker button on the strip. - Press the reset switch. - Check for burn marks, melted plastic, or a burnt smell—if any are present, retire the strip immediately.
Check your breaker panel
- Open your electrical panel and look for any breakers in a middle or “tripped” position. - Firmly switch the tripped breaker OFF, then back ON. - Test your outlet again.
Use an outlet tester for quick diagnostics
- Plug in a three-light outlet tester (cheap and useful). - Follow the chart on the tester to identify reversed wires, open ground, or other issues.
Stop and call a licensed electrician if:
- Breakers keep tripping repeatedly.
- The outlet is warm, discolored, cracked, or smells burnt.
- Your tester indicates a wiring fault you’re not equipped to repair.
Stop a Running Toilet and Cut Water Waste
A toilet that won’t stop running can waste hundreds of gallons a day—but it’s often a quick internal adjustment or part replacement.
What you’ll need
- Adjustable wrench (sometimes not needed)
- Replacement flapper (universal or brand-specific)
- Towel or sponge
- Scissors (if you need to trim chain length)
Step-by-step
Take off the tank lid carefully
- Set it aside on a towel to prevent chips or cracks. - Look inside to see what’s happening when the toilet is running.
Identify the three main parts
- Fill valve: tall mechanism on one side. - Flapper: rubber seal at the bottom connected to the handle by a chain. - Overflow tube: vertical tube in the middle.
Test the flapper first
- Flush the toilet and watch the flapper. - If it doesn’t seat fully or looks warped/cracked, it’s likely your problem.
Adjust the chain
- There should be a slight slack when the flapper is down. - If the chain is too tight, the flapper can’t seal; if too loose, it may not lift fully. - Adjust or rehook the chain so it hangs with about ½ inch of slack. Trim excess chain if it tangles.
Check the water level
- The water should stop about 1 inch below the top of the overflow tube. - If it rises too high and spills into the tube, the fill valve height or float needs adjusting. - Turn the adjustment screw or slide the clip on the float arm/rod to lower the water level.
Replace the flapper if worn
- Turn off the water at the shutoff valve behind the toilet (clockwise). - Flush once to drain most of the water from the tank. - Disconnect the old flapper from the overflow tube and chain. - Attach the new flapper, clip the chain, and restore water. - Test flush several times to confirm the seal.
Listen for quiet
- After the tank fills, you shouldn’t hear continuous water flow. - No ripples in the tank and no water trickling into the bowl = success.
Stop and call a plumber if: the tank or bowl has cracks, water is leaking onto the floor, or the shutoff valve won’t turn or starts leaking.
Stabilize a Wobbly Chair or Table Before It Breaks
Loose furniture joints aren’t just annoying—they’re an early warning sign that something might collapse under weight. Reinforcing them now can extend the life of your furniture significantly.
What you’ll need
- Wood glue or construction adhesive (for wood furniture)
- Clamps or strong straps (ratchet straps work well)
- Screwdriver and/or Allen (hex) keys
- Small wood shims or toothpicks (for stripped screw holes)
- Damp cloth
Step-by-step
Flip and inspect the furniture
- Turn the chair or table upside down safely. - Gently move each leg to see where the looseness originates: screws, bolts, or glue joints.
Tighten all existing screws and bolts
- Use the correct screwdriver or Allen key. - Tighten until snug—avoid overtightening, which can strip wood or threads.
Fix stripped screw holes
- If a screw just spins without tightening, the wood hole is likely stripped. - Remove the screw and fill the hole with wood glue and a few broken toothpicks or a small wood shim piece. - Let the glue penetrate for a minute, then reinsert the screw while the glue is still wet. - Wipe away excess glue with a damp cloth.
Re-glue loose wood joints
- For joints that move even when screws are tight, gently pull them apart just enough to expose the gap. - Squeeze wood glue into the joint. - Press the joint together firmly and clamp or strap it tight. - Wipe off squeezed-out glue immediately.
Clamp and cure
- Keep clamps or straps on for the time recommended on the glue bottle (often 30–60 minutes for handling strength, 24 hours for full cure). - Don’t sit on or use the furniture until the adhesive is fully cured.
Final stability check
- Stand the furniture upright. - Gently rock it in all directions. - If it still wobbles, identify which leg is shorter and use a furniture pad or thin shim under that leg.
Stop and consider replacing or consulting a furniture repair specialist if: major structural cracks run through the legs or frame, or multiple joints are failing on low-quality particleboard furniture.
Clear a Slow Sink Drain Without Harsh Chemicals
A slow drain doesn’t always mean a full clog, and you don’t need caustic chemicals that can damage pipes. Mechanical and mild methods are safer and surprisingly effective.
What you’ll need
- Plunger (cup-style for sinks)
- Bucket or bowl
- Old toothbrush or small brush
- Drain snake or plastic hair clog remover
- Baking soda and vinegar (optional)
- Rubber gloves
Step-by-step
Remove the stopper or drain cover
- For bathroom sinks, twist and lift the stopper, or unscrew the pivot rod nut under the sink to free it. - For kitchen sinks, lift out any strainers or covers.
Physically clean visible gunk
- Use gloves and an old toothbrush or small brush. - Remove hair, soap scum, and debris right at the opening. - Rinse with hot water.
Try a plunger (correctly)
- Block any overflow holes with a damp cloth. - Fill the sink with enough water to cover the plunger cup. - Place the plunger over the drain and plunge firmly 10–15 times. - Lift the plunger and see if the water drains faster.
Use a drain snake or hair tool
- Feed the plastic tool or snake into the drain slowly. - When you feel resistance, twist and pull back gently to hook hair and debris. - Repeat several times, cleaning off the tool between passes.
Optional: Baking soda and vinegar flush
- Pour about ½ cup baking soda into the drain. - Follow with 1 cup of white vinegar. - Let it fizz for 10–15 minutes. - Flush with a kettle of hot (not boiling, if you have PVC pipes) water.
Reassemble and test
- Put the stopper or cover back. - Run water for several minutes to confirm the flow is back to normal.
Skip chemical drain openers if: you already tried them recently (risk of chemical burns during mechanical work) or you have older or fragile plumbing.
Call a plumber if: multiple fixtures are draining slowly at once (could indicate a main line issue), or water backs up in nearby drains when you run water elsewhere.
Conclusion
Fast, focused fixes prevent small household issues from becoming expensive emergencies. By learning how to shut off water, reset outlets, adjust toilet internals, stabilize furniture, and clear drains without harsh chemicals, you gain practical control over your space.
You don’t need to become a full-time DIY expert—just build a small toolkit, follow safety basics, and know when to stop and call a professional. The more you handle these quick repairs yourself, the more confident and prepared you’ll feel the next time something goes wrong.
Sources
- [U.S. Environmental Protection Agency – Fix a Leak](https://www.epa.gov/watersense/fix-leak-week) - Covers water waste from leaks and basic steps to address common household plumbing leaks
- [Energy.gov – Resetting Circuit Breakers and GFCIs](https://www.energy.gov/energysaver/articles/frequently-asked-questions-electrical-safety) - Provides guidance on electrical safety and using breakers and GFCI outlets properly
- [Massachusetts Water Resources Authority – Fixing a Running Toilet](https://www.mwra.com/comsupport/conservationkittoilet.htm) - Step-by-step visual guide for diagnosing and fixing common toilet problems
- [University of Kentucky Cooperative Extension – Furniture Repair Basics](https://forestry.ca.uky.edu/files/forfs88-22.pdf) - Explains common wood furniture joint failures and repair techniques
- [New York City DEP – Preventing and Clearing Clogged Drains](https://www.nyc.gov/site/dep/whats-new/preventing-clogs.page) - Offers best practices for avoiding and safely clearing household drain clogs
Key Takeaway
The most important thing to remember from this article is that this information can change how you think about Quick Fixes.


