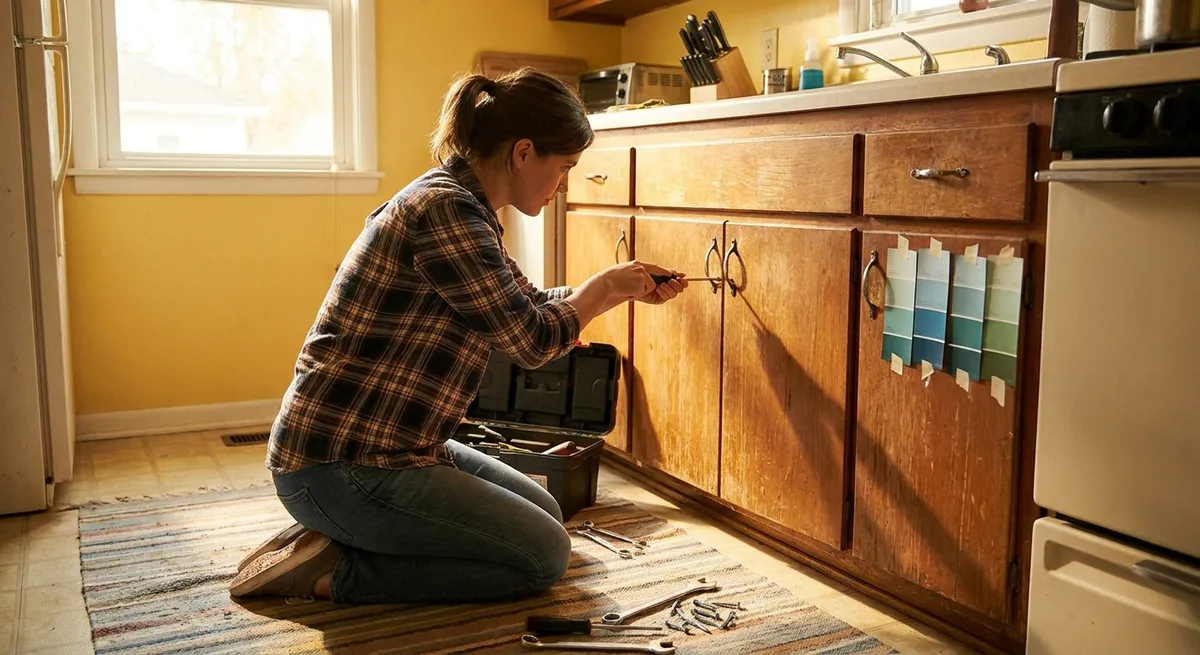
Most homes aren’t broken—they’re just a little neglected. A door that sticks, a running toilet, or a dead outlet can quietly drain your time, money, and patience. You don’t need a toolbox the size of a truck or a contractor on speed dial to handle most of these issues. With a few basic tools and clear steps, you can fix a surprising amount in a single afternoon.
Below are five practical, step-by-step solutions to common household problems that almost anyone can handle.
Stop a Running Toilet and Save on Your Water Bill
A constantly running toilet is basically money leaking down the drain. The good news: most fixes don’t require removing the toilet or calling a plumber.
What you’ll need
- Adjustable wrench (optional)
- Replacement flapper (if needed)
- Replacement fill valve (if needed)
- Towel or sponge
Step-by-step
Remove the tank lid and observe
- Flush the toilet and watch what happens in the tank. - Look for water trickling into the bowl after the tank refills—that’s the “run.”
Check the flapper
- The flapper is the rubber piece at the bottom of the tank. - Press down on it with a stick or handle. If the running stops, the flapper is likely worn or not sealing properly.
Adjust or replace the chain
- Make sure the chain connecting the handle arm to the flapper isn’t too tight or too loose. - There should be a little slack, but not so much that it gets caught under the flapper. - Adjust by moving the hook to a different link.
Replace the flapper (if needed)
- Turn off the water supply at the shutoff valve behind the toilet. - Flush to drain most of the water. - Unhook the old flapper from the overflow tube and chain. - Attach the new flapper in the same way and reconnect the chain. - Turn water back on and test.
Check the water level
- The water level in the tank should be about 1 inch below the top of the overflow tube. - Adjust the float: - For a float arm: bend the arm slightly downward to lower water level. - For a float cup: turn the adjustment screw or squeeze the clip and slide the float.
Replace the fill valve (if it’s still running)
- If water continues to run, the fill valve may be faulty. - Turn off the water, flush, and sponge out remaining water. - Disconnect the water supply line under the tank. - Remove the old fill valve and install the new one following the included instructions. - Reconnect the water line, turn water on slowly, and check for leaks.
Quiet a Squeaky Door Without Replacing the Hinges
Squeaky doors are more annoying than dangerous, but they’re one of the easiest fixes in your home.
What you’ll need
- Lubricant (silicone spray, white lithium grease, or petroleum jelly)
- Rag or paper towels
- Small flathead screwdriver (optional)
- Hammer and nail (optional)
Step-by-step
Identify the squeaky hinge
- Open and close the door slowly. - Listen for which hinge is making the noise—often it’s just one.
Try lubricating without removing the pin
- Spray or rub a small amount of lubricant directly onto the hinge pivot areas. - Open and close the door several times to work it in. - Wipe up any drips.
If the squeak persists, remove the hinge pin
- Place a nail under the bottom of the hinge pin and gently tap the nail upward with a hammer. - Once the pin loosens, pull it out by hand or with pliers. - Do one hinge at a time so the door stays aligned.
Clean the pin and hinge
- Wipe off any rust, dust, or old paint with a rag. - Light surface rust can be removed with a bit of steel wool if you have it (optional).
Apply lubricant
- Coat the hinge pin lightly with lubricant (don’t overdo it—excess drips and attracts dust). - Place a small amount inside the hinge barrel as well.
Reinstall and test
- Insert the pin back into the hinge and tap gently with the hammer until fully seated. - Open and close the door several times. - Repeat for other squeaky hinges.
Restore Power to a Dead Outlet Safely
A “dead” outlet can be caused by a tripped breaker, a GFCI issue, or a worn-out receptacle. You can safely troubleshoot most of this yourself.
What you’ll need
- Non-contact voltage tester or plug-in outlet tester
- Flashlight (if panel is in a dim area)
- Flathead and Phillips screwdrivers
- Replacement outlet (if needed)
> Safety first: If you’re ever unsure or uncomfortable working with electricity, stop and call a licensed electrician.
Step-by-step
Test the outlet
- Plug in a device you know works (like a lamp or phone charger). - If it doesn’t power on, move to the next steps.
Check nearby GFCI outlets
- Look for outlets with “TEST” and “RESET” buttons in bathrooms, kitchen, garage, or basement. - Press the RESET button firmly. - Test your dead outlet again—some outlets are protected downstream from a GFCI.
Check your breaker panel
- Locate your home’s electrical panel. - Look for any breakers in a middle position (neither fully ON nor fully OFF). - To reset: switch the suspect breaker fully to OFF, then firmly back to ON. - Test the outlet again.
Use a voltage tester
- Turn off the breaker for that outlet. - Remove the outlet cover plate. - Gently pull the outlet forward (without touching bare wires). - Use a non-contact voltage tester to confirm there’s no power. If it still shows live, you turned off the wrong breaker—find the correct one before proceeding.
Check for loose connections
- Inspect the screws on the sides of the outlet—wires should be snug under the terminals. - Avoid using “backstab” push-in connections; if you see them, consider moving wires to the side screws for a more secure connection.
Replace the outlet if it looks damaged or worn
- Note the existing wiring: which wire goes to which terminal (take a photo). - Disconnect the wires from the old outlet. - Connect the new outlet: - Black (hot) to brass/gold screw. - White (neutral) to silver screw. - Bare/green (ground) to green screw. - Tighten all screws, tuck wires back in, reinstall the outlet and cover. - Turn the breaker back on and test.
Fix a Loose Door Handle Before It Falls Off
A wobbly door handle can eventually fail completely. Tightening it early keeps doors secure and prevents lock problems later.
What you’ll need
- Phillips and flathead screwdrivers
- Allen wrench set (if your handle uses hex screws)
- Thread locker (optional, for handles that loosen repeatedly)
Step-by-step
Examine the handle closely
- Look for visible screws on the interior side of the handle. - Some handles have a decorative cover (rose) that hides the screws.
Remove decorative covers (if present)
- Look along the edge of the cover for a small notch. - Insert a flathead screwdriver and gently pry the cover plate off. - Be careful not to scratch the door.
Tighten the mounting screws
- Use the correct screwdriver to tighten the two screws holding the handle assembly to the door. - Alternate tightening between the two screws so the plate pulls in evenly. - Don’t overtighten—snug is enough.
Check for set screws on the knob/lever
- Some levers have a tiny hex (Allen) screw on the underside. - Insert the matching Allen key and tighten the screw to secure the lever to the spindle.
Use thread locker on repeat offenders (optional)
- If the same screws keep working loose, remove them one at a time. - Add a tiny drop of medium-strength thread locker to the threads. - Reinstall and tighten. This helps keep them from backing out.
Reinstall covers and test
- Snap or slide the decorative cover back in place. - Open and close the door several times and wiggle the handle—there should be no wobble.
Seal Drafty Windows to Cut Energy Loss
Drafty windows make your home less comfortable and raise your energy bills. You don’t need to replace every window—simple sealing often makes a big difference.
What you’ll need
- Weatherstripping (foam or rubber)
- Caulk (silicone or paintable latex, depending on location)
- Caulk gun
- Utility knife or scissors
- Rag and mild cleaner
- Candle or incense stick (for draft detection, optional)
Step-by-step
Find the drafts
- On a windy day, run your hand slowly around window frames and sashes. - Or use a lit incense stick: watch for smoke being pulled in one direction. - Note where you feel the most air movement.
Clean the surfaces
- Wipe down window frames and sills where you’ll apply weatherstripping or caulk. - Remove dust, loose paint, and old crumbly caulk with a scraper if needed. - Let surfaces dry completely.
Install weatherstripping on moving parts
- Measure the length of the window sash edges where air leaks. - Cut weatherstripping to size with scissors or a utility knife. - Peel backing (if adhesive) and press firmly along the edges where the sash meets the frame. - Ensure the window can still close and latch easily.
Caulk stationary gaps
- Load the caulk tube into the gun and cut the tip at a 45-degree angle. - Run a steady bead of caulk along gaps where the frame meets the wall or trim. - Smooth with a wet finger or caulk tool for a neat finish. - Wipe away excess with a damp rag.
Check exterior gaps (weather permitting)
- Inspect the outside perimeter of windows for cracks or missing caulk. - Repair with exterior-grade caulk, especially around siding and trim joints.
Retest for drafts
- After caulk dries (check tube for cure time), repeat the hand or incense test. - Adjust weatherstripping if the window is too tight or still leaking in spots.
Conclusion
You don’t need to wait for “someday” or a professional visit to get your home back into shape. Fixing a running toilet, silencing squeaky doors, restoring power to a dead outlet, tightening loose hardware, and sealing drafty windows are all tasks most people can handle with basic tools and a bit of patience.
Start with the issue that annoys you the most and work through these fixes one by one. Each repair you complete builds your confidence—and turns your home from a source of frustration into something you actually feel in control of.
Sources
- [U.S. Environmental Protection Agency – Fix a Leak](https://www.epa.gov/watersense/fix-leak-week) – Explains how common household leaks (including toilets) waste water and how to spot them.
- [The Family Handyman – How to Fix a Running Toilet](https://www.familyhandyman.com/project/how-to-fix-a-running-toilet/) – Step-by-step advice and diagrams for diagnosing and repairing running toilets.
- [U.S. Department of Energy – Air Sealing Your Home](https://www.energy.gov/energysaver/air-sealing-your-home) – Guidance on finding and sealing drafts to improve comfort and efficiency.
- [U.S. Consumer Product Safety Commission – Electrical Safety in the Home](https://www.cpsc.gov/safety-education/safety-guides/home/electrical-safety-in-the-home) – Official safety recommendations for working around household electrical systems.
- [Lowe’s – How to Replace an Outlet](https://www.lowes.com/n/how-to/replace-an-outlet) – Clear instructions with photos for safely replacing electrical receptacles.
Key Takeaway
The most important thing to remember from this article is that this information can change how you think about Household Repairs.


