Most home and gadget problems don’t need a technician or a big budget—just a clear plan and a few basic tools. This Repair Now guide walks you through five practical fixes that real people use all the time, with step‑by‑step instructions you can follow even if you don’t consider yourself “handy.”
No fluff, no complicated tools, just straightforward solutions you can start right away.
Stop a Running Toilet That Wastes Water
A constantly running toilet can waste hundreds of gallons of water a day and spike your bill. In most cases, the problem is inside the tank and can be fixed in minutes.
What you’ll need:
- Adjustable wrench (optional)
- Replacement flapper or fill valve (if needed)
- Towel or sponge
Step 1: Open and inspect the tank
- Remove the tank lid carefully and set it on a towel.
- Flush once and watch the parts move: the handle lifts a chain, which lifts the flapper, water drains, then refills.
Step 2: Check the flapper
- If water keeps trickling into the bowl after the tank refills, the flapper might not be sealing.
- Gently press the flapper down with a stick or the handle of a spoon.
- If the running stops, the flapper is your issue.
- Inspect for warping, cracks, or mineral buildup.
Step 3: Adjust or replace the chain
- Make sure the chain between the handle and flapper isn’t too tight or too loose.
- You want a small amount of slack (about 0.5 inch / 1–2 cm).
- If it’s too tight, move the hook one link closer to the handle to create slack.
- If it’s tangled or too long, shorten it so it doesn’t get caught under the flapper.
Step 4: Replace the flapper (if needed)
- Turn off the water supply valve behind or under the toilet.
- Flush to empty most of the tank.
- Unhook the old flapper from the overflow tube.
- Clip on the new flapper according to the package directions.
- Reattach the chain and adjust slack.
- Turn the water back on and test.
Step 5: Check the water level
- Look for a water line mark inside the tank.
If the water level is above it and spilling into the overflow tube, adjust the float:
- For a float arm: turn the screw on top of the fill valve clockwise to lower the float. - For a float cup: pinch the clip on the side of the cup and slide it down slightly. 3. Flush again and confirm the water stops at the proper level.
Quiet a Squeaky Interior Door
A squeaky door is annoying but usually very easy to silence. You can fix it in minutes with basic household items.
What you’ll need:
- Lubricant: silicone spray, white lithium grease, or petroleum jelly
- Rag or paper towel
- Flathead screwdriver or utility knife (optional)
Step 1: Identify the squeaky hinge
- Slowly open and close the door.
- Listen and note which hinge (top, middle, bottom) makes the most noise.
Step 2: Try quick-on-hinge lubrication
- Place a rag under the hinge to catch drips.
- Apply a small amount of lubricant directly to the hinge pin area where the plates meet.
- If you’re using spray, use the straw nozzle and go light.
- Open and close the door 10–15 times to work the lubricant in.
- Wipe off any excess to avoid drips or stains.
Step 3: Remove the hinge pin for a deeper fix (if needed)
If it’s still squeaking:
- Close the door so the hinges are aligned and stable.
- Use a flathead screwdriver or the tip of a utility knife to gently lift the bottom of the hinge pin.
- Pull the pin out (you may need pliers if it’s tight).
- Wipe the pin clean with a rag to remove dust, rust, or old paint.
Step 4: Lubricate the hinge pin
- Coat the pin lightly with lubricant or a thin layer of petroleum jelly.
- Reinsert the pin, tapping it gently down if needed.
- Open and close the door repeatedly to distribute the lubricant.
If the squeak persists, repeat for the other hinges. Most doors quiet down after treating just one or two.
Restore a Slow or Clogged Bathroom Sink
A slow-draining bathroom sink is usually caused by hair, soap scum, and debris near the top of the drain, not deep in the pipes. You can fix it without harsh chemicals.
What you’ll need:
- Bucket or bowl
- Old toothbrush or small brush
- Rubber gloves
- Wire hanger or plastic clog remover
- Baking soda and vinegar (optional)
Step 1: Clear the sink stopper
- Pull the stopper up and see if it lifts out.
- If it doesn’t, look under the sink for a horizontal metal rod going into the drainpipe—this connects to the stopper.
- Place a bucket under the drain area.
- Unscrew the retaining nut holding the rod in place (by hand or with pliers).
- Pull the rod out; the stopper should now lift out from the top.
Step 2: Clean the stopper and drain opening
- Remove hair and gunk from the stopper with gloves and a paper towel.
- Scrub it with warm soapy water and an old toothbrush.
- Shine a light into the drain opening and pull out visible debris with a bent wire hanger or plastic clog tool.
Step 3: Flush with hot water or a gentle cleaner
- Run hot (not boiling) water into the drain for 1–2 minutes.
For extra cleaning, you can use a simple mix:
- Pour ½ cup baking soda down the drain. - Follow with ½ cup white vinegar. - Let it fizz for 10–15 minutes. - Rinse with hot water again.
Step 4: Reassemble the stopper
- Drop the cleaned stopper back into the drain hole from above.
- Under the sink, reinsert the horizontal rod into the opening on the drainpipe, making sure it catches the stopper’s hole.
- Tighten the retaining nut by hand, then gently snug with pliers if needed (do not overtighten).
- Run water and check that the stopper moves up and down smoothly and the sink drains quickly.
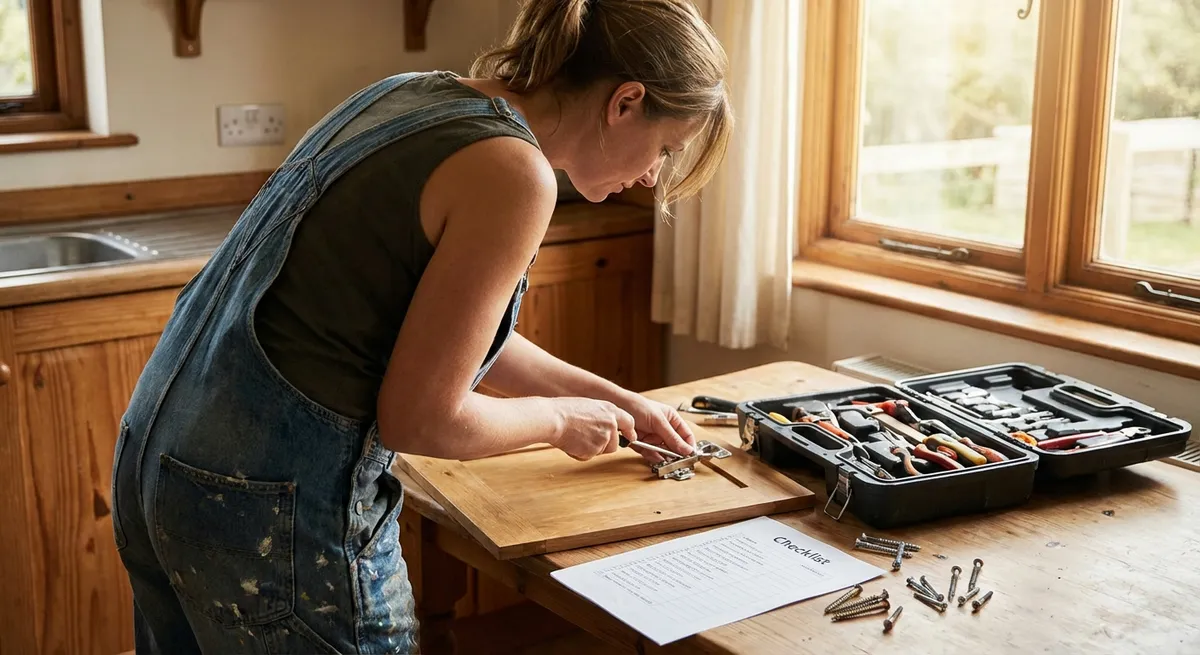
Fix a Wobbly Chair or Table Before It Breaks
Wobbly furniture is more than annoying—it’s often a warning the joints are loosening. Tightening and reinforcing them early can add years of life.
What you’ll need:
- Screwdriver set (Phillips and flathead)
- Hex key/Allen wrench (for flat-pack furniture)
- Wood glue (for wooden joints)
- Clamps or heavy books (optional)
- Small shims or folded cardboard
Step 1: Find the source of the wobble
- Place the chair or table on a flat surface.
- Gently rock it and watch which leg or joint moves most.
- Flip the furniture upside down or on its side for a better view.
Step 2: Tighten all visible fasteners
- Use the correct screwdriver or Allen key to tighten all screws, bolts, and brackets.
- Start with the loosest joints–often where legs meet the frame.
- Do not overtighten to the point of stripping the screw head or damaging the wood.
Step 3: Reinforce loose wood joints
For wooden chairs/tables where glue has failed:
- Gently wiggle the loose joint to see if it can be separated slightly.
- If possible, pull the joint apart just enough to expose a gap.
- Apply wood glue into the joint (use a small brush or toothpick to work it inside).
- Press the joint back together and wipe off excess glue with a damp cloth.
- Clamp the joint or place something heavy to keep it tight while drying (follow glue instructions, usually several hours to overnight).
Step 4: Level uneven legs
If the structure is solid but still rocks:
- Place the furniture back on a flat floor.
- Slide a piece of paper under each leg to find the short one.
- Use a small furniture pad, shim, or folded cardboard under the short leg.
- Once you find the right thickness, attach a felt pad or cut a permanent shim to match.
Bring a Dead Power Strip Back Safely (or Retire It Correctly)
When multiple devices go dark, the power strip is often the culprit. Before tossing it, you can perform a safe, basic check and sometimes get it working again—without opening it up.
Important: If you see scorch marks, melted plastic, or smell burning, unplug it immediately and replace it. Do not try to repair damaged electrical components.
What you’ll need:
- A known-working device (like a lamp or phone charger)
- Access to another outlet
- Small brush or compressed air
- Replacement power strip (if needed)
Step 1: Confirm the outlet is working
- Unplug the power strip.
- Plug your known-working device directly into the wall outlet.
- If the device doesn’t power on, the problem is likely the outlet or circuit, not the strip.
- Try another outlet on a different wall or room. If that works, you may need to reset a breaker or GFCI outlet.
Step 2: Check the power strip’s switch and reset
- Plug the power strip into a confirmed working outlet.
- Make sure the power switch on the strip is fully in the ON position.
- Look for a small reset button or integrated circuit breaker on the strip and press it.
- Plug your test device into one of the outlets on the strip and see if it powers on.
Step 3: Inspect and clean
- Unplug the strip again.
- Examine the cord for cuts, kinks, or crushed sections. If damaged, replace the entire strip.
Look into the outlet slots:
- If you see obvious dust or debris, use compressed air or a small brush to gently clean (never use metal tools). 4. Check for any signs of heat damage—discoloration, warping, or a burnt smell. If you see any, do not use the strip.
Step 4: Test individual outlets
- Plug the strip back in and turn it on.
- Plug your test device into each outlet on the strip one at a time.
- If some outlets work and others do not, the strip is failing internally—replace it.
- If none work and you’ve confirmed the wall outlet is good, retire the strip and get a new, UL‑listed model with built-in surge protection.
Conclusion
Most everyday problems—running toilets, squeaky doors, slow drains, wobbly furniture, and “dead” power strips—can be handled without a service call if you have a clear step-by-step plan. Start with the simplest checks, work methodically, and stop if you see signs of damage or anything you’re not comfortable with.
Repair Now’s approach is straightforward: fix what’s safe and practical, replace what’s truly worn out, and avoid wasting money on simple problems you can confidently solve yourself.
Sources
- [U.S. Environmental Protection Agency – Fix a Leak Week](https://www.epa.gov/watersense/fix-leak-week) - Explains how running toilets waste water and basic leak-checking guidance
- [Energy.gov – Lighting & Electrical Safety](https://www.energy.gov/energysaver/lighting-choices-save-you-money) - General tips on safe use of electrical devices and power strips
- [University of Florida IFAS Extension – Maintaining Indoor Plumbing](https://edis.ifas.ufl.edu/publication/HE891) - Practical information on common plumbing issues like clogged drains and toilets
- [This Old House – How to Fix a Squeaky Door](https://www.thisoldhouse.com/doors/21016787/how-to-fix-a-squeaky-door) - Step-by-step hinge lubrication techniques and troubleshooting
- [Lowe’s – How to Repair Wobbly Furniture](https://www.lowes.com/n/how-to/repair-wobbly-chairs) - Detailed guidance on tightening and regluing loose furniture joints
Key Takeaway
The most important thing to remember from this article is that this information can change how you think about DIY Solutions.


