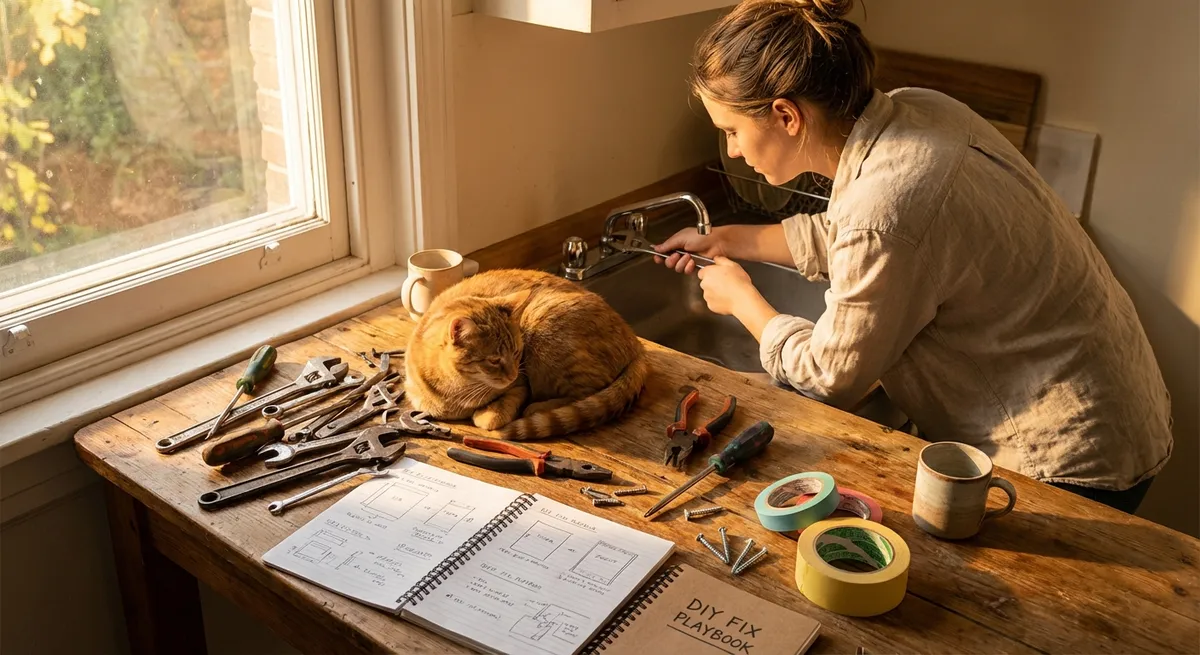
Most “everyday problems” don’t actually need a pro, just a clear plan and a bit of patience. This guide walks you through five common issues you can solve yourself with basic tools and no technical background. Each fix is broken into simple steps so you can work safely, avoid guesswork, and get things working again faster.
1. Quiet a Squeaky Door Hinge
A squeaky hinge is annoying but also a good entry‑level repair that builds confidence.
What you’ll need
- Old towel or rag
- Mild cleaner (dish soap + warm water, or all‑purpose spray)
- Paper towel or dry cloth
- Lubricant: silicone spray, white lithium grease, or petroleum jelly
- Small flathead screwdriver (optional)
Step‑by‑step
Protect the area
Lay a towel under the hinge to catch drips and protect the floor.
Clean the hinge
- Wipe around the hinge with a damp cloth and mild cleaner. - Remove dust, paint flakes, or grime that can trap moisture and cause noise. - Dry thoroughly with a clean cloth.
Apply lubricant
- For spray: Insert the straw (if included) and aim at the top of the hinge pin and joints. - Spray a small amount directly into the gaps where the hinge moves. - For grease/petroleum jelly: Use your fingertip or a cotton swab to work a thin layer into the exposed hinge joints.
Work the hinge
- Open and close the door 10–15 times to distribute the lubricant inside the hinge. - Wipe any excess drips so they don’t stain the door or floor.
Tackle stubborn squeaks
- If it’s still noisy, use a flathead screwdriver to gently tap up the hinge pin (if removable), pull it out, and coat it lightly with lubricant. - Reinsert the pin and cycle the door again.
Check for other causes
- If the squeak remains, check that hinge screws are tight. - Lightly tighten loose screws with a screwdriver—don’t over‑tighten or you can strip the holes.
2. Rescue a Slow or Clogged Sink Drain
A slow drain is often caused by buildup just below the stopper. You can usually fix this without harsh chemicals.
What you’ll need
- Rubber gloves
- Small bucket or bowl
- Old toothbrush or small cleaning brush
- Zip‑it style plastic drain cleaner or straightened wire hanger
- Baking soda and vinegar (optional)
- Plunger (optional, for stubborn clogs)
Step‑by‑step
Clear the area and protect it
- Remove items from under the sink. - Place a bucket below the drain trap (the U‑shaped pipe) to catch drips if you need to open it.
Clean the drain opening and stopper
- Pull out the stopper (in many sinks, twist and lift; in others, a rod under the sink holds it—loosen the nut to release it). - Use a brush to remove hair and gunk from the stopper. - Rinse thoroughly.
Remove debris from the drain
- Insert the plastic drain cleaning strip or wire hanger into the drain. - Wiggle and pull out any hair or sludge—repeat until it comes out mostly clean. - Flush the drain with hot (not boiling) water.
Optional: Baking soda and vinegar flush
- Pour about 1/2 cup baking soda down the drain. - Add 1/2 cup white vinegar. - Let it fizz for 10–15 minutes, then run hot water for 1–2 minutes.
If still slow, check the P‑trap
- Put on gloves. - Loosen the two slip nuts around the U‑shaped trap under the sink by hand or with adjustable pliers. - Remove the trap, dump contents into the bucket, and scrub it clean. - Reassemble, hand‑tighten, then give a gentle extra twist with pliers.
Test for leaks
- Run water for a few minutes while checking all joints under the sink. - Tighten slightly if you see drips—stop as soon as drips stop.
3. Fix a Wobbly Chair or Table
Loose furniture joints aren’t just annoying; they can fail completely if ignored. Repairing them extends their life and improves safety.
What you’ll need
- Screwdriver or Allen (hex) wrench set
- Wood glue (for wooden furniture)
- Clamps or heavy books (for pressure)
- Small wood shims or toothpicks (for stripped screw holes)
- Rag for wiping excess glue
Step‑by‑step
Find the actual source of the wobble
- Place the chair or table on a flat, hard surface. - Gently rock it and watch which joints or legs move most.
Tighten screws and bolts first
- Use the correct screwdriver or Allen key to tighten all fasteners on the wobbly area. - Don’t over‑tighten—stop when they’re snug and the joint feels solid.
Rebuild stripped screw holes (wood)
If a screw keeps turning without tightening: - Remove the screw. - Fill the hole with wood glue and insert several broken toothpicks (or a small wood shim) so the hole is packed. - Snap flush with the surface and wipe excess glue. - Let it set for 30–60 minutes, then reinsert the screw.
Re‑glue loose wooden joints
- If you see a gap between wooden parts, gently separate the joint just enough to apply wood glue into the seam. - Push the parts together firmly. - Clamp or stack heavy books on the joint to keep pressure while drying. - Wipe any squeezed‑out glue before it hardens.
Check the floor and leg pads
- Sometimes the “wobble” is from uneven floor or missing leg pads. - Add or replace felt pads as needed; consider leveling shims for permanently uneven floors.
Let repairs cure fully
- Follow the glue manufacturer’s instructions—usually avoid heavy use for at least 24 hours. - After curing, test for wobble again and re‑tighten any fasteners if needed.
4. Reset a Tripped Breaker and Restore Power Safely
When an outlet or room suddenly loses power, a tripped breaker is often the cause. You can usually restore power yourself—if you do it safely and systematically.
What you’ll need
- Flashlight (if the area is dark)
- Dry hands and dry floor
- Optional: small label maker or masking tape/marker for labeling circuits
Step‑by‑step
Identify the affected area
- Check which lights/outlets are out. - Unplug major appliances or power strips connected in that area to reduce load when power returns.
Find your electrical panel
- Common locations: basement, garage, utility room, hallway closet. - Open the panel door and use a flashlight if needed.
Look for the tripped breaker
- A tripped breaker often sits between ON and OFF positions, or has a visible red/orange indicator. - Some panels may label circuits (e.g., “Kitchen,” “Living Room”)—note whichever is off.
Reset correctly
- Stand on a dry surface with dry hands. - Firmly push the tripped breaker fully to the OFF position. - Then push it back to ON in one solid motion.
Check the power and the load
- Return to the room; confirm lights/outlets work. - Plug items back in one by one, starting with essentials. - Avoid using multiple high‑draw devices (space heaters, hair dryers, microwaves) on the same circuit at once.
If the breaker trips again immediately
- Unplug everything on that circuit and reset once more. - If it still trips with nothing plugged in, or if you notice burning smells, heat, or buzzing from the panel, stop. - Contact a licensed electrician—this may indicate a wiring or breaker problem that is not DIY‑safe.
Optional: Label for next time
- When things are working, turn one breaker off at a time and see what it controls. - Label clearly so future power issues are easier to diagnose.
5. Patch a Small Hole in Drywall (Up to About 2 Inches)
Door handle dents and small wall holes look worse than they are. With a small repair kit and some patience, you can make them nearly invisible.
What you’ll need
- Putty knife (2–4 inch)
- Pre‑mixed spackle or lightweight joint compound
- Sanding sponge or fine sandpaper (120–220 grit)
- Damp sponge or cloth
- Optional: self‑adhesive wall repair patch (for holes ~1–2 inches)
- Matching wall paint and small brush/roller
Step‑by‑step
Prepare the damaged area
- Use the putty knife to remove loose drywall paper or crumbling edges. - Lightly sand around the hole to remove flaking paint and create a smooth blend area. - Wipe dust with a damp cloth and let it dry.
For nail holes and very small damage
- Scoop a small amount of spackle with the putty knife. - Press it into the hole and scrape off excess so it’s level with the wall. - Feather the edges by drawing the knife outward so the patch tapers into the wall.
For larger holes (up to ~2 inches)
- Place a self‑adhesive mesh patch over the hole, centered. - Apply a thin coat of joint compound over the patch, extending 1–2 inches beyond the edges. - Smooth and feather the edges.
Let it dry completely
- Follow the product’s dry time (often 2–24 hours). - Don’t rush this—sanding wet compound only makes a mess and ruins the finish.
Sand smooth
- Lightly sand the patched area until it’s flush and smooth with the wall. - Run your hand over it; you should not feel an obvious ridge. - Wipe away dust with a damp cloth and let dry.
Apply a second coat if needed
- If you see dips or edges, add a second, very thin layer of compound. - Feather it further out than the first coat, dry, and sand again.
Prime (if possible) and paint
- For best results, spot‑prime the patched area so the paint covers evenly. - After the primer dries, paint the patch using the same paint type (flat, eggshell, etc.). - Blend into the surrounding wall by feathering the edges of your paint strokes.
Conclusion
Most everyday problems around your home aren’t emergencies—they’re opportunities to build self‑reliance. By tackling small fixes like squeaky hinges, slow drains, wobbly furniture, tripped breakers, and minor wall damage, you save money, reduce stress, and get more control over your space. Start with the simplest repair on this list, follow the steps carefully, and you’ll be ready to take on the next one with a lot more confidence.
Sources
- [U.S. Consumer Product Safety Commission – Electrical Safety](https://www.cpsc.gov/safety-education/safety-guides/electrical) – Guidance on safe practices when working around home electrical systems and panels
- [U.S. Department of Energy – Electrical Load Management Tips](https://www.energy.gov/energysaver/electrical-load-management) – Explains how circuits handle loads and why breakers trip, useful context for safely resetting breakers
- [Family Handyman – How to Fix Squeaky Doors](https://www.familyhandyman.com/project/how-to-fix-squeaky-doors/) – Practical demonstration of hinge lubrication and related door adjustments
- [This Old House – How to Patch a Hole in Drywall](https://www.thisoldhouse.com/walls/21015238/how-to-patch-a-hole-in-drywall) – Step‑by‑step visuals that complement the drywall repair process
- [Mayo Clinic – Household Chemical Safety](https://www.mayoclinic.org/healthy-lifestyle/adult-health/in-depth/household-chemicals/art-20046488) – Important safety information if you choose to use chemical drain cleaners instead of mechanical methods
Key Takeaway
The most important thing to remember from this article is that this information can change how you think about DIY Solutions.


