Small problems at home can snowball into bigger hassles if you ignore them—wobbly chairs become unsafe, slow drains turn into clogs, and loose phone cables eventually fail. You don’t always need a pro or expensive tools to fix these things. With a little guidance, you can handle a lot of common issues quickly and safely.
This playbook walks you through five practical DIY fixes with clear, step‑by‑step instructions. Each solution is designed for beginners, uses basic tools, and focuses on getting things working again without wasting time or money.
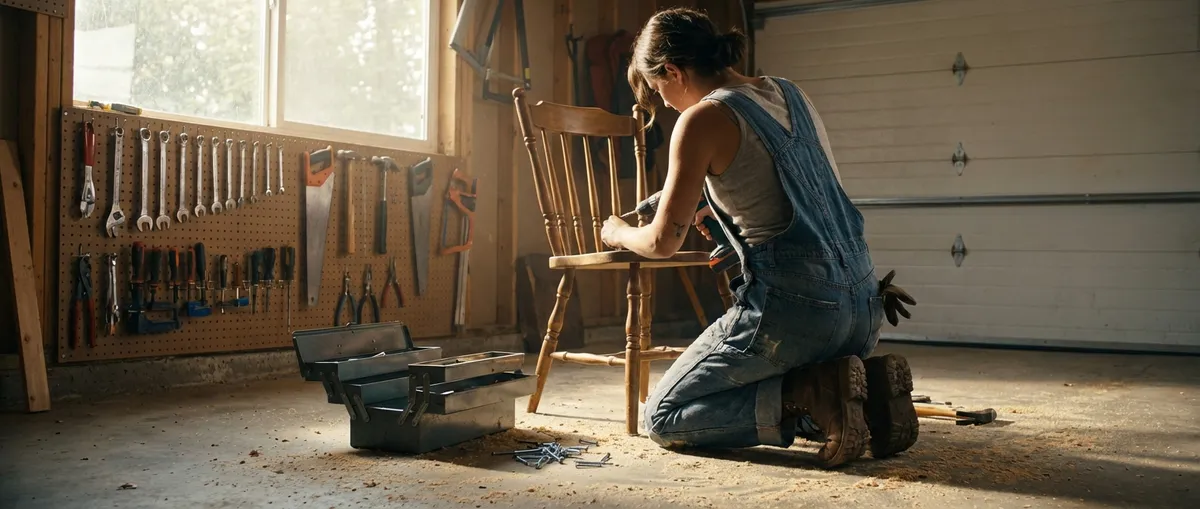
1. Stop a Wobbly Chair or Table from Rocking
A wobbly chair or table is more than annoying—it’s a safety risk. In most cases, the problem is loose joints or uneven legs. Here’s how to tighten things up.
What you’ll need
- Wood glue (for furniture)
- Screwdriver (Phillips or flathead, depending on screws)
- Small wrench or Allen key (if applicable)
- Sandpaper or small wood shims/cardboard
- Damp cloth
- Optional: clamps or strong tape
Step-by-step
Flip and inspect
Turn the chair or table upside down on a flat, hard surface. Gently push each leg to see which joints are loose or moving.
Tighten all screws and bolts
Use your screwdriver, wrench, or Allen key to tighten any visible fasteners. Work your way around the entire piece, not just the leg that feels wobbly.
Check if the wobble is gone
Flip it upright and test again. If it’s still rocking, the problem might be uneven legs or loose glued joints.
Fix loose joints with wood glue
Flip it upside down again. If you see gaps where legs meet the frame, carefully pull the joint apart slightly (if it moves) and squeeze wood glue into the gap. Push the joint firmly back together, wipe off excess glue with a damp cloth.
Clamp or tape while drying
If you have clamps, use them to hold the joint tightly while the glue dries. No clamps? Wrap strong tape tightly around the joint. Let it dry according to the glue instructions (usually 24 hours).
Level uneven legs
Place the furniture on a truly flat surface (tile or hardwood is best). Slide a thin piece of cardboard or a wood shim under the short leg until it’s stable. Once you find the right thickness, tape or glue the shim under the leg. Sand the edges if needed so it’s less noticeable.
Final stability check
Sit on the chair or lean on the table from different angles. If it doesn’t rock or creak, the fix worked. If it still moves, repeat tightening and recheck each joint—there may be a hidden loose connection.
2. Clear a Slow Sink Drain Without Harsh Chemicals
A slow drain is usually caused by buildup—soap scum, hair, grease, or food particles. You don’t need heavy-duty chemicals to clear it in most cases.
What you’ll need
- Rubber gloves
- Baking soda
- White vinegar
- Kettle or pot for hot water
- Old toothbrush or small brush
- Optional: drain snake or bent wire hanger
Step-by-step
Remove the stopper or drain cover
In bathroom sinks, lift or unscrew the stopper. In kitchen sinks, remove any strainers or covers. Set them aside for cleaning.
Physically remove visible gunk
Put on gloves. Reach into the drain opening and pull out visible hair, food, or debris. Use a small brush or bent wire hanger (hooked at the end) to pull out more if needed.
Flush with hot water
Boil a kettle or a pot of water. Slowly pour the hot (not violently boiling) water down the drain to melt grease and loosen buildup. Check if the drainage speed improves; if not, continue.
Use a baking soda and vinegar treatment
Pour about 1/2 cup of baking soda directly into the drain. Follow with about 1/2 to 1 cup of white vinegar. You’ll see fizzing—this helps break up grime. Let it sit for 15–20 minutes.
Rinse with more hot water
Boil more water and slowly pour it down the drain again to flush everything through. Test the flow by running the tap for 30–60 seconds.
Use a drain snake if it’s still slow
Feed a drain snake into the drain, twisting gently as you push. When you feel resistance, rotate and pull back to remove the clog. Repeat until it passes easily and you no longer bring up debris.
Clean the stopper and reassemble
Scrub the stopper or drain cover with soap and an old toothbrush to remove grime and hair. Reinstall it, then run water to confirm the drain is flowing smoothly.
3. Quiet a Squeaky Door Hinge
A squeaky door usually needs lubrication, not replacing. Fixing it takes minutes and makes your home feel less worn-out instantly.
What you’ll need
- Lubricant (silicone spray, lithium grease, or petroleum jelly)
- Rag or paper towels
- Small flathead screwdriver or butter knife (optional)
- Hammer and nail/pin (optional, if removing hinge pin)
Step-by-step
Identify the noisy hinge
Slowly open and close the door. Listen to each hinge and look for any that shift or rub.
Try lubricating without removing the hinge pin
Spray or apply a small amount of lubricant directly onto the top of the hinge where the pin sits. Open and close the door several times to work the lubricant in. Wipe off any drips with a rag.
If the squeak persists, remove the hinge pin
Place the tip of a nail or small pin under the bottom of the hinge pin. Gently tap upward with a hammer until the pin rises enough to pull it out by hand. Do one hinge at a time so the door stays in place.
Clean the hinge pin
Wipe off old dirt, rust, and dried lubricant with a rag. If there’s corrosion, rub it gently with fine steel wool or a bit of sandpaper.
Apply fresh lubricant
Coat the pin lightly with silicone spray, lithium grease, or a thin layer of petroleum jelly. Avoid overdoing it—too much will drip and attract dust.
Reinsert the hinge pin
Slide the pin back into the hinge from the top. Tap gently with a hammer until it’s fully seated. Repeat for other noisy hinges.
Test and clean up
Open and close the door several times. If the squeak is gone, wipe away excess lubricant around the hinge. If there’s still noise, repeat the process on the remaining hinges or add a little more lubricant.
4. Rescue a Phone Charging Cable That Only Works at Certain Angles
When your phone only charges if the cable sits “just right,” the issue is often the connector or the phone’s charging port being dirty—not necessarily a dead cable.
What you’ll need
- Soft toothbrush or small soft brush
- Wooden or plastic toothpick (not metal)
- Isopropyl alcohol (70% or higher)
- Microfiber cloth
- Optional: another cable/charger to test
Step-by-step
Rule out a bad outlet or charger
Plug another device into the same outlet or USB port to confirm it’s working. Try a different wall adapter with the same cable.
Inspect the cable
Look for fraying, kinks, exposed wires, or bent connectors. If the plastic near the plug is cracked or the metal tip is loose, retire the cable—it’s unsafe.
Clean the phone’s charging port
Turn off your phone. Use a flashlight to look inside the port. Gently insert a wooden or plastic toothpick and scrape out lint or dust. Tilt the phone so debris falls out—not deeper inside.
Brush out remaining debris
Use a dry, soft brush (like a clean toothbrush) to gently scrub inside the port. Avoid using metal tools; they can damage internal pins.
Lightly disinfect and clean contacts
Dampen a corner of a microfiber cloth or cotton swab with isopropyl alcohol (not dripping). Wipe the metal end of your cable and the outside edges of the phone port. Let everything dry for a few minutes.
Test charging again
Plug the cable firmly into the phone and a stable power source. Gently wiggle the connection—if it stays charging without cutting out, the cleaning worked.
Try a known-good cable if problems remain
Borrow or use a different cable that you know works with another device. If that cable has the same issue on your phone, the port itself may be worn or damaged—time to contact a repair shop or manufacturer support.
5. Patch a Small Wall Hole So It Actually Disappears
Small holes from nails, screws, or wall anchors can make a room look unfinished. Patching them correctly makes repainting easy and the repair nearly invisible.
What you’ll need
- Spackling compound or lightweight wall filler
- Putty knife or plastic scraper
- Fine-grit sandpaper (120–220 grit)
- Damp sponge or cloth
- Matching paint and small brush or roller
- Optional: primer (for larger or dark patches)
Step-by-step
Clean the area around the hole
Wipe the wall with a damp cloth to remove dust and loose paint. Let it dry completely before applying filler.
Prepare the hole
For tiny nail holes, lightly tap around the opening with your finger to flatten any raised edges. For slightly larger holes (like from anchors), remove loose material and trim ragged edges with a utility knife.
Apply spackling compound
Scoop a small amount of spackle onto the putty knife. Press it firmly into the hole, then smooth over the surface, feathering the edges outward so it’s flush with the wall. Remove excess spackle so only a thin, even layer remains.
Let it dry fully
Follow the drying time on the product label—often 1–2 hours for small holes. Don’t rush this step; sanding too early will tear the filler.
Sand for a smooth finish
Once dry, lightly sand the area with fine-grit sandpaper until smooth and level with the wall. Run your fingers over it—if you can’t feel a ridge, it’s ready. Wipe away dust with a damp sponge and let dry.
Prime if needed
If the patched area is large, very white compared to the wall, or you’re using a darker color, apply a thin coat of primer to the patch. Let it dry according to the instructions.
Paint to blend
Use matching wall paint and a small brush or roller. Feather the paint slightly beyond the patch into the surrounding area to blend it. Apply a second coat if needed for full coverage.
Step back and check in different light
Look at the patch from different angles and in daylight if possible. If you still see a slight indent or bump, you can lightly sand and apply a thin second layer of spackle, then repaint.
Conclusion
Most everyday problems at home—wobbly furniture, slow drains, squeaky doors, flaky chargers, and wall blemishes—are fixable with simple tools, a bit of patience, and clear steps. You don’t have to be “handy” to get good results; you just need a method.
Use this playbook as a reference: work safely, move step by step, and only escalate to a professional when the issue goes beyond what’s covered here (like electrical faults, major leaks, or structural damage). Each successful DIY fix builds your confidence—and keeps more money in your pocket for the repairs that truly require an expert.
Sources
- [U.S. Environmental Protection Agency – Safer Choice: Drain Maintenance](https://www.epa.gov/saferchoice) – Guidance on safer cleaning and maintenance products, including why to limit harsh chemicals in drains
- [Family Handyman – How to Fix a Wobbly Chair](https://www.familyhandyman.com/project/how-to-fix-a-wobbly-chair/) – Practical reference for tightening and reglueing furniture joints
- [Mayo Clinic – Household Chemical Safety](https://www.mayoclinic.org/healthy-lifestyle/adult-health/in-depth/household-chemicals/art-20046478) – General safety principles when working with cleaners and chemicals at home
- [Apple Support – If Your iPhone or iPad Won’t Charge](https://support.apple.com/en-us/HT201569) – Official guidance on cleaning charging ports and troubleshooting charging issues
- [U.S. General Services Administration – Drywall Repair Guide (PDF)](https://www.gsa.gov/cdnstatic/GPG-023_Drywall_Repair_Guide_May_2013.pdf) – Technical overview of wall repair techniques and materials
Key Takeaway
The most important thing to remember from this article is that this information can change how you think about DIY Solutions.


