If you’ve ever sat down to watch a movie and thought, “Why does this look like a soap opera?” you’re not alone. Threads about “ruined” movie nights and complaints that new TVs make films look cheap are going viral again, especially as people share what “100% ruins a movie” for them online. The good news: a lot of those problems are not your TV being bad—they’re your TV being badly set up.
Modern TVs ship loaded with “enhancement” features that make sports look smooth in a showroom but absolutely wreck the cinematic feel of movies at home. Instead of throwing out your TV or blaming the director, you can fix most of this in a few minutes with the remote you already have.
Below are five practical, step‑by‑step tweaks you can make on almost any modern TV (Samsung, LG, Sony, TCL, Hisense, Vizio, etc.) to make your movies look right again—and stop arguments in the living room before they start.
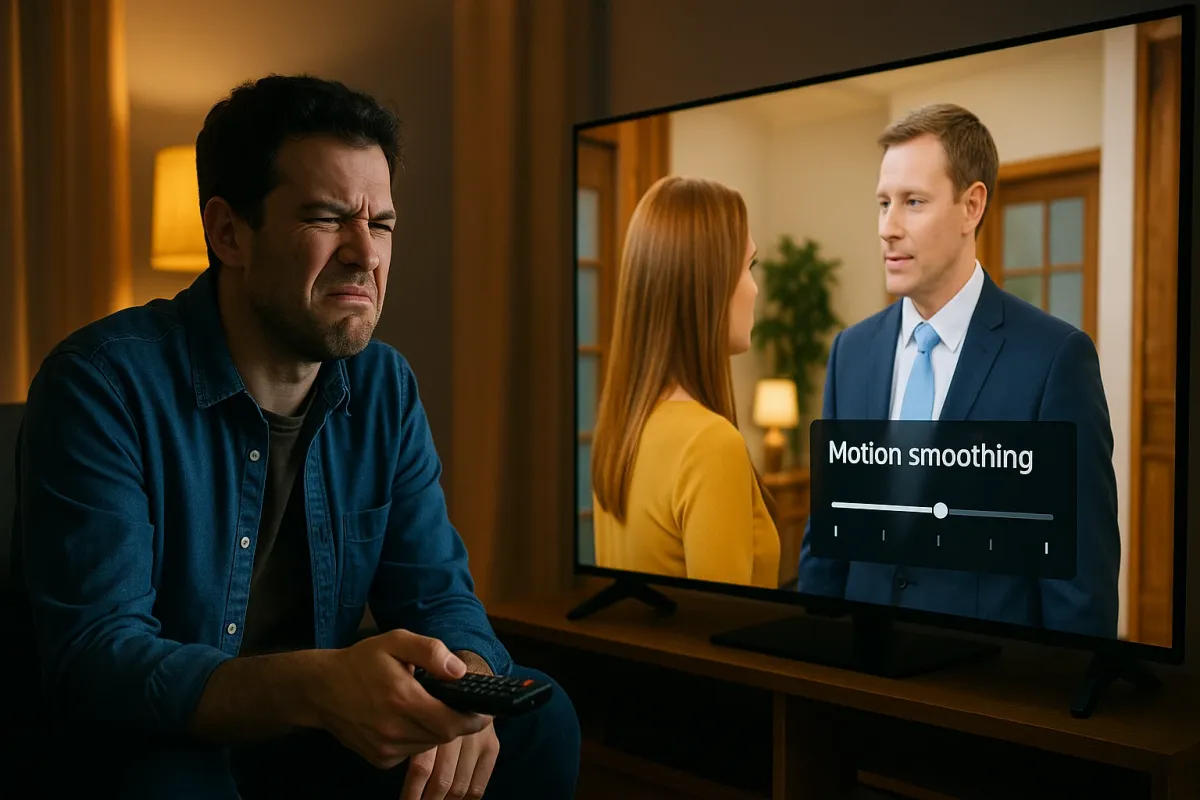
1. Turn Off Motion Smoothing (“Soap Opera Effect” Killer)
This is the big one. Motion smoothing (also called “TruMotion,” “MotionFlow,” “Auto Motion Plus,” “Clear Motion,” etc.) generates fake frames between real ones. It makes motion look ultra‑smooth, which is great for live sports—but it makes movies look like low‑budget daytime TV.
How to fix it:
- **Grab your remote** and press the *Settings* or *Menu* button.
- Go to **Picture** or **Advanced Picture** settings.
Look for a submenu labeled something like:
- Motion - Motion Plus - TruMotion - MotionFlow - Smooth Motion
Open that menu and set it to:
- **Off**, or - **Custom**, then set **Blur Reduction** and **Judder Reduction** to 0. 5. Test it with a movie scene that used to look “too smooth.” It should now feel more like cinema and less like a behind‑the‑scenes featurette.
Quick brand hints:
- **Samsung:** Picture → Expert Settings → Picture Clarity Settings → Off
- **LG:** Picture → Picture Mode Settings → Picture Options → TruMotion → Off
- **Sony:** Picture → Advanced Settings → Motion → MotionFlow → Off
- **TCL / Hisense:** Picture → Advanced settings → Action smoothing / Motion → Off
If motion still looks weird, double‑check that you didn’t leave it on “Low” or “Standard.” For movies, off is usually best.
2. Switch Out of “Store” or “Vivid” Mode
A lot of people never change their TV’s default picture mode—which is often tuned to stand out under bright store lights. That “Vivid” or “Dynamic” mode blows out colors, crushes dark scenes, and can make CGI look painfully fake.
How to fix it:
- Press *Settings* or *Menu*.
- Go to **Picture Mode** or **Picture Preset**.
Change the mode from:
- Vivid / Dynamic / Standard **to** - Cinema / Movie / Filmmaker Mode / Expert (Dark Room)
Watch a couple of scenes from a familiar movie:
- Dark scenes should now show more detail instead of being a flat black blob. - Skin tones should look more real, not neon or sunburned.
If your TV has “Filmmaker Mode”:
- Turn it on or set it as default for movies. This is a newer standard supported by companies like Samsung, LG, and Panasonic to disable most “fake” processing automatically.
Bonus tip: If you watch TV in a very bright room, try “Cinema Home” or “Movie (Bright)” if available—they keep a more accurate picture but with slightly higher brightness.
3. Fix Weird Colors and Washed‑Out Blacks (Proper HDMI Setup)
If your picture looks gray instead of black, or colors look flat and lifeless, the problem might not be the TV at all—it could be your HDMI input settings. Game consoles, streaming boxes, and Blu‑ray players can output different color ranges and formats that your TV has to interpret correctly.
How to fix it:
**Identify the source** you’re using:
- Streaming box (Roku, Apple TV, Fire TV, Google TV) - Game console (PS5, Xbox Series X|S, Switch) - Blu‑ray player
On the **source device**, go to:
- Display / Video / Screen Settings.
Look for:
- Color Format / RGB vs YCbCr - Color Range / RGB Range / HDMI Range
For most TVs:
- Set TV **HDMI Black Level / HDMI Range** to **Auto** or **Low / Limited**. - Set the device to **Limited / Standard / Video range**, not **Full**, unless both clearly match on Full.
On your **TV**, check:
- Settings → Picture → Black Level / HDMI Black Level → Auto or Low
Use a dark scene from a familiar film:
- Correct setup = Distinct shadow detail and deep blacks - Wrong setup = Either milky gray or crushed, detail‑free black
If you change a setting and everything suddenly looks “right,” you’ve probably fixed a mismatch that’s been bothering you for months.
4. Kill Over‑Sharpening and Fake Edge Halos
A lot of TVs try to “help” by adding sharpening. On 4K content, this usually makes things look worse—faces look plasticky, and high‑contrast edges gain a white outline (haloing) that screams “fake digital effect.”
How to fix it:
- Open **Picture** settings.
Find **Sharpness**:
- It might be in “Expert Settings” or “Advanced Picture.”
Slowly **turn Sharpness down**:
- For HD/4K sources, aim for **0–10** on a 0–100 scale. - Don’t be scared if 0 looks better—that’s normal on many TVs.
If there are separate options like:
- Super Resolution - Reality Creation - Detail Enhancer —turn them **Off** or set to **Low**.
Look at:
- Faces: Skin should show natural texture, not a waxy blur with bright edges. - Text or logos: Edges should look clean, without glowing outlines.
If you’re watching older, low‑resolution content and it feels too soft after this, you can nudge sharpness up slightly. But for movies and modern streaming, less is usually more.
5. Stop Your TV From Auto‑Ruining Night Scenes (Eco & Dynamic Contrast)
Many people complain that dark scenes are “impossible to see” at night. Often, that’s because the TV keeps trying to save power or “improve” contrast on the fly, changing brightness from shot to shot. It feels like someone is playing with the dimmer switch behind your couch.
How to fix it:
- Open **Settings → Picture**.
Look for **Eco**, **Power Saving**, or **Ambient Light**:
- Eco Mode / Energy Saving - Ambient Light Sensor / Light Detection - Adaptive Brightness
Set these to:
- **Off**, or - **Low** if you really want to save power.
Next, look for:
- Dynamic Contrast / Contrast Enhancer - Black Tone / Black Enhancer
Set them to:
- **Off** or **Low** (for movies, Off is usually best).
Try a dark movie or show:
- The image should no longer pulse brighter/darker every few seconds. - You’ll see more detail in shadows and fewer “crushed” black areas.
If your room is very bright in the daytime, you can turn an ambient light sensor back on for daytime only, but leave it off for movie nights.
Conclusion
With so many people online venting about what “ruins” movies for them, a lot of the frustration actually comes down to one thing: TVs shipping with cinema‑wrecking settings turned on by default. You don’t need a new TV, a calibration disc, or a degree in video engineering to fix it—you just need ten minutes in the settings menu.
By shutting off motion smoothing, switching out of Vivid mode, matching HDMI color ranges, dialing back sharpening, and taming aggressive eco/contrast features, you can get a picture that looks closer to what the director intended—and finally stop arguing about whether “something’s wrong with the TV.”
If you want help dialing in settings for your specific brand and model, tell us the exact TV and devices you’re using and we can walk you through a tailored setup step‑by‑step.
Key Takeaway
The most important thing to remember from this article is that following these steps can lead to great results.


