If you’ve seen the viral “Very Finnish Problems” Instagram account, you’ve probably laughed at how seriously Finland takes its cold, dark, icy reality. But the truth is, a lot of those “problems” are the same things people across the U.S., Canada, and Europe are battling right now: fogged windows, soaked entryways, icy steps, and homes that never quite feel warm enough.
Instead of just scrolling and nodding in painful agreement, this is your cue to borrow a page from the Finns and turn those winter headaches into home upgrades. Below are five practical, low-cost DIY fixes you can tackle in an afternoon—no sauna or cabin in Lapland required.
---
Stop Entryway Chaos: Build a Simple “Snow & Mud Control Zone”
When it’s wet, slushy, and dark outside, your entryway can turn into a disgusting slip zone in hours—exactly the kind of “very Finnish problem” people joke about online.
What you’ll need:
- Two cheap doormats (one rough outdoor, one absorbent indoor)
- A shallow boot tray or low plastic storage lid
- Old towel or absorbent cloth
- Hooks or a wall-mounted rack (optional but helpful)
- A small bucket or bin for salt/sand (optional)
Steps:
- **Create a two-mat system.**
Put the rough mat outside the door for scraping off snow, salt, and mud. Place the soft, absorbent mat immediately inside the door to catch leftover moisture.
- **Add a DIY boot drip tray.**
Use a shallow plastic storage lid or cheap boot tray. Line it with an old towel or cloth. This absorbs meltwater instead of letting it pool and spread.
- **Define a “no wander” zone.**
Make a firm rule: wet boots and shoes never go past the tray. If you have kids, put tape on the floor as a “border” so even they know where wet gear must stop.
- **Vertical storage for wet gear.**
Install low-cost hooks or a rack for coats, scarves, and umbrellas right above or next to the tray. Keep wet items close to the door, not dripping through the house.
- **Prepare for ice before it forms.**
Keep a small bucket or bin with salt, sand, or pet-safe de-icer by the door. Top it off weekly so you’re not hunting for it during a storm.
This mini “cold-weather airlock” dramatically cuts down on mopping, slipping, and long-term floor damage from salt and moisture.
---
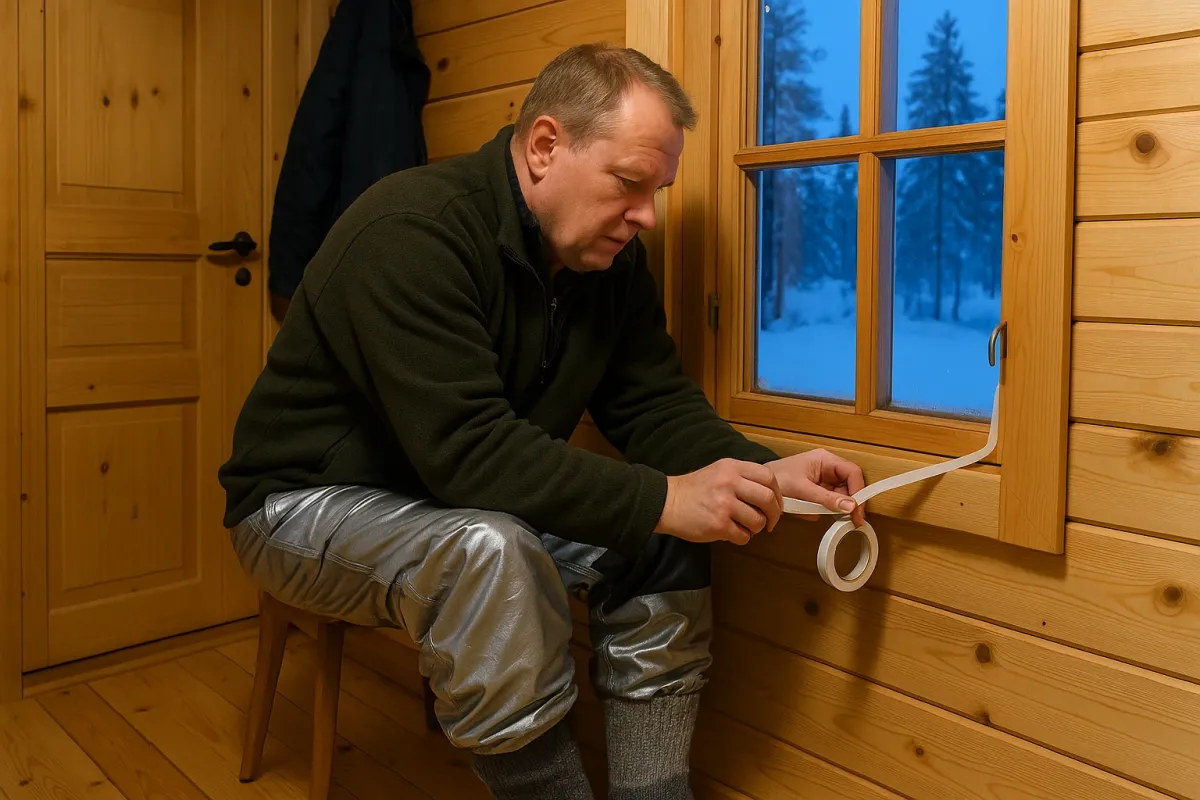
Clear Foggy Windows and Reduce Condensation, Fast
Finns live with extreme temperature swings, so window condensation is a familiar problem—exactly the kind of thing that ends up in memes. But if your windows are constantly fogged, it’s not just annoying. It can damage frames and encourage mold.
What you’ll need:
- Microfiber cloth
- Mild dish soap
- Spray bottle
- Squeegee (optional but very useful)
- Small fan or an exhaust fan you already have
- Dehumidifier (optional but ideal in damp homes)
Steps:
- **Deep-clean the glass.**
Mix a few drops of dish soap in warm water. Wipe the inside of the window with a microfiber cloth, then dry with a clean cloth or squeegee. Dirt and residue make condensation cling more.
- **Check for “wet zones.”**
Look at the bottom of frames and sills. If you see standing water or dark spots, wipe them dry daily until you solve the moisture issue.
- **Improve micro‑ventilation.**
Crack windows slightly for 10–15 minutes a day when possible (especially after showers, cooking, or lots of people in one room). You’re not “heating the outdoors”—you’re dumping excess humidity so your windows stay clearer.
- **Move airflow across the glass.**
Point a small fan at fog-prone windows on low speed. Even slight air movement across the glass helps reduce condensation buildup.
- **Add spot dehumidification.**
If one room is always damp (bathroom, basement, bedroom where you sleep with doors closed), set a dehumidifier there and run it a few hours a day. Aim for indoor humidity between 30–50%.
Handle the moisture now, and you’re less likely to deal with peeling paint, swollen wood, and mold when the weather finally warms up.
---
Warm Up Cold Floors Without Rewiring Your Home
“Feet freezing on the floor” could be a Very Finnish Problem meme all on its own—and it’s a reality wherever winter hits hard. You don’t need underfloor heating to stop that shock of cold every time you get out of bed.
What you’ll need:
- Area rugs or runners (even cheap ones)
- Non-slip rug pads or gripper tape
- Draft stopper or rolled towel
- Reflective film or foam board for basement ceilings (optional, for advanced DIYers)
Steps:
- **Cover the key “cold corridors.”**
Identify the places where cold floors hit hardest: hallways, beside the bed, in front of the couch, at the sink. Drop runners or small rugs in those exact spots instead of trying to rug the entire room.
- **Use non-slip backing, always.**
Add rug pads or gripper tape. Cold floors are often slippery floors, and a badly placed runner can turn into a fall hazard.
- **Seal the floor’s edge drafts.**
If cold air seeps in where the floor meets exterior walls or doorways, use a draft stopper or tightly rolled towel to block the gap. It’s crude but surprisingly effective.
- **Treat the source below (if you can).**
If you have access to a basement or crawlspace under a chilly room, look up:
- Staple foam board insulation between joists (cut to fit).
- Or tape reflective foil/film to the underside of the floor above, facing up.
This keeps the floor surface warmer without touching any wiring.
- **Rearrange for warmth.**
Move frequently used seating and beds away from exterior walls and over rug-covered areas. Sometimes, a furniture shift does more than a space heater.
You’re essentially building “islands of warmth” under your feet—much cheaper and safer than relying on constant high-heat devices.
---
Make DIY Non‑Slip Steps and Walkways Before the Next Freeze
Icy steps and sidewalks are a running joke in Finnish memes—but in real life, falls are one of the most common winter injuries. You don’t have to wait for a contractor or spend big on specialty materials to make your home safer.
What you’ll need:
- Outdoor broom or stiff brush
- Coarse sand or grit (play sand works better than smooth decorative sand)
- Rock salt or pet-safe de-icer
- Old plastic container (for sprinkling)
- Screw-on non-slip stair treads or adhesive grip tape (optional upgrade)
Steps:
- **Clean first, always.**
Sweep stairs and walkways thoroughly with a stiff broom. Remove leaves, slush, and loose debris so sand and salt can actually grip the surface.
- **Pre-treat before heavy snowfall.**
Sprinkle a light layer of sand mixed with a small amount of salt before a storm. The sand gives traction right away; the salt slows ice bonding.
- **Create a DIY “grit shaker.”**
Take an old plastic container (like a large food tub). Poke several holes in the lid with a nail or screwdriver. Fill it with sand and keep it by the door for easy, controlled sprinkling.
- **For high-risk steps, add physical grip.**
- Install screw-on non-slip treads on exterior wooden steps.
- Or apply wide outdoor-rated grip tape along the front edge of each step.
These are inexpensive, fast to install, and a huge safety upgrade.
- **Don’t forget railings.**
If you have a railing, test it: does it wobble, flex, or feel loose? Tighten brackets/screws or add an extra bracket midway. When someone slips, that railing is their lifeline.
This combination—good cleanup, grit, pre-treatment, and solid handholds—turns a “very Finnish” fall risk into a well-managed, DIY-safe path.
---
Beat the Winter “Dimness”: DIY Light Boost Without New Wiring
Dark, early afternoons and gloomy rooms are a huge part of why “Very Finnish Problems” hits a nerve worldwide—winter just feels heavier when your home is dim. You can’t change the sun, but you can absolutely upgrade how your home handles light.
What you’ll need:
- LED bulbs (warm white, around 2700K–3000K, higher lumens than current bulbs)
- Clamp light or inexpensive plug-in lamp
- Aluminum foil or light-colored card (for reflectors)
- Light-colored cloth or pillowcase
- Command hooks or cable clips for routing cords
Steps:
- **Swap lumens, not just bulbs.**
Check your existing bulbs’ lumen rating (brightness). Replace the dimmest ones in key rooms with higher-lumen LEDs of the same or slightly warmer color temperature (2700–3000K feels cozy, not harsh).
- **Build a quick “bounce light.”**
- Clip a clamp light to a shelf or door frame pointing at a **white wall or ceiling**, not directly at your eyes.
- Line the back of the clamp shade with aluminum foil to reflect more light forward.
Bounced light spreads more evenly and makes small rooms feel larger.
- **Turn mirrors into light amplifiers.**
Move a mirror opposite or next to a main light source or window. You’re not just decorating; you’re doubling the perceived light output in that area.
- **DIY soft diffuser for harsh bulbs.**
If a bright bulb feels too intense, create a diffuser: clip a light-colored cloth (even a thin pillowcase) loosely in front of a lamp shade, not touching the bulb. Make sure it’s not near a hot halogen bulb—LEDs are best here.
- **Route cables safely, then forget about them.**
Use Command hooks or cable clips to run lamp cords tightly along baseboards or corners—no tripping hazards, no tangled mess. A few minutes of cable management turns “temporary” lights into something permanent-feeling.
A brighter, more evenly lit room doesn’t just look better on Zoom calls; it also makes winter chores and repairs easier to see and less draining to do.
---
Conclusion
The “Very Finnish Problems” meme account went viral because it nails what winter actually feels like—awkward, slippery, dim, and sometimes a little ridiculous. But the most Finnish thing you can copy right now isn’t complaining about the cold; it’s quietly engineering your way around it.
Start with one zone—your entryway, your cold hallway, your slippery steps—and apply one of these DIY fixes today. You don’t need new construction, designer gear, or perfect weather to make your home safer, warmer, and easier to live in.
You just need a few tools, a practical plan, and the mindset that “winter problems” are just DIY projects in disguise.
Key Takeaway
The most important thing to remember from this article is that this information can change how you think about DIY Solutions.


