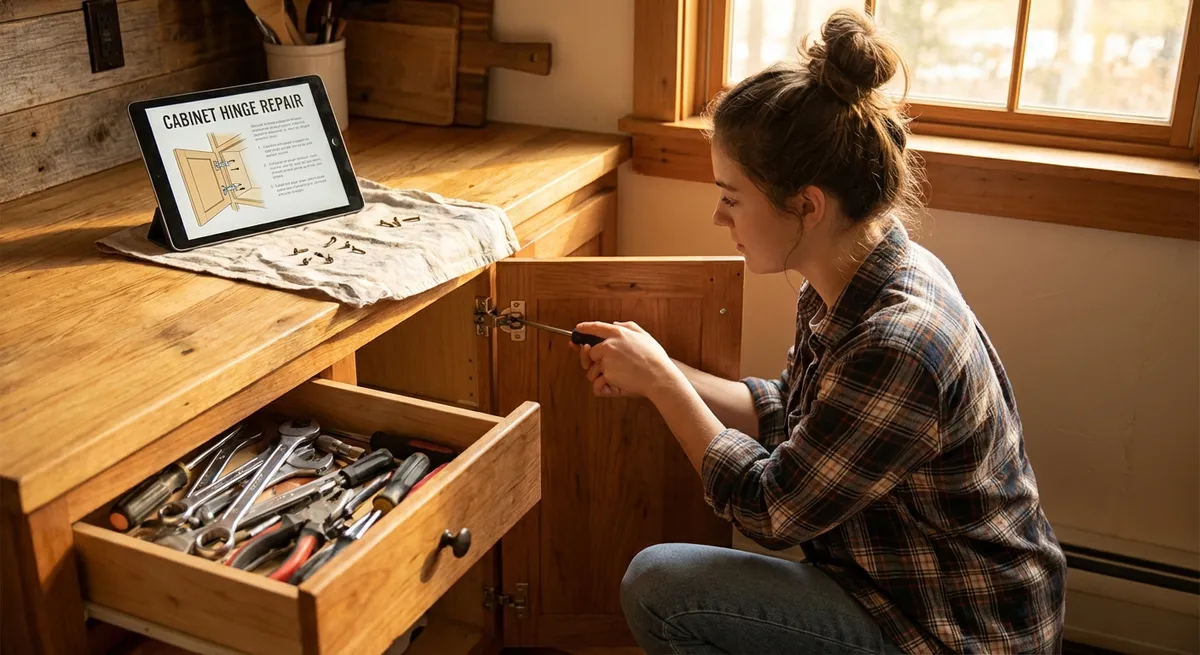
Minor problems pile up fast—flickering lights, slow Wi‑Fi, leaky faucets, sticky zippers. Left alone, they drain time, money, and patience. This guide walks you through five quick, practical fixes you can handle today, without special tools or advanced skills. Each solution is step‑by‑step, focused on safety, and designed to get you back to normal fast.
---
Fix 1: Flickering or Dead Light That Should Still Work
A light that flickers or won’t turn on doesn’t always mean “buy a new fixture.” Often, the problem is loose connections, a bad bulb, or a tripped circuit.
Step-by-step:
- **Cut the power first (safety first, always).**
Turn off the light switch. For extra safety, switch off the circuit breaker that controls that light.
- **Test with a known good bulb.**
- Remove the existing bulb and inspect the base for corrosion or burn marks.
- Screw in a bulb you know works (tested in another fixture).
- Turn the power back on and test.
- If it works now, the old bulb was the problem—recycle it properly.
- **Tighten the bulb and check the socket.**
- Turn power off again.
- Gently bend the small metal tab in the center of the socket *slightly* upward with a non-metal tool (like a wooden stick or plastic pen) so it makes better contact.
- Do **not** touch it with bare fingers and do this only with power off.
- **Check the switch.**
- With the power back on, flip the switch slowly between on and off a few times.
- If the light flickers when the switch is barely touched or feels loose, the switch may be worn out and need replacement.
- If you’re not comfortable replacing a switch, stop here and call an electrician.
- **Inspect the breaker.**
- Go to your electrical panel and see if the breaker for that room is partially tripped (not fully on, not fully off).
- Flip it fully to OFF, then back to ON.
- If it trips again right away, stop troubleshooting and call a professional—there may be a wiring fault.
When to call a pro:
Burning smell, sparking, hot switch plate, or breaker that keeps tripping. Those are not DIY situations.
---
Fix 2: Weak or Unstable Home Wi‑Fi Signal
Buffering video and dropped calls are usually fixable with basic adjustments before you buy new hardware.
Step-by-step:
- **Reboot the modem and router properly.**
- Unplug power from both modem and router.
- Wait at least 30 seconds.
- Plug in the modem first, wait until all lights stabilize.
- Then plug in the router and wait 1–2 minutes before testing Wi‑Fi again.
- **Reposition the router for better coverage.**
- Place the router as centrally as possible in your home, off the floor, and away from thick walls or metal objects.
- Avoid putting it inside cabinets, near microwaves, or behind TVs.
- Position antennas (if any) at different angles: one vertical, one horizontal.
- **Reduce interference from other devices.**
- Move cordless phones, baby monitors, and Bluetooth speakers away from the router.
- If your router allows it, connect to the **5 GHz** network name (often labeled “5G” or similar) for faster speeds at shorter range; use **2.4 GHz** for longer range but lower speeds.
- **Change the Wi‑Fi channel (if your area is crowded).**
- Log into your router’s admin page (address often printed on the router—commonly 192.168.0.1 or 192.168.1.1).
- Look for “Wireless Settings” or “Advanced.”
- Change the channel to a different one (1, 6, or 11 on 2.4 GHz are common good options).
- Save, reboot the router, and test again.
- **Use wired connections where it matters.**
- If a TV, gaming console, or desktop is near the router, use an Ethernet cable instead of Wi‑Fi.
- This reduces Wi‑Fi traffic and gives a stable connection to your most demanding devices.
When to upgrade:
If your router is more than 5–7 years old or doesn’t support modern Wi‑Fi standards (like Wi‑Fi 5 / 802.11ac or newer), a new router can be a straightforward improvement.
---
Fix 3: Leaky Faucet That Won’t Stop Dripping
A slow drip wastes water and money, but many faucet leaks come from a worn washer or cartridge. You often can fix it with basic tools.
(These steps apply to most standard sink faucets. For specialty faucets, check the manufacturer’s instructions.)
Step-by-step:
- **Shut off the water.**
- Look under the sink for two small valves (hot and cold).
- Turn both clockwise until they stop.
- Open the faucet to release remaining water pressure.
- **Plug the drain.**
- Use the sink stopper or a rag.
- This prevents tiny screws or parts from falling down the drain while you work.
- **Remove the handle.**
- Look for a small cap or plug hiding a screw. Pry it gently with a flat tool or fingernail.
- Use a screwdriver or Allen key to remove the screw.
- Lift the handle off carefully.
- **Inspect and remove the cartridge or washer.**
- Under the handle, you’ll see a cartridge (common in modern faucets) or a stem assembly with a washer at the bottom (older styles).
- Take a clear photo of the assembly before removing anything.
- Loosen the retaining nut with an adjustable wrench and pull out the cartridge or stem.
- **Replace worn parts.**
- For cartridges: bring the old one to a hardware store and match it with an identical replacement.
- For washer-style faucets: replace the rubber washer and O-rings.
- Lightly coat new O-rings with plumber’s grease if available.
- **Reassemble and test.**
- Reinstall the cartridge or stem in the exact orientation as before (use your photo as a guide).
- Tighten the retaining nut snugly but don’t overtighten.
- Reattach the handle and screw.
- Turn the shutoff valves back on slowly, then test the faucet.
When to stop and get help:
If the shutoff valves won’t close or begin leaking, or if you see corroded, crumbling pipes, contact a plumber rather than forcing anything.
---
Fix 4: Slow or Smelly Drain (Without Harsh Chemicals)
A slow sink or shower drain is usually caused by soap scum, hair, and debris—not a deep pipe failure. You can often restore flow in minutes using mechanical methods instead of strong chemicals.
Step-by-step:
- **Remove visible debris.**
- Put on rubber gloves.
- Take off the drain stopper or cover (usually lifts out or unscrews).
- Pull out hair and gunk using a plastic drain snake or even a bent wire hanger with a small hooked end.
- Dispose of debris in the trash, not the toilet.
- **Use hot (not boiling) water.**
- Run very hot tap water for 1–2 minutes to help dissolve soap buildup.
- Avoid pouring boiling water into porcelain sinks or PVC pipes, as it can cause damage.
- **Try a baking soda and vinegar flush (for mild clogs and odor).**
- Pour about ½ cup of baking soda into the drain.
- Follow with about 1 cup of white vinegar.
- Let it foam for 10–15 minutes.
- Flush with hot water for several minutes.
- **Use a plunger correctly (for deeper partial clogs).**
- For a sink, block the overflow hole with a wet rag to improve suction.
- Add enough water to cover the plunger’s rubber cup.
- Plunge with firm, steady pushes for 15–20 seconds.
- Repeat a few times, then run water to test drainage.
- **Clean or adjust the P-trap (if you’re comfortable).**
- Place a bucket under the curved pipe under the sink.
- Loosen the slip nuts by hand or with pliers.
- Remove the P-trap, empty debris into the bucket, and rinse it out.
- Reinstall, ensuring the washers are seated correctly.
- Run water and check for leaks.
Avoid:
Frequent use of harsh chemical drain cleaners; they can damage pipes, harm septic systems, and be dangerous if mixed with other cleaners.
---
Fix 5: Stuck or Splitting Zipper on Clothes or Bags
A zipper that jams, separates, or refuses to close can make a jacket or bag useless—but many zipper issues are surprisingly easy to fix.
Step-by-step:
- **Check for trapped fabric or threads.**
- Gently tug the zipper slider backward (never force it).
- Look for cloth, thread, or lining stuck in the teeth.
- Carefully free the material using tweezers or small scissors without cutting the zipper tape.
- **Lubricate the zipper teeth.**
- Use a common household item: dry bar soap, graphite pencil, or a candle.
- Rub it lightly along both sides of the zipper teeth (not on the fabric).
- Move the slider up and down several times to spread the lubricant.
- **Fix a zipper that splits open behind the slider.**
- If the zipper closes but then opens behind the slider, the slider may be slightly widened.
- Use a pair of pliers to gently pinch the top and bottom of the slider together *very slightly*.
- Test after each tiny adjustment. Too much pressure can break the slider, so go slowly.
- **Realign misaligned teeth.**
- Open the zipper fully if possible.
- Inspect for bent or missing teeth near the problem area.
- Straighten slightly bent teeth carefully with small pliers.
- If a tooth is missing near the bottom or middle, the zipper may need professional replacement.
- **Secure a zipper that keeps sliding down.**
- For pants or skirts, attach a small keyring or elastic band to the zipper pull.
- Loop it over the button before fastening to keep the zipper from sliding down.
- For jackets, make sure the bottom box and pin (insertion area) aren’t frayed—if they are, replacement is often the only lasting fix.
When to see a tailor or repair shop:
Broken slider pull, missing multiple teeth, or a damaged zipper tape usually require a full zipper replacement, which a tailor or shoe repair shop can handle.
---
Conclusion
Most everyday annoyances don’t need to turn into expensive repairs or full replacements. With a few basic tools and a careful, step-by-step approach, you can handle flickering lights, weak Wi‑Fi, leaky faucets, slow drains, and stubborn zippers on your own. Start with safety, take photos before disassembly, and know where to stop and call a professional. The more of these small fixes you knock out now, the smoother—and cheaper—your daily life becomes.
---
Sources
- [U.S. Department of Energy – Lighting Choices to Save You Money](https://www.energy.gov/energysaver/lighting-choices-save-you-money) – Background on lighting types and efficiency, useful when deciding whether a bulb or fixture may be the issue
- [National Fire Protection Association (NFPA) – Electrical Safety in the Home](https://www.nfpa.org/education-and-research/home-fire-safety/electrical/electrical-safety-in-the-home) – Key electrical safety practices relevant to troubleshooting lights and switches
- [Federal Communications Commission (FCC) – Home Network Security Tips](https://www.fcc.gov/consumers/guides/home-network-security) – Guidance on managing home routers and Wi‑Fi, including configuration basics
- [US Environmental Protection Agency (EPA) – WaterSense](https://www.epa.gov/watersense) – Information on water use, leaks, and why fixing faucets and fixtures matters
- [Mayo Clinic – Household Chemical Safety](https://www.mayoclinic.org/healthy-lifestyle/adult-health/in-depth/household-chemicals/art-20046458) – Safety considerations around using harsh chemical cleaners, including drain products
Key Takeaway
The most important thing to remember from this article is that this information can change how you think about Quick Fixes.


