If your feed is suddenly full of gorgeous old houses with stained glass, pocket doors, and creaky staircases, you’re not alone. That viral “beautiful old houses” roundup on Bored Panda is reminding everyone how well-built, pre-war homes can outlast trends—and a few owners. But behind every romantic photo of carved banisters and tall windows, there’s a reality most homeowners know too well: drafts, stuck windows, mysterious noises, and finishes that have seen better decades.
The good news: you don’t need a full renovation budget to make an older place safer, quieter, and more comfortable. You just need a practical game plan and a willingness to get your hands a little dusty.
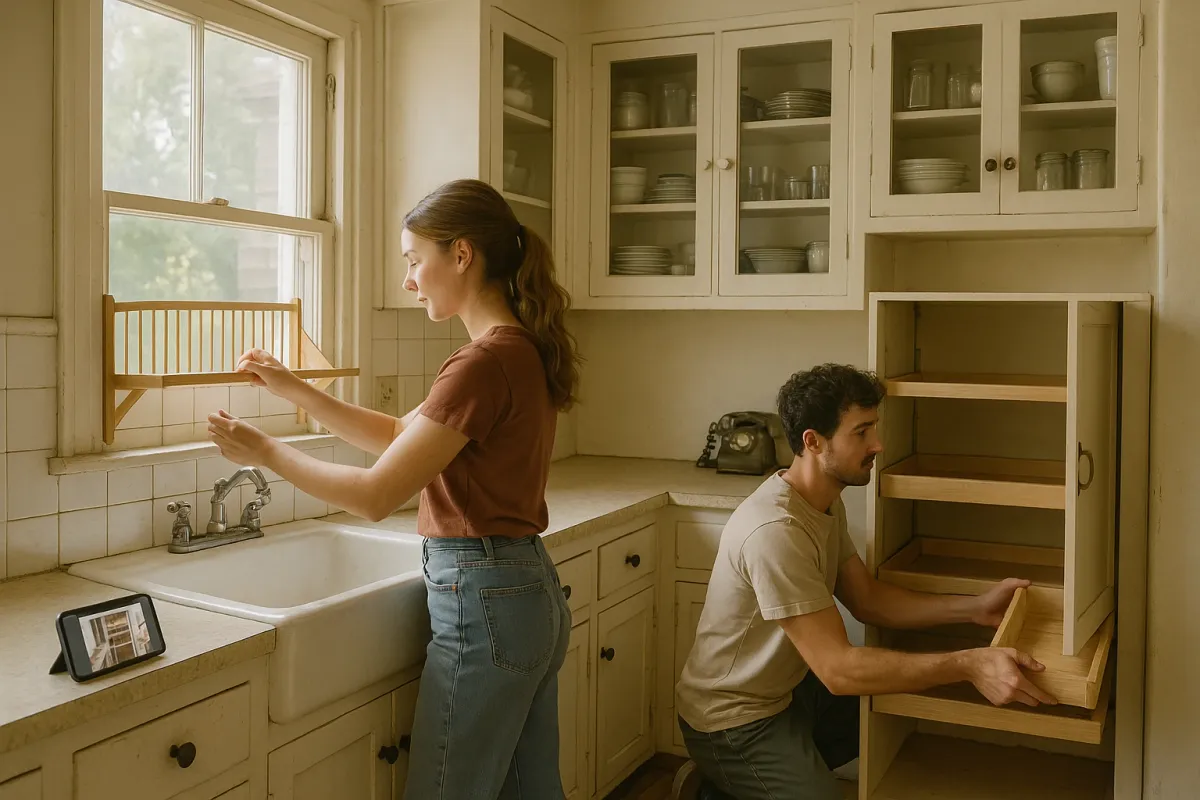
Below are five targeted DIY fixes inspired by those century-old homes that are trending right now—designed for people living in the real world, with real problems and real limits on time and cash.
---
Seal Drafty Windows Without Replacing Them
Old houses often have beautiful, tall wood windows like the ones in those viral photo sets—but they’re also a huge source of heat loss and high utility bills.
Step-by-step:
- **Find the leaks.**
On a windy day, close all windows and doors. Hold a lit incense stick or a thin piece of tissue around window edges and watch for movement. Drafty spots will show right away.
- **Clean the surfaces.**
Wipe window frames and sashes with a damp cloth and mild cleaner, then dry fully. Weatherstripping won’t stick to dust or old grease.
- **Add removable weatherstripping.**
- Use **adhesive foam weatherstripping** along the sides and top where the sash meets the frame.
- For the bottom, use a **self-adhesive door sweep** or a thicker foam strip.
Press firmly and run your hand along the strip to make sure it’s sealed.
- **Use rope caulk for seasonal gaps.**
For larger cracks where the frame meets the wall, press in rope caulk (it looks like gray putty). It’s moldable, seals well, and can be peeled off in spring.
- **Consider a heat-shrink film kit.**
If your windows are very leaky but you can’t replace them, apply interior window film: stick the clear tape around the frame, attach the plastic, and tighten it with a hair dryer. It’s nearly invisible and dramatically cuts drafts.
- **Test again.**
Re-do the incense/tissue test. If air still moves, add another layer of weatherstripping or caulk obvious gaps in the trim with paintable latex caulk.
Result: You keep the original windows that give older homes their charm—but without feeling like you’re camping in January.
---
Quiet Those Creaky, Storybook Floors (Without Ripping Them Up)
The Bored Panda gallery of “craftsmanship that stood the test of time” shows stunning hardwood floors. In real life, those same floors often announce every step like a drumline.
Step-by-step (for floors you can access from below, like over a basement):
- **Find the noisy spots.**
Walk slowly and mark each squeak on the floor with a small piece of painter’s tape.
- **Get under the floor.**
In the basement or crawl space, look up to find the joists (the big perpendicular beams) and the subfloor above them. Use someone upstairs to step on your taped spots so you can see where flexing happens.
- **Add shims where boards move.**
- Gently tap **wood shims** (wedges) coated with carpenter’s glue between the joist and subfloor where you see gaps.
- Do not over-force; you want a snug fit, not a lifted floor.
- **Secure loose spots with screws.**
From underneath, drive 1⅝"–2" wood screws up through the joist into the subfloor (not all the way into the finished flooring). Space them every 6–8 inches across problem areas.
- **Re-check upstairs.**
Walk the floor again. If you still hear noise, mark any stubborn squeaks and repeat or add screws from below.
If you can’t access from below (finished ceiling underneath):
- **Use a “squeak repair” screw kit.**
These kits include special breakaway screws and a tripod tool:
- Find the squeak.
- Use a **stud finder** to locate joists beneath the floor.
- Drive the special screws through the carpet or directly into the wood; the head snaps off below the surface, leaving a tiny, almost invisible hole.
- **For bare wood floors, pre-drill.**
Drill a tiny pilot hole and use shorter wood screws into the joist. Countersink slightly and fill the hole with wood filler matching your floor color.
Result: You keep the original hardwood that Instagram loves, but your house stops sounding like a haunted mansion every time you grab a snack at 2 a.m.
---
Make High-Ceiling Rooms Actually Comfortable Year-Round
Those double-height ceilings and tall windows going viral right now are gorgeous—but they’re notorious for being freezing in winter and stuffy in summer.
Step-by-step:
- **Reverse your ceiling fans seasonally.**
- In **winter**, flip the switch on your ceiling fan (usually on the side of the housing) so blades spin **clockwise** on low. This pulls cold air up and gently pushes warm air down from the ceiling.
- In **summer**, switch to **counterclockwise** on medium/high to create a cooling breeze.
- **Control heat stratification.**
If there’s no fan, install a basic ceiling fan with a reversible motor. In many municipalities, a handy homeowner can do this if they’re comfortable with basic wiring—otherwise, have an electrician install a rated box and do the hookup, then you can handle blade swaps and controls later.
- **Improve window insulation temporarily.**
- Use **thermal curtains** or **insulated roller shades** on tall windows.
- Mount the rod or track 4–6 inches above the window and extend at least 4 inches past each side to reduce drafts and light leaks.
- In winter, close them at night; in summer, close them during the hottest hours of sun.
- **Balance airflow.**
- Make sure **supply and return vents** aren’t blocked by tall furniture or drapes.
- If one area is always too hot or cold, partially close vents in “perfect” rooms to redirect more airflow where you need it.
- **Use a smart thermostat with zoning features (even if you don’t have full zoning).**
Some smart thermostats can pair with remote temperature sensors. Place a sensor in the high-ceiling room and let the system average or prioritize its reading, so your system doesn’t shut off just because a small hallway is comfortable.
Result: You keep the dramatic, magazine-ready look—but the room starts feeling like a home instead of a decorative freezer box.
---
Bring Dull Wood Trim And Doors Back To Life Without Full Refinishing
The photos of century-old homes going viral right now highlight the woodwork: wainscoting, built-ins, thick baseboards. In reality, yours might be dull, nicked, and coated in grime and old polish.
You can dramatically improve it in a weekend without stripping and sanding everything.
Step-by-step:
- **Clean off the buildup.**
- Mix a solution of **warm water + a few drops of dish soap**.
- Dampen (don’t soak) a microfiber cloth and gently wipe trim, doors, and railings.
- For heavy grime, use a dedicated **wood cleaner/degreaser** (like Murphy Oil Soap, following the label).
- **Deal with white water rings and cloudy spots.**
- Lay a **cotton cloth** over the ring.
- Use a **dry iron on low** and move it gently in circles for 5–10 seconds at a time.
- Check often. The gentle heat can evaporate trapped moisture and clear the ring.
Stop if the finish softens or becomes sticky.
- **Repair small scratches.**
- For shallow scratches, use **wood touch-up markers or wax sticks** matched to your stain color.
- Color in, then gently buff with a soft cloth to blend.
- For deeper gouges, press in **colored wax filler** and smooth with a plastic scraper or old gift card.
- **Revive the finish with a restorer.**
Use a wipe-on wood finish restorer (like “restore-a-finish” type products):
- **Protect with a furniture wax or oil.**
- Once dry, apply a thin coat of **paste wax** or **conditioning oil** for wood.
- Let it haze, then buff to a soft sheen.
Result: Your trim and doors go from “tired rental” to “intentional vintage,” closer to what you’re seeing in those trending historic-home photos, without the cost or mess of a full refinish.
---
Tame Old-House Plumbing Noises And Slow Drains Before They Become Emergencies
Historic homes often come with original or semi-original plumbing. Those charming pedestal sinks and clawfoot tubs trending online can hide real-world issues: banging pipes and painfully slow drains.
You can address the most common annoyances yourself.
A. Quiet banging or “water hammer”
Step-by-step:
- **Identify when the noise happens.**
Note which fixture is in use when you hear banging—often when quickly shutting off a faucet or a washing machine fills.
- **Try a system reset.**
- Turn off the main water supply to the house.
- Open all faucets (top floor down to the lowest) and flush toilets to drain lines.
- Once the flow stops, close all faucets and slowly turn the main back on.
This can re-charge built-in air chambers that cushion pressure surges.
- **Add water hammer arrestors (for laundry or dishwasher).**
If hammer persists near appliances:
- Turn off valves to washer/dishwasher.
- Unscrew supply hoses.
- Install **screw-on water hammer arrestors** between the valve and hose.
- Reconnect and turn water back on.
- **Secure loose pipes (if accessible).**
In basements or utility areas, look for loose pipes that move when water runs. Use pipe straps and cushioned clamps to secure them to framing.
B. Clear slow drains the right way
Step-by-step:
- **Skip the harsh chemical drain cleaners.**
They’re tough on old pipes and can damage finishes.
- **Use a drain snake or zip tool.**
- Remove the stopper or strainer.
- Push a **plastic drain cleaning strip** or small hand snake down the drain and pull out hair and debris.
- Repeat until it comes back fairly clean.
- **Flush with hot water and mild cleaner.**
- Pour a kettle of **very hot (not boiling) water** down the drain.
- Follow with a mixture of **baking soda and vinegar** if you want a mild deodorizing effect (baking soda first, then vinegar, let sit, then flush again with hot water). It won’t clear serious clogs, but it’s safe for maintenance.
- **Clean the trap if needed.**
Under sinks, place a bucket, unscrew the P-trap, and manually clear the gunk. Reassemble with new washers if the old ones look cracked or brittle.
Result: Less drama from your pipes, fewer surprise clogs, and you buy yourself time before you need bigger, more expensive plumbing work.
---
Conclusion
Those viral images of beautifully preserved houses are more than nostalgia—they’re proof that good bones can last a century or more, even if the details need attention. Whether your place is actually 120 years old or just pretending to be, you don’t have to live with drafts, creaks, noise, and tired finishes.
Start with one issue: seal the worst draft, quiet the loudest squeak, revive the most visible woodwork. Each small, practical fix moves your home closer to the kind of space people love to photograph—and, more importantly, the kind of space you actually enjoy living in.
If you try one of these repairs, take a before-and-after photo. That’s the kind of “old house glow-up” worth sharing.
Key Takeaway
The most important thing to remember from this article is that this information can change how you think about DIY Solutions.


