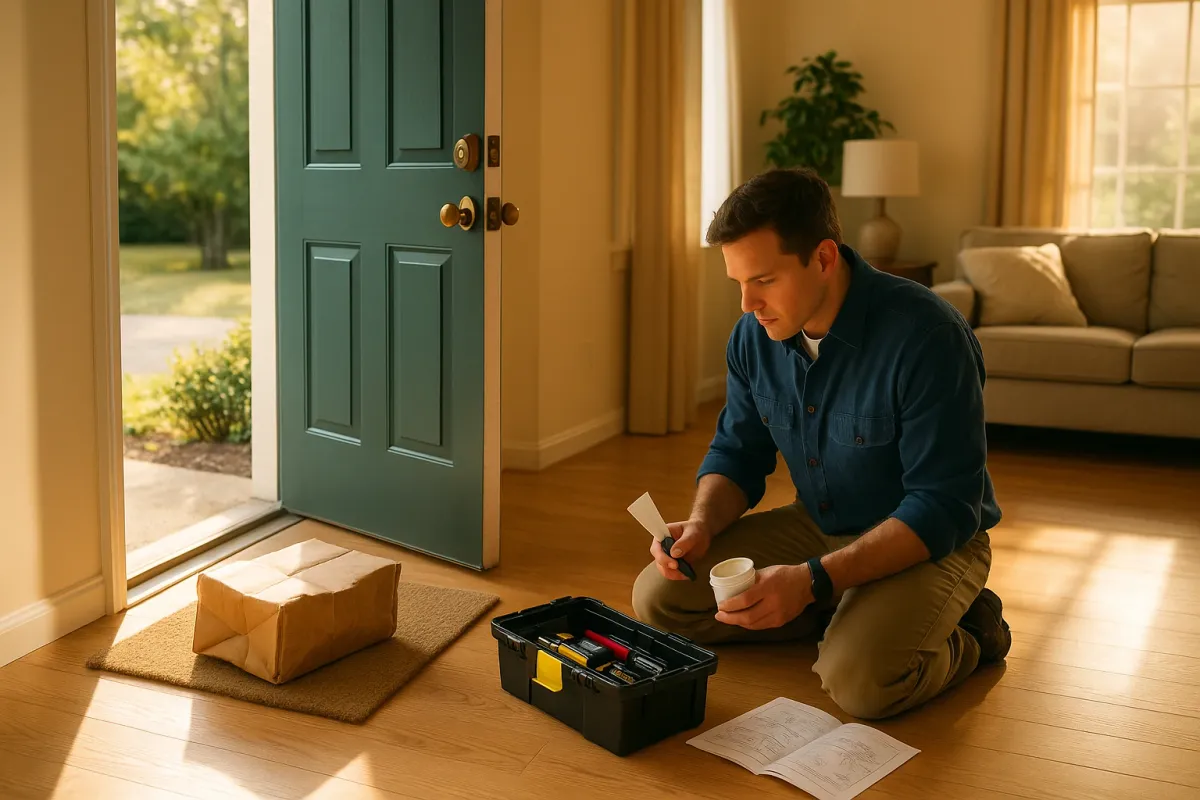
Online shopping is booming again this season, and with it comes a familiar headache: packages arriving banged up, boxes crushed, or items slightly broken before you even get them through the door. Viral threads like the one where 27 pets “helpfully” collected their owners’ deliveries are funny—but they also highlight a real problem. Between hurried couriers, bad weather, and curious pets, your home is the last line of defense when it comes to keeping deliveries safe and usable.
Instead of just getting frustrated (or waiting weeks for a replacement), there are a lot of household fixes you can do right now to rescue “almost ruined” deliveries. Below are five practical, step‑by‑step repairs for common delivery disasters—so you can save money, avoid returns, and keep your home running smoothly.
---
Repairing Crushed Cardboard Boxes So They Actually Stack And Store
When bulk items, small appliances, or storage bins arrive in crushed boxes, most people just live with the mess—or toss the box and lose the built‑in storage. A little structural repair can turn a sad, sagging box into something you can safely stack in a closet or garage.
You’ll need:
- Packing tape (clear or brown)
- Scissors or a box cutter
- A straightedge (ruler or similar)
- Scrap cardboard (from another box, cereal box, or shipping insert)
Steps:
**Assess the damage**
Open the box fully and remove the contents. Lay it flat. Identify where the box is failing: crushed corners, torn flaps, or sagging bottom.
**Rebuild the corners**
- For crushed corners, cut scrap cardboard into right‑angle “L” shapes that fit inside the corner, reaching at least halfway up each side. - Place the “L” inside the corner to act as a brace. - Tape thoroughly along both edges of the corner, wrapping the tape from inside to outside.
**Reinforce the bottom panel**
- Cut a piece of scrap cardboard the same size as the box bottom (trace and trim). - Lay it inside the box as a false floor. - Tape the underside seams of the box along all bottom edges so weight is carried by the tape and the new insert.
**Repair torn flaps and seams**
- If a flap is torn, align the tear so edges meet cleanly. - Place tape tightly across the tear on the inside first, then mirror it on the outside. - For seams that are splitting, run a continuous strip of tape along the entire length, pressing firmly with your fingers or a straightedge.
**Shape and stack test**
- Close the box, add a moderate weight (books, canned food), and gently press down from the top. - If the walls bow, add vertical “rib” supports: cut strips of cardboard the interior height of the box, stand them upright inside along each corner and the longer sides, and tape them in place.
Once you’ve done this once or twice, you can rescue almost any “crushed in transit” box and turn it into sturdy, stackable storage.
---
Fixing Dented Metal Cans And Containers Safely
Groceries and pantry items often arrive with dented cans—especially during busy shipping seasons with overloaded vans. Most dents are cosmetic, but severe ones can be a food safety issue. When in doubt, repair only for storage/stacking, not for consumption if the seal might be compromised.
You’ll need:
- A clean wooden spoon or rubber mallet
- A folded towel
- A flat, hard surface
Steps:
**Do a safety check first**
- Inspect the can for **rust, leaks, or bulging**. - If the top or bottom is bulging or the seam is damaged, do **not** eat the contents. Contact the retailer for refund/replacement and dispose of it safely.
**Protect the label**
Place a folded towel on your work surface. Lay the dented side of the can on the towel to avoid tearing the label (you’ll want it readable later).
**Apply gentle, even pressure**
- With the can on its side, use the rounded back of a wooden spoon or a rubber mallet. - Press or tap gently around the **edges of the dent**, not directly in the center, working your way in. This encourages the metal to move back into shape gradually.
**Roll out minor dents**
- For shallow dents, place the can between your palms on the towel and **roll it back and forth**, applying light pressure. - Rotate the can to work all sides evenly.
**Check the seams again**
Once the dent is minimized, inspect the top and bottom seams and lid edges. If anything looks cracked or pulled apart, treat it as unsafe to eat.
Now the cans will stack better in your pantry, labels stay readable, and you can quickly separate “cosmetic only” dents from true safety issues.
---
Salvaging Corners On Delivered Flat‑Pack Furniture
With furniture retailers and delivery companies slammed, it’s common to receive a flat‑pack box with one corner bashed in. Even if the interior pieces from IKEA, Wayfair, or Amazon Basics look fine at first glance, those corners and edges are where stress cracks lurk—and they’re exactly what causes wobbly shelves later.
You’ll need:
- Wood glue (or strong PVA glue for particleboard/MDF)
- Clamps (or heavy books/paint cans)
- Painter’s tape or masking tape
- A damp cloth
Steps:
**Inspect immediately and photograph everything**
Before you assemble, lay out all pieces on a soft surface. Take clear photos of any crushed corners or chipped laminate. You may still want a refund or partial credit even if you repair it.
**Rebuild chipped particleboard corners**
- For corners that are **crumbled but not missing completely**, gently press the loose fibers back into place. - Apply wood glue generously into the broken area. Use a toothpick to push glue into cracks. - Wrap the corner tightly with painter’s tape to hold the shape. Wipe away excess glue with a damp cloth. - Clamp or weight the corner if possible and let cure per glue instructions (typically 24 hours).
**Patch missing chunks with layered tape and filler (optional)**
- If a small piece is missing, build a temporary “mold” around the corner using painter’s tape. - You can fill the void with wood filler or a mix of wood glue and fine sawdust/cardboard fibers, shaping it roughly to match. - After it dries, lightly sand and re‑tape until it feels solid and square.
**Secure cracked edges before they spread**
- For hairline cracks near screw holes or dowel ends, carefully open the crack slightly with gentle pressure (don’t force it). - Drip wood glue into the crack, then release and clamp firmly. Wipe excess glue. - Allow it to dry fully before inserting hardware so the crack doesn’t widen during assembly.
**Protect repaired areas during assembly**
- Keep painter’s tape on fragile edges until the furniture is fully assembled and in position. - When tightening screws near a repaired area, stop as soon as you feel resistance—over‑tightening is what reopens those transit cracks.
This extra 20–30 minutes upfront can be the difference between a wobbly, short‑lived shelf and a stable piece that actually survives daily use.
---
Flattening Warped Books, Manuals, And Paperwork From Damp Delivery
Rain, snow, and “porch drop” deliveries are not friendly to cardboard mailers. Even with Amazon, USPS, UPS, and FedEx all promising “improved packaging,” books still show up warped or slightly damp. Before you give up on them, try a proper flattening and drying process.
You’ll need:
- Paper towels or unprinted paper (no newspapers – ink can transfer)
- Heavy flat objects (textbooks, tiles, or boards)
- A clean, dry table
- Optional: a small fan
Steps:
**Act fast if there’s moisture**
- Gently open the book or document. - Slide **plain paper** between damp pages every 10–20 pages (for books) to absorb moisture. - Do not use heat (hairdryers, heaters) directly—this can set the warp permanently.
**Pre‑dry with air circulation**
- Stand the book up like a tent, pages slightly fanned, in a dry room with a small fan on low nearby. - For paperwork, lay sheets in a single layer on a table, flipping them every 15–30 minutes until just barely damp, not wet.
**Press flat under weight**
- Once the paper is no longer wet but still slightly flexible, stack the pages or close the book. - Place it between two smooth boards or large books. - Add more heavy items on top to create even pressure across the whole surface.
**Leave it alone (the hardest part)**
- Let it sit under weight for at least 24 hours for paperwork, 48–72 hours for thicker books. - Replace any interleaving paper if it feels damp after several hours.
**Store to prevent re‑warping**
- For books, store them upright, not leaning at steep angles. - For important documents, place them in a folder or sheet protectors and lay flat.
You won’t restore a waterlogged book to “brand new,” but most mild warping from wet deliveries can be significantly reduced with patience and steady pressure.
---
Fixing Torn Plastic Packaging So It Still Protects What’s Inside
From big box retailers to indie sellers on Etsy, a lot of items arrive in thin plastic sleeves or bags that rip easily—think bedding, seasonal decor, and bulk paper products. Instead of throwing away these protective covers and buying new bins, you can repair and upgrade them into long‑term storage.
You’ll need:
- Clear packing tape or duct tape
- Scissors
- Optional: self‑adhesive hook‑and‑loop dots or strips (Velcro‑style)
Steps:
**Clean and dry before you fix**
Wipe any dust or dirt from around the tear with a dry cloth. Tape sticks poorly to dirty or damp plastic.
**Stabilize the tear**
- For long rips, align the edges so they meet neatly, without stretching. - If the area is frayed, trim just enough plastic to create a clean, straight edge.
**Apply tape on both sides**
- Cut a piece of tape that extends at least 1 inch beyond the tear on all sides. - Press it firmly over the tear from the outside, then mirror the same piece on the inside. - Rub along the tape to remove air bubbles and ensure that the edges are fully adhered.
**Reinforce stress points**
- Around zippers, corners, and handles, add short “brace” pieces of tape perpendicular to the tear repair. - For bedding bags or soft storage, tape along the seams where they usually crack first.
**Add a re‑closable opening (optional upgrade)**
- If the original zipper or adhesive strip is destroyed, cut a neat slit where you want your new opening. - Stick matching hook‑and‑loop dots or a strip along both sides of the slit, creating a simple flap closure. - Now you have a reusable storage bag instead of a single‑use wrapper.
Repaired plastic packaging is perfect for under‑bed storage, seasonal linens, and rarely used items, turning delivery damage into long‑term organization.
---
Conclusion
With delivery volumes surging and carriers racing the clock, damaged packages are practically built into modern life. But that doesn’t mean you’re stuck with broken corners, warped books, dented cans, and shredded packaging. With basic tools and a little know‑how, you can turn “I should return this” into “I fixed it and it works.”
Next time a box shows up looking like it lost a fight with the delivery truck—or your pet—you’ll have a repair playbook ready. Save the refund requests for truly ruined items, and let simple, smart fixes do the rest.
Key Takeaway
The most important thing to remember from this article is that following these steps can lead to great results.


