When a device refuses to power up, most people jump straight to “it’s dead” and start shopping for a replacement. In reality, many “dead” electronics are suffering from simple, fixable issues you can handle at home with a calm approach and a few basic checks. This guide walks you through practical, step‑by‑step power troubleshooting for common electronics so you can revive them—or at least know when it’s truly time to replace or call a pro.
---
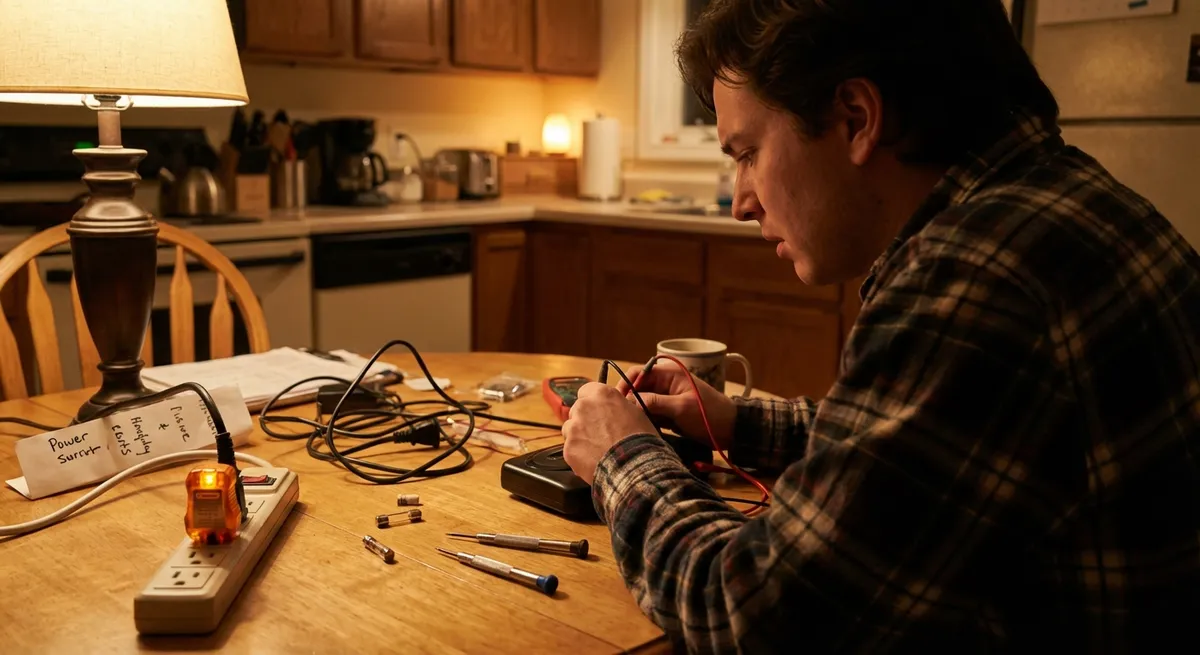
Start With the Basics: Power Source and Connections
Before opening anything or blaming the device, confirm that it’s actually getting power. A surprising number of “broken” gadgets are victims of loose plugs, tripped breakers, or bad outlets.
Step-by-step:
**Check the wall outlet with something else**
- Plug in a lamp, phone charger, or another known‑working device. - If that device doesn’t work either, the outlet may be the issue.
**Look for a tripped breaker or GFCI reset**
- Go to your breaker panel and look for any switches in the middle position. Flip them fully OFF, then ON. - In kitchens, bathrooms, garages, or outdoor areas, press the **RESET** button on GFCI outlets (the ones with “TEST/RESET” buttons).
**Inspect the plug and power strip**
- Make sure the plug is fully seated in the outlet and not half‑loose. - Bypass the power strip and plug directly into the wall to rule out a bad strip. - If the strip has a switch or breaker, make sure it’s ON and the strip’s indicator light (if any) is lit.
**Verify any external power switches**
- Some monitors, speakers, and desktop computers have a separate power rocker switch on the back. Confirm it’s switched to ON. - Check power bricks (laptops, printers) for small inline switches on the cable.
**Try a different outlet**
- Move the device to a different room or circuit to eliminate local wiring issues.
If the outlet and power strip check out but the device still appears dead, move on to checking the power cable and adapter.
---
Inspect Cables, Power Bricks, and Ports for Damage
Cords and adapters fail more often than the electronics themselves. They get bent, twisted, stepped on, or stored poorly, leading to internal breaks or short circuits.
Step-by-step:
**Do a visual inspection under good light**
- Look for frayed insulation, exposed wires, burn marks, melted plastic, or bent plug prongs. - Pay special attention to stress points: near the plug ends and where the cable meets the power brick.
**Gently flex the cable while testing**
- Plug the adapter into the wall and the device. - While the device is supposed to be charging or powering up, **gently** bend the cable near each end. - If the device powers on intermittently when you move the cable, the cord is likely damaged and should be replaced.
**Check the power brick (if there is one)**
- Feel the brick after being plugged in for a few minutes: - Slight warmth = usually normal. - Very hot, buzzing, or a burnt smell = unsafe; stop using it immediately. - Inspect the brick for cracks, bulges, or rattling sounds when slightly shaken.
**Inspect the device’s power port**
- Use a flashlight to look inside the port (laptops, game consoles, TVs, etc.). - Look for: bent pins, debris, lint, or corrosion. - For debris, **power off and unplug everything**, then use a wooden toothpick or compressed air (short bursts) to remove lint or dust—never metal tools.
**Test with a known‑good cable or adapter**
- If possible, borrow or use another compatible power cable/adapter from the same brand or correct specs. - If it works with the other adapter, replace the original one—it’s cheaper than replacing the device.
If cables and ports look good but the device still won’t respond, the problem may be with internal power or the battery.
---
Wake Up Batteries: Reset, Reseat, or Revive
Rechargeable electronics (phones, laptops, tablets, cordless tools, Bluetooth speakers) often seem “dead” when the battery management system or internal software locks up, or when the battery is deeply discharged.
Step-by-step for phones/tablets:
**Force restart the device**
- Many smartphones and tablets can be revived with a forced restart, even if the screen stays black: - **iPhone with Face ID / iPhone 8 or later:** Quickly press and release Volume Up, then Volume Down, then hold the Side button until you see the Apple logo. - **Older iPhones:** Hold Home + Power together until the Apple logo appears. - **Android (varies):** Usually hold Power + Volume Down for 10–20 seconds until it restarts.
**Charge with a known‑good charger for at least 30 minutes**
- Use an original or certified charger and cable. - Leave it charging uninterrupted. Some devices need time before they show anything on the screen if the battery drained fully.
**Check for charging indicators**
- Look for small battery icons, LED lights, or vibration feedback when plugging in. - If there’s zero sign of life after 30–60 minutes, try another cable, adapter, and outlet.
Step-by-step for laptops and devices with removable batteries:
**Power drain reset (for devices without a removable battery)**
- Unplug the power adapter. - Hold down the power button for 15–30 seconds to discharge residual power. - Reconnect the power adapter and try powering on again.
**Remove and reseat the battery (if removable)**
- Turn off and unplug the device. - Slide the battery release latches and remove the battery. - Press and hold the power button for 15–20 seconds (no battery, no adapter). - Reinstall the battery firmly, connect the adapter, and try powering on.
- **Test battery vs. AC power**
- Try booting the laptop **without** the battery installed, using only the AC adapter.
- If it powers on without the battery but not with it, the battery may be faulty and should be replaced.
If your device only powers on when plugged in or drains instantly, the battery is likely at the end of its life. A battery replacement is often much cheaper than a new device.
---
Fix Overheating Shutdowns and Thermal Protection Triggers
Many electronics have built‑in protection that forcibly shuts them down if they get too hot. Laptops, game consoles, streaming boxes, and even some TVs will appear “dead” if they overheat repeatedly, then may come back after cooling.
Step-by-step:
**Let the device cool**
- Unplug it completely and let it sit for at least 30–60 minutes in a cool, ventilated area. - Avoid direct sunlight, heaters, or stacked devices that trap heat.
**Check for blocked vents and dust buildup**
- Inspect vent openings on the sides, back, and bottom. - If you see dust clogs, use **compressed air** in short bursts from the outside to blow dust out. - For laptops, avoid spinning the fan too fast—hold the fan blade still with a toothpick while blowing air if possible.
**Improve airflow and placement**
- Don’t place laptops, consoles, or streaming devices directly on soft surfaces (beds, couches, carpets). Use a hard, flat surface. - Move other devices or clutter away from vents. - For consoles, leave at least a few inches of space on all sides.
**Check fan operation (if visible or audible)**
- When you power on, listen for the fan spinning up. - No fan sound, repeated shutdowns, or grinding noises could indicate a failing fan, which usually requires professional replacement.
**Limit heavy loads during testing**
- After cleaning and repositioning, power on and let the device idle for a bit before gaming, video editing, or other intensive tasks. - If it stays on at idle but shuts off under load, heat is still likely the issue.
Persistent overheating or instant shutdowns often point to failing fans, dried thermal paste, or internal dust that requires a deeper cleaning—tasks that are better handled by a repair shop if you’re not comfortable opening the device.
---
When to Stop DIY and Call a Professional
Not every power problem should be fixed at home. Knowing when to stop can prevent electrical hazards, data loss, or turning a repairable device into e‑waste.
Step-by-step decision guide:
**Stop immediately if you notice any of these:**
- Burning smell or scorch marks on the device, plug, or outlet - Visible arcing or sparking - Cracked or melted plastic on the power connector or adapter - Electric shock or tingling when touching the device or cable
**Check your warranty status**
- Look up the serial number on the manufacturer’s website and confirm warranty or extended coverage. - Opening the device or using third‑party parts may void coverage, so verify before you pry anything open.
- **Evaluate the repair vs. replacement cost**
- Research typical repair costs for your device model (e.g., “PlayStation 5 power issue repair cost”).
- If repair is more than 50–60% of the cost of a comparable new device, replacement may be more practical.
**Back up data before any major action**
- If the device shows signs of partial life (fans spin, indicator lights) but struggles to boot, prioritize backing up data first. - For laptops and PCs, consider removing the drive and using a USB adapter to copy data if the machine won’t stay on.
**Choose qualified repair options**
- For phones and laptops, look for manufacturer‑authorized centers or reputable independent shops with clear warranties on repairs. - For TVs and large appliances, contact the manufacturer’s support page for recommended service partners.
When in doubt, treat anything involving burning smells, liquid damage, or exposed wiring as “pro only.” Your goal is to fix problems—not create safety risks at home.
---
Conclusion
Many electronics that suddenly won’t turn on are not actually dead; they’re blocked by something simple: bad outlets, failed power strips, damaged cables, confused batteries, or overheating shutdowns. By moving methodically—checking power sources, inspecting cables and ports, resetting batteries, and clearing heat issues—you can restore a surprising number of devices without specialized tools.
When you hit signs of serious electrical trouble, warranty coverage, or internal damage, that’s your cue to pause DIY and bring in a professional. Either way, a structured power checkup helps you make smarter repair vs. replace decisions and keeps more electronics working longer instead of heading straight for the trash.
---
Sources
- [U.S. Consumer Product Safety Commission – Extension Cords and Power Strips Safety](https://www.cpsc.gov/safety-education/safety-guides/home/extension-cords-and-power-strips) - Guidance on safely using and troubleshooting power strips and cords
- [Apple Support – If your iPhone, iPad, or iPod touch won’t turn on or is frozen](https://support.apple.com/en-us/HT201412) - Official forced restart and power troubleshooting steps for iOS devices
- [Microsoft Support – Troubleshoot power problems with your Surface](https://support.microsoft.com/en-us/surface/troubleshoot-power-problems-with-your-surface-0eae1c1f-4a53-b9e5-116b-859d5c522a88) - Example of manufacturer power and battery diagnostics for laptops/tablets
- [Energy.gov – Home Electronics: Tips for Energy-Efficient Use](https://www.energy.gov/energysaver/home-electronics-and-computers) - Background on how electronics use power and why devices may behave unexpectedly in low-power states
- [Mayo Clinic – Electrical injuries: First aid](https://www.mayoclinic.org/first-aid/first-aid-electrical-shock/basics/art-20056695) - Safety guidance on what to do if someone experiences an electrical shock
Key Takeaway
The most important thing to remember from this article is that this information can change how you think about Electronics.


