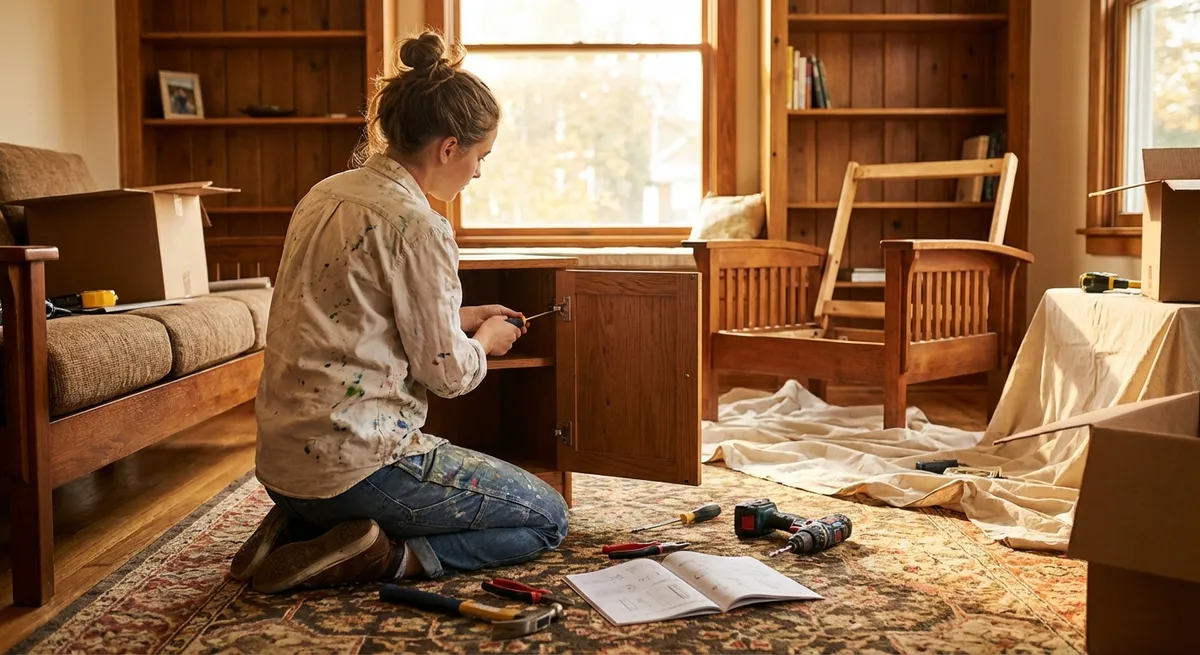
Minor issues around the house don’t just annoy you—they quietly waste money, time, and energy. The good news: you don’t need a full tool chest or contractor on speed dial to handle most of them. With a few basic tools and a simple process, you can restore comfort, safety, and efficiency in a single afternoon. This guide walks you through five practical, high-impact fixes that solve common household problems step by step.
---
Stop a Dripping Faucet and Cut Water Waste
A dripping faucet can waste gallons of water a day and slowly drive you crazy. Most drips come from worn internal parts—not from something “major” going wrong. You can usually fix it yourself in under an hour.
What You’ll Need
- Adjustable wrench
- Screwdriver (Phillips or flathead, depending on handle)
- Replacement parts (cartridge, O-ring, or washer—identify your faucet type first)
- Towel and small bowl (to catch small parts)
Step-by-Step
**Shut off the water**
- Look under the sink for the hot and cold shutoff valves. - Turn both clockwise until they stop. - Open the faucet to confirm the water is off.
**Plug the drain**
- Use the sink plug or a rag. - This prevents screws or small parts from disappearing down the drain.
**Remove the faucet handle**
- Pry off any decorative cap with a flathead screwdriver. - Unscrew the handle screw; pull the handle off. - If it’s stuck, gently wiggle or use a little penetrating oil.
**Identify the internal part**
- Cartridge faucet: you’ll see a single cartridge stem. - Compression faucet: you’ll see a stem that threads out and a separate rubber washer. - Take a photo before disassembly to help with reassembly.
**Remove the cartridge or stem**
- Use the wrench to loosen the retaining nut. - Pull the cartridge or stem straight out. - Inspect O-rings and washers for cracks, flattening, or wear.
**Replace worn parts**
- Take the old part to a hardware store to match it. - Install the new cartridge, washer, or O-rings in the same orientation. - Tighten the retaining nut snugly (don’t overtighten).
**Reassemble and test**
- Reinstall the handle and screw; snap the decorative cap back on. - Turn the shutoff valves back on slowly. - Run the faucet and check for drips and leaks at the base.
If the drip persists, the seat inside the faucet body may be damaged. At that point, a replacement faucet can be more efficient than chasing further parts.
---
Quiet a Running Toilet and Avoid Surprise Water Bills
A toilet that never stops running can waste hundreds of gallons per day. Most issues are inside the tank and involve easy-to-replace parts you can swap without special tools.
What You’ll Need
- Adjustable wrench or pliers
- Replacement flapper or fill valve (depending on the issue)
- Towel or sponge
Step-by-Step
**Remove the tank lid and observe**
- Flush the toilet and watch what happens inside. - Common issues: - Water flows continuously into the bowl - Water level rises to the overflow tube - Flapper doesn’t fully seat after flushing
**Check the flapper first (most common culprit)**
- Turn off the shutoff valve near the toilet. - Flush to empty most of the water from the tank. - Feel the flapper: if it’s warped, cracked, or slimy and deteriorating, replace it.
**Replace the flapper**
- Unhook the flapper from the overflow tube ears. - Detach the chain from the flush handle arm. - Install the new flapper onto the same mounting points. - Reattach the chain, leaving a little slack (too tight or too loose can both cause running).
**Adjust the water level**
- Turn the water back on and let the tank refill. - Adjust the float so the water stops about 1 inch below the top of the overflow tube: - For float cup valves: pinch the metal clip and slide the float down the rod. - For float ball valves: turn the screw at the top of the arm or gently bend the arm down.
**If it still runs, inspect the fill valve**
- If water sprays or never quite shuts off, the fill valve may be worn. - Replacing it is usually a matter of: - Turning off the water - Disconnecting the supply line - Unscrewing the old valve from the tank bottom - Installing and adjusting a new one at the correct height.
**Final test**
- Flush several times and listen. - Ensure no water is silently trickling into the bowl. - Check around the base and supply line for leaks.
This repair not only reduces noise and water waste, it also protects you from unexpectedly high utility bills.
---
Fix a Door That Won’t Latch or Sticks in the Frame
Doors that don’t latch or scrape the jamb are more than a nuisance—they can be a security issue and cause damage to the frame over time. In many cases, the fix is straightforward alignment, not a full door replacement.
What You’ll Need
- Screwdriver
- Wood toothpicks or wooden matchsticks
- Hammer and small chisel (optional)
- Pencil
- Utility knife or hand plane (for minor shaving, optional)
Step-by-Step
**Identify the problem area**
- Close the door slowly and watch where it rubs or fails to latch. - Check whether: - The latch doesn’t line up with the strike plate opening - The top or side of the door rubs against the frame
**Tighten hinge screws first**
- Open the door and tighten all hinge screws on the door and frame. - If screws spin without tightening, they’re stripped.
**Fix stripped hinge screws**
- Remove the loose screw. - Insert toothpicks or matchsticks coated with wood glue into the hole. - Snap them flush with the surface. - Reinsert the screw; it will now bite into solid material.
**Adjust door alignment with hinge shimming**
- If the door is sagging (more gap at top latch side): - Add a thin cardboard shim behind the bottom hinge on the frame or - Slightly recess the top hinge deeper into the frame by chiseling a tiny amount. - Test the door after each small adjustment rather than over-correcting.
**Align the latch and strike plate**
- If the latch hits above/below the strike plate hole, mark where it contacts with a pencil. - For small misalignments: - Loosen the strike plate screws and shift the plate slightly up or down. - For larger misalignments: - Use a chisel to slightly enlarge the strike plate opening. - Reattach the plate and fill any extra visible gap with wood filler later for appearance.
**Deal with minor rubbing on edges**
- Mark the rub spot with a pencil. - Use a hand plane or sandpaper to remove a small amount of material. - Repaint or seal the shaved area to protect the wood.
Most door issues are solved by these simple adjustments. The key is to move slowly, test often, and remove as little material as possible.
---
Restore a Weak or Uneven Shower Spray
Low or uneven shower water pressure can turn a quick wash into a frustrating chore. Before you call a plumber, rule out mineral buildup and simple flow restrictions—two fixes that are quick and inexpensive.
What You’ll Need
- Adjustable wrench or pliers
- White vinegar
- Plastic bag and rubber band (for soaking in place)
- Old toothbrush or small brush
- Teflon (plumber’s) tape
Step-by-Step
**Check for obvious restrictions**
- Remove the showerhead by turning it counterclockwise with a wrench (protect the finish with a cloth). - Look inside for a plastic flow restrictor or visible mineral deposits.
**Clean mineral buildup**
- Mix equal parts white vinegar and water in a bowl. - Submerge the showerhead for at least 30 minutes (up to overnight for heavy buildup). - Scrub the nozzles and internal parts with a toothbrush to remove loosened deposits. - Rinse thoroughly with clean water.
**Soak in place if you can’t remove it**
- Fill a plastic bag with vinegar solution. - Slip it over the showerhead and secure with a rubber band. - Let it soak 1–2 hours, then remove and run hot water to flush.
**Inspect and clear the inlet screen**
- Many showerheads have a small mesh screen where water enters. - Gently remove and rinse the screen to clear particles and sediment. - Reinstall the screen before reassembly.
**Reinstall with fresh Teflon tape**
- Clean the shower arm threads. - Wrap Teflon tape clockwise around the threads 2–3 times. - Thread the showerhead back on by hand, then snug it with the wrench (don’t overtighten).
**Test for pressure and leaks**
- Turn on the water and check the spray pattern. - If pressure is still low across other fixtures, the issue might be with your home’s plumbing or municipal supply, which may require professional assessment.
Regular descaling can significantly improve performance and extend the life of your fixtures, especially in hard-water areas.
---
Secure a Loose Electrical Outlet for Safety
A loose electrical outlet that moves when you plug something in isn’t just annoying—it can eventually damage wires or cause arcing. If you’re comfortable turning off power and working carefully, you can secure the outlet itself (but leave any wiring concerns to a professional).
> Safety First: If you see scorch marks, smell burning, or suspect wiring damage, stop and call a licensed electrician.
What You’ll Need
- Flathead and Phillips screwdrivers
- Non-contact voltage tester
- Plastic outlet spacers or small pieces of rigid material (e.g., electrical box extenders, plastic shims)
- New outlet cover plate if the old one is cracked
Step-by-Step
**Cut power to the outlet**
- Turn off the correct breaker at your electrical panel. - Use a non-contact voltage tester at the outlet to confirm the power is off.
**Remove the cover plate**
- Unscrew the center screw and gently pull off the plate. - Inspect for cracks or damage; plan to replace if needed.
**Check outlet movement**
- Gently grasp the outlet (receptacle) and wiggle it. - If it moves, the issue is usually that the outlet is not snug against the electrical box or the box is recessed behind the wall surface.
**Tighten mounting screws**
- There are typically two screws holding the receptacle to the box (top and bottom). - Tighten them evenly, checking that the outlet sits straight. - If tightening pulls the outlet too far back into the wall, you’ll need spacers.
**Add spacers to bring the outlet flush**
- Use purpose-made outlet spacers or stackable shims behind the outlet’s mounting ears. - The goal is for the outlet front to be nearly flush with the wall surface, not sunken or protruding. - Re-tighten mounting screws with the spacers in place.
**Reinstall or replace the cover plate**
- Place the plate over the outlet and secure the center screw. - Don’t overtighten; that can crack the cover and create sharp edges.
**Restore power and test**
- Turn the breaker back on. - Plug in a lamp or small device to confirm operation and ensure the outlet no longer shifts when used.
If you encounter damaged wires, loose wire connections, or metal electrical boxes without proper grounding, stop and contact a licensed electrician. The mechanical fix here is for stability; anything beyond that moves into professional territory.
---
Conclusion
Small fixes done at the right time prevent bigger, more expensive problems later. A drip stopped today saves water and money next month. A running toilet repaired this weekend prevents a surprise bill. A level door, clean showerhead, and secure outlet all add up to a safer, more efficient home that simply works better.
You don’t need to become a full-time DIYer—just learn a few repeatable processes and approach each task calmly: shut off utilities, work methodically, test carefully. As you tackle these common repairs, you’ll build confidence for the next issue that pops up. And when a job clearly exceeds your comfort zone, you’ll also know enough to call a pro with the right questions.
---
Sources
- [U.S. Environmental Protection Agency – Fixing Leaks at Home](https://www.epa.gov/watersense/fix-leak-week) - Explains how household leaks like dripping faucets and running toilets waste water and how fixing them helps conservation
- [Energy.gov – Saving Water and Energy in the Home](https://www.energy.gov/energysaver/saving-water-and-energy) - Covers the impact of water-efficient fixtures and simple maintenance on utility savings
- [The Family Handyman – How to Fix a Leaky Single-Handle Faucet](https://www.familyhandyman.com/project/how-to-repair-a-cartridge-faucet/) - Detailed repair walkthrough for cartridge-style faucets with photos
- [Lowe’s – How to Fix a Running Toilet](https://www.lowes.com/n/how-to/fix-a-running-toilet) - Step-by-step guide to diagnosing and repairing common toilet tank problems
- [U.S. Consumer Product Safety Commission – Home Electrical Safety Checklist](https://www.cpsc.gov/s3fs-public/electrical_safety_in_the_home.pdf) - Provides safety guidelines for working around outlets and electrical systems at home
Key Takeaway
The most important thing to remember from this article is that this information can change how you think about Household Repairs.


