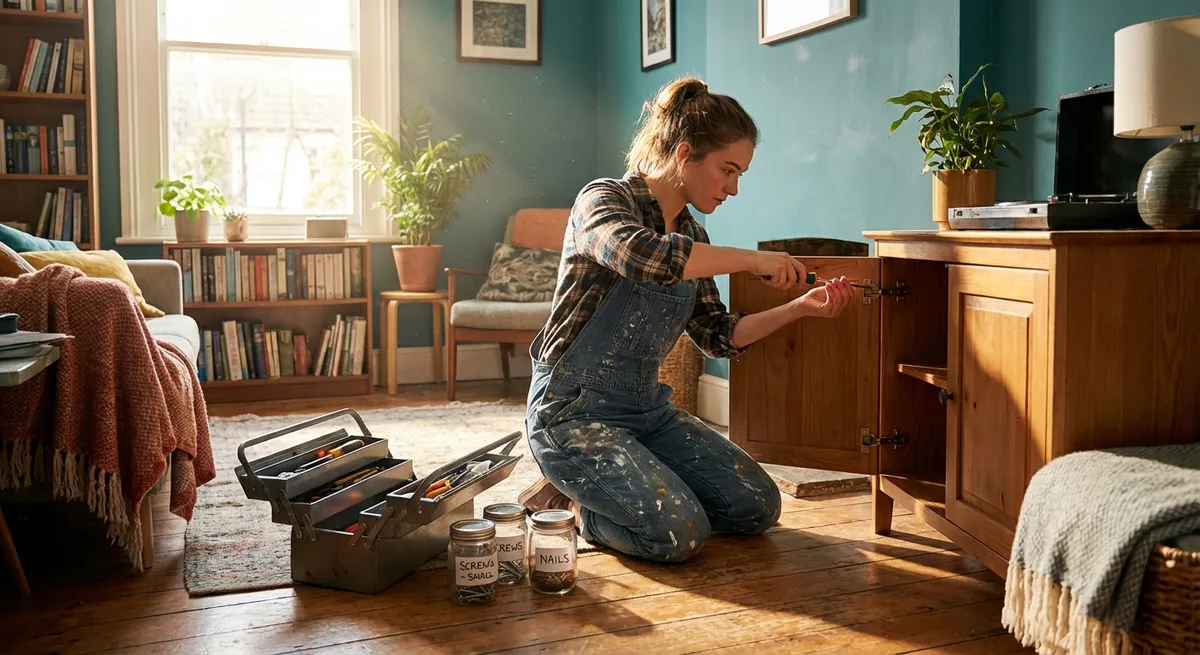
Small problems at home rarely stay small. A dripping faucet, a door that won’t close, or a flickering light can quickly turn from “annoying” to “urgent.” The good news: you can safely handle many of these issues on your own with a few basic tools and a clear plan. This guide walks you through five practical household fixes step-by-step so you can restore order without waiting on a pro.
---
Stop a Dripping Faucet (Without Replacing the Whole Thing)
A dripping faucet wastes water and money, and that “plink…plink…” can drive anyone crazy. Most drips come from a worn internal part, not a broken faucet.
Tools & Materials
- Adjustable wrench
- Flathead and Phillips screwdrivers
- Replacement cartridge or washer/O-rings (match brand/model if possible)
- Towel or rag
Step-by-Step
**Shut off the water supply**
Look under the sink for two valves (hot and cold). Turn them clockwise until they stop. Open the faucet to release any pressure and confirm water is off.
**Plug the drain**
Use a sink stopper or rag. Small screws and parts can easily disappear down the drain.
**Remove the handle**
- Pry off any decorative cap with a flathead screwdriver. - Unscrew the handle screw (usually Phillips) and lift the handle off.
**Access the cartridge or stem**
- Use the wrench to loosen the retaining nut. - Pull out the cartridge (single-handle) or stem (two-handle faucet). Take note of the orientation or snap a photo for reference.
**Inspect and replace worn parts**
- Check for cracked O-rings, worn rubber washers, or a damaged cartridge. - Either replace the entire cartridge or swap out washers/O-rings with matching parts from a hardware store. Bring the old piece to match size and brand.
**Reassemble in reverse order**
Slide the cartridge/stem back in exactly as it came out, tighten the nut (snug, not over-tight), reinstall the handle, and turn the water back on slowly.
**Test for drips**
Turn the faucet on and off a few times. If it still drips, ensure the cartridge is seated properly and the retaining nut is tight but not overtightened.
---
Quiet a Squeaky or Sticking Door
Squeaks and sticking doors are often friction problems—not major structural issues. A few adjustments usually solve them.
Tools & Materials
- WD-40 or silicone spray lubricant
- Hammer
- Nail or thin screwdriver
- Wood shims or business card
- Screwdriver
Step-by-Step
**Locate the problem**
- Squeak when opening/closing? Likely the hinges. - Door rubs or sticks on frame? Probably misalignment or swollen wood.
**Fix squeaky hinges**
- Open the door halfway to reduce weight on the hinges. - Place a rag under the hinge area. - Spray a small amount of lubricant directly on the hinge pin and moving parts. - Open and close the door several times to work it in. - Wipe away excess to avoid drips on flooring or walls.
**Deep hinge cleaning (if squeak persists)**
- Place a nail or thin screwdriver under the hinge pin head and tap upward with a hammer to loosen it. - Remove the pin, clean off rust or gunk with a rag, then lightly coat with lubricant. - Reinsert the pin and tap gently until fully seated.
**Address a sticking door at the latch side**
- Tighten all hinge screws—loose screws can let the door sag. - If the door still rubs at the top or latch side, try this quick fix: - Loosen the hinge screws on the side opposite the rub. - Insert a thin shim or folded business card behind the hinge leaf. - Retighten screws; this shifts the door slightly and can eliminate rubbing.
**Last-resort trimming (if absolutely necessary)**
- Mark where the door contacts the frame. - Lightly sand or plane that area, remove dust, and test often so you don’t over-trim.
---
Clear a Slow or Clogged Sink Without Harsh Chemicals
Chemical drain cleaners can damage pipes and are risky to handle. A mechanical approach is safer and often more effective.
Tools & Materials
- Plunger (cup-style for sinks)
- Bucket
- Adjustable pliers
- Old toothbrush or small cleaning brush
- Rubber gloves
- Baking soda and vinegar (optional)
Step-by-Step
**Try the plunger first**
- Remove the sink stopper if possible. - Fill the sink with just enough water to cover the plunger cup. - Place the plunger over the drain and press firmly to create a seal. - Plunge vigorously 10–15 times. - Lift the plunger and see if water drains faster.
**Clean the stopper area**
Hair and gunk often collect just below the stopper. - Remove the stopper (twist/pull, or disconnect the rod under the sink if needed). - Clean off debris with gloves and an old toothbrush. - Rinse and reinstall the stopper, then test.
**Check and clean the P-trap**
- Place a bucket under the curved pipe section (P-trap) beneath the sink. - Loosen the slip nuts by hand or with pliers. - Remove the trap and empty debris into the bucket. - Clean the inside with a brush and rinse. - Reassemble, making sure the washers are seated properly and nuts are snug (hand-tight, then a small extra turn with pliers if needed).
**Optional: Baking soda and vinegar flush**
- Pour about 1/2 cup baking soda into the drain. - Follow with 1/2–1 cup white vinegar. - Let it fizz for 10–15 minutes, then flush with hot (not boiling) water.
**Test for leaks**
Run water for a few minutes and check the trap and connections for drips. Tighten gently if needed.
---
Fix a Running Toilet That Won’t Stop Filling
A constantly running toilet wastes a lot of water but is usually fixable by adjusting or replacing a few inexpensive parts inside the tank.
Tools & Materials
- Replacement flapper (match size and style)
- Adjustable wrench (if replacing fill valve)
- Towel or sponge
Step-by-Step
**Identify where the water is going**
Remove the tank lid and look inside: - If water is trickling into the bowl, the flapper may not be sealing. - If water is spilling into the overflow tube, the water level is set too high.
**Check the flapper first**
- Turn off the water valve behind the toilet (clockwise). - Flush to empty most of the water in the tank. - Inspect the rubber flapper for warping, cracks, or buildup. - If it feels stiff or misshapen, replace it.
**Replace the flapper**
- Unhook the old flapper from the overflow tube ears or mounting posts. - Detach the chain from the flush lever. - Attach the new flapper to the tube/posts and reconnect the chain, leaving a bit of slack (not tight, not dragging). - Turn water back on and let the tank fill, then flush and watch if the flapper seals properly.
**Adjust the water level**
- Locate the float (could be a ball float on an arm or a float on the fill valve). - For a ball float: gently bend the arm downward so the valve shuts off sooner. - For a vertical float: adjust the height using the provided screw or clip. - Aim for the water level to sit about 1 inch below the top of the overflow tube (often marked on the tank).
**Test and fine-tune**
- Flush several times and listen after each fill. - If water still runs, double-check the flapper seating and float level. - Persistent problems may require replacing the entire fill valve (still a basic DIY task with the instructions on the replacement part).
---
Patch a Small Hole in Drywall for a Clean Finish
Dings, nail holes, and small dents in walls make a room look tired. Patching them is a simple way to instantly improve how your home looks.
Tools & Materials
- Spackling paste or lightweight joint compound
- Putty knife (2–4 inch)
- Fine-grit sandpaper (120–220 grit)
- Damp sponge
- Primer and paint (to match wall)
Step-by-Step
**Prepare the area**
- Lightly scrape around the hole with the putty knife to remove loose paint or debris. - Wipe with a damp cloth or sponge and let dry completely.
**Apply spackle or joint compound**
- Scoop a small amount of spackle on the putty knife. - Press it firmly into the hole, then smooth outward, feathering the edges so it’s slightly wider than the hole area. - For deeper holes, apply in two thin layers rather than one thick blob (let the first layer dry before adding the second).
**Let it dry fully**
- Follow the drying time on the product label; rushing this step leads to cracking or smearing when you sand.
**Sand for a smooth finish**
- Lightly sand with fine-grit sandpaper until the patch is flush with the wall surface. - Run your hand over it to feel for ridges. - Wipe away dust with a damp sponge and let dry.
**Prime and paint**
- Apply a small amount of primer over the patch to prevent flashing (a visibly different sheen). - Once dry, paint over the area using the same color and finish as the wall (eggshell, matte, etc.). - Feather the paint slightly beyond the patch to blend it in.
---
Conclusion
Tackling small repairs yourself doesn’t just save money—it gives you control over your space. By learning how to stop a drip, quiet a door, clear a drain, fix a running toilet, and patch a wall, you build a practical toolkit you’ll use for years. Start with one issue, follow the steps carefully, and keep safety in mind. The more you do, the more confident and capable you’ll feel every time something at home needs attention.
---
Sources
- [U.S. Environmental Protection Agency – Fix a Leak](https://www.epa.gov/watersense/fix-leak-week) – Information on how household leaks waste water and why fixing drips and running toilets matters
- [Kohler – Faucet Troubleshooting & Repair Guides](https://support.kohler.com/hc/en-us/categories/360000044754-Faucets) – Manufacturer guidance on common faucet problems, cartridges, and parts
- [Family Handyman – How to Fix a Running Toilet](https://www.familyhandyman.com/project/how-to-fix-a-running-toilet/) – Step-by-step visuals and tips for diagnosing and repairing common toilet issues
- [Lowe’s – How to Patch and Repair Drywall](https://www.lowes.com/n/how-to/patch-and-repair-drywall) – Detailed drywall patching instructions and material recommendations
- [Massachusetts Department of Environmental Protection – Septic System Do’s and Don’ts](https://www.mass.gov/info-details/title-5-septic-system-do-s-and-dont-s) – Guidance on what to avoid putting down drains and why chemical drain cleaners can be problematic
Key Takeaway
The most important thing to remember from this article is that this information can change how you think about Household Repairs.


