Scrolling through that viral “Real Estate Listings From Hell” thread, it’s painfully clear how little mistakes at home can look huge (and disgusting) in photos. Bad lighting, mystery stains, cluttered counters—these are the things that make strangers roast a house online and make buyers click away in two seconds.
The good news: you don’t need a contractor, a weekend, or a full renovation to dodge that fate. You just need a focused hour and a few simple fixes.
Below are five fast, practical repairs and tweaks inspired by those nightmare listings—so your place looks clean, intentional, and definitely not screenshot‑worthy for the wrong reasons.
---
1. Kill “Listing From Hell” Lighting With One Simple Bulb Swap
Nothing makes a home look more like a crime scene screenshot than harsh, mismatched lighting. Those viral terrible listings almost always have it: one icy blue bulb, one yellow, one dead.
Quick Fix (15–20 minutes, no tools):
- **Pick one color temperature for the whole room.**
- Warm white (2700–3000K) = cozy bedrooms/living rooms.
- Neutral (3500–4000K) = kitchens, bathrooms, workspaces.
- Avoid mixing; it looks chaotic in person and worse in photos.
- **Do a room-by-room bulb audit.**
Turn on all lights, take a quick photo on your phone, and note bulbs that look:
- **Replace with matching LED bulbs.**
- Choose the same wattage equivalent (usually 60W equivalent is enough for most rooms).
- Choose the same Kelvin (color temperature) and brand if possible.
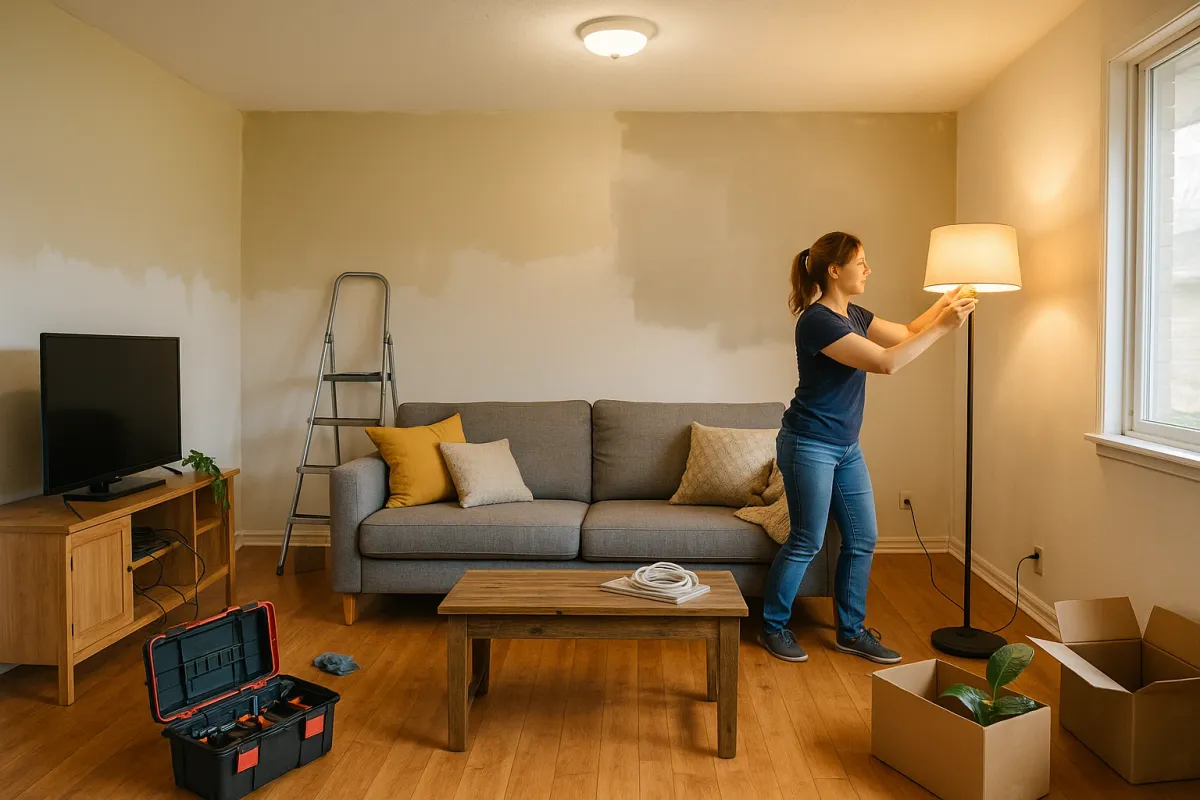
- **Fix the “overhead only” problem.**
- Add one floor lamp or table lamp in any room that feels like a hospital waiting room.
- Aim lamps at walls or ceilings for softer, indirect light.
- **Reset the mood for photos or guests.**
- Turn on all lamps + overhead lights, then turn off any light that creates hard shadows or glare.
- Take another phone pic; if it looks balanced there, it’ll look good to anyone walking in.
Result: Rooms instantly look cleaner, bigger, and more intentional—without painting, decorating, or spending more than the cost of a cheap dinner.
---
2. Erase “Shady Bathroom” Vibes With a 20-Minute Deep-Spot Clean
Those nightmare listings that go viral on social media almost always have at least one horrifying bathroom: moldy caulk, orange rings, mystery grime. You don’t need a full gut job to fix the impression—just smart, targeted cleaning.
Quick Fix (20–30 minutes, $10–$20 in supplies):
- **Attack the toilet first (it sets the tone).**
- Pour toilet cleaner (or vinegar + baking soda) into the bowl.
- Scrub under the rim thoroughly. That’s where the “unphotogenic” part hides.
- Wipe the tank, handle, and seat hinges with disinfectant.
- **Remove the “moldy edge” along tub and sink.**
- Spray a bleach-based cleaner or a vinegar solution on caulk lines and grout.
- Let it sit 10–15 minutes.
- Scrub with a stiff brush or old toothbrush, then rinse.
- **Fix the glass and mirror in one pass.**
- Use glass cleaner or a mix of vinegar + water.
- Wipe mirrors, shower glass, and chrome fixtures until they’re streak‑free.
- Shiny metal instantly signals “clean,” even if the tile isn’t perfect.
- **Swap out anything that can’t be saved.**
- Mildewed shower curtain? Replace with a plain white or light gray liner/curtain.
- Gross bath mat? Throw it in the wash or replace with a cheap, clean one.
- **Stage it like you don’t live there.**
- Clear counters: only soap, maybe one small plant or folded towel.
- Put away half‑used products, razors, and toothbrush clutter.
Result: No, your bathroom won’t become a spa in 30 minutes—but it also won’t end up on the next “what is that on the floor?” compilation thread.
---
3. Turn “What Is That Smell?” Into “Wow, This Feels Fresh” Fast
Many of the worst listings online look bad, but if people could smell them, they’d be even worse. Pet odors, stale smoke, and mystery kitchen smells are top deal‑breakers—and you can reduce them quickly without expensive gadgets.
Quick Fix (30–40 minutes, most supplies you already have):
- **Find and remove the source, not just the scent.**
- Empty trash cans in kitchen and bathroom.
- Remove any old food from the fridge and wipe spills.
- Check for damp towels, gym bags, or pet bedding.
- **Do the 10-minute soft-surface reset.**
- Lightly sprinkle baking soda over rugs, couches, and fabric chairs.
- Let it sit 10–15 minutes, then vacuum thoroughly.
- This absorbs smells that candles can’t touch.
- **Open up the air, even if it’s cold out.**
- Crack windows in opposite parts of your place for 10 minutes to create a cross‑breeze.
- Turn on bathroom and kitchen exhaust fans during this time.
- **De‑odorize the kitchen at the source.**
- Garbage disposal: pour ½ cup baking soda, then 1 cup vinegar, let foam, then flush with hot water.
- Microwave: heat a bowl of water with lemon slices for 3–5 minutes, then wipe inside.
- **Add one subtle, clean scent layer.**
- Simmer a small pot of water with lemon slices, cinnamon sticks, or vanilla for 15–20 minutes.
- Or use a diffuser with a light scent (citrus or “linen” type). Avoid heavy perfumes; they smell like you’re hiding something.
Result: Your home goes from “this might be a health code issue” to “someone actually lives—and cleans—here,” in under an hour.
---
4. Fix Photo‑Killing Clutter With the “One Surface at a Time” Method
Those infamous listing photos where every countertop is overflowing? That’s usually not a “hoarder” problem—it’s a “no system” problem. You don’t have to declutter your entire life today. Just tame the surfaces people actually notice.
Quick Fix (20–30 minutes per room, zero organizing products needed):
- **Pick the surfaces that show up first.**
- Kitchen counters
- Coffee table
- Entryway table or shoe area
- Bedside tables
These are the “first impression” zones.
- **Use a laundry basket as a temporary collector.**
- Grab one basket or box.
- Sweep everything that doesn’t obviously belong on that surface into the basket.
- Don’t sort yet. The move is: clear visual space *fast*.
- **Reset each surface with strict rules.**
- Kitchen counter: appliances you use daily + one small “nice” item (plant, fruit bowl).
- Coffee table: remote, coaster set, maybe one book or small tray.
- Nightstand: lamp, charger, one book, and maybe a glass of water—nothing else.
- **Deal with the basket in one location only.**
- Sit in one spot and sort: trash, donate, relocate, or keep in a specific drawer/bin.
- If you’re short on time, “keep” can be a labeled box tucked in a closet—but give it a clear deadline to revisit (e.g., next weekend).
- **Test it with your camera.**
- Take quick photos from the doorway of each room.
- If a surface still looks visually loud, remove one more item.
Result: Your space suddenly looks intentional instead of chaotic—exactly what those viral “listing fails” never manage to pull off.
---
5. Hide Ugly Wall Damage Without Breaking Out the Paint Roller
Many “Real Estate From Hell” photos share the same detail: dinged-up walls, random holes, peeling paint, and mystery stains. You might not have time or money for full repainting, but you can make damage nearly invisible for day‑to‑day living or quick photos.
Quick Fix (30–45 minutes, basic supplies):
- **Patch nail holes and small dings.**
- Use lightweight spackle or pre‑mixed wall filler.
- Press it into the hole with a putty knife or even a plastic card.
- Smooth flat and wipe extra off with a damp cloth.
- Let dry, then lightly sand with fine sandpaper or a nail buffer.
- **Deal with scuff marks and surface stains.**
- Try a damp microfiber cloth first—many marks are just dirt.
- For stubborn scuffs, use a melamine sponge (Magic Eraser type), but test a small area; it can remove paint on glossy surfaces.
- **Use touch-up paint strategically.**
- If you have leftover wall paint, dab a small amount over patched areas with a foam brush or even a makeup sponge.
- Feather the edges so it blends; you don’t need to repaint the entire wall.
- **Cover what you can’t fix today.**
- Large, unrepaired damage? Hang a simple, lightweight frame, wall tapestry, or tall plant in front of it.
- Just avoid obviously “we’re hiding something” arrangements—keep it casual and balanced.
- **Re-anchor anything dangling or crooked.**
- Tighten loose curtain rods, re-level crooked frames, and remove any wall decor that’s beyond saving.
- Better a blank wall than a broken feature that screams “deferred maintenance.”
Result: Your walls go from “what happened here?” to “normal lived‑in home,” which is all most people really want.
---
Conclusion
The homes that end up on “Real Estate Listings From Hell” aren’t always disasters because of structural problems—they’re disasters because of visible problems: bad lighting, grime, odors, clutter, and damage that looks worse than it is.
With less than a couple of hours and basic supplies, you can:
- Fix your lighting so rooms look bigger and cleaner
- Make bathrooms look sanitary instead of sketchy
- Clear out smells before anyone has to ask “what’s that?”
- Tame the clutter that kills first impressions
- Hide or repair the wall damage that ruins photos
You don’t need a renovation budget to keep your place out of the next viral roast thread. You just need a plan—and now you’ve got one.
Key Takeaway
The most important thing to remember from this article is that this information can change how you think about Quick Fixes.


