When something breaks at home, the first instinct is often to search for a repair service—or worse, replace the item completely. But many everyday problems can be fixed safely and effectively with basic tools, clear steps, and a little patience. This guide walks you through five common issues you can realistically handle yourself, helping you save money, reduce waste, and get things working again today.
---
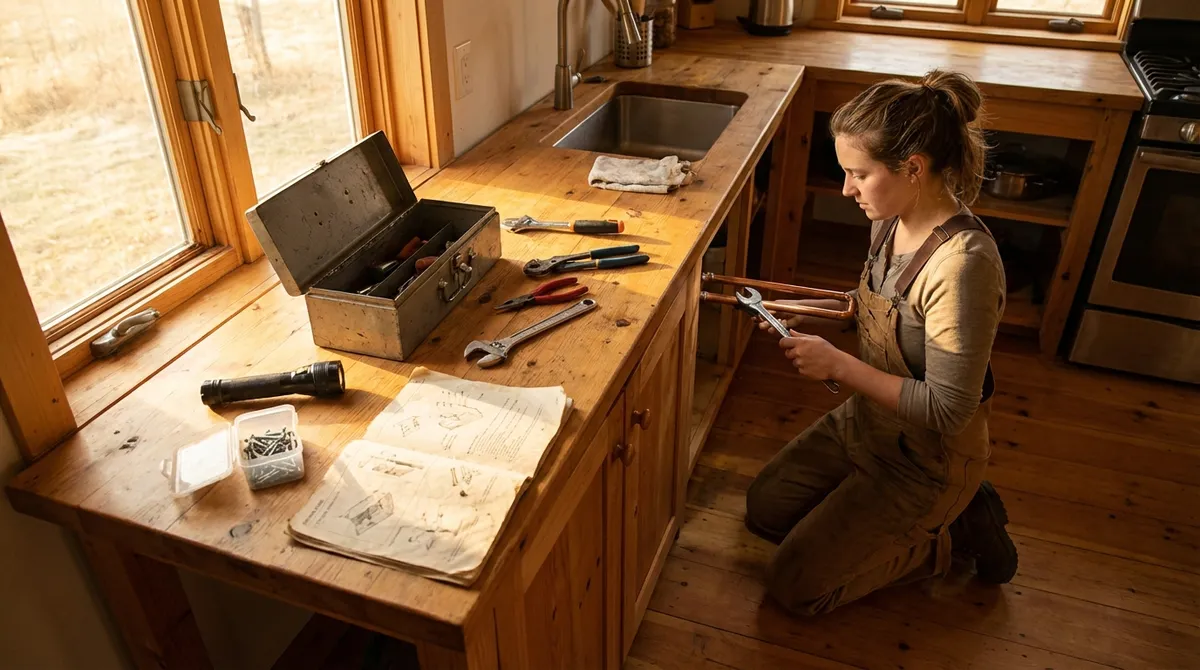
Stop a Dripping Faucet and Cut Water Waste
A dripping faucet wastes water, adds to your bill, and can stain sinks over time. In many cases, the fix is as simple as replacing a worn-out washer or cartridge.
Tools and materials
- Adjustable wrench or basin wrench
- Screwdriver (Phillips and flathead)
- Replacement washer or cartridge (matched to your faucet model)
- Plumber’s tape (Teflon tape)
- Towel or small bucket
Step-by-step
**Shut off the water supply**
Look under the sink for the shutoff valves (one for hot, one for cold). Turn each clockwise until it stops. Open the faucet to release any remaining pressure.
**Plug the drain**
Use a sink plug or a rag so small screws or parts don’t fall down the drain.
**Remove the handle**
Find the screw holding the handle in place. It might be hidden under a decorative cap—pop that off with a flathead screwdriver, then remove the screw and pull off the handle.
**Access the valve assembly**
Under the handle you’ll see a nut or retaining clip holding the valve/cartridge in place. Use an adjustable wrench to loosen it carefully.
**Take out the cartridge or stem**
Pull it out gently. For compression faucets (with separate hot/cold knobs), you’ll see a stem with a rubber washer at the end. For cartridge faucets, you’ll remove the entire cartridge.
**Inspect and replace worn parts**
- If it’s a **washer-style faucet**, replace the rubber washer and any O-rings that look cracked or flattened. - If it’s a **cartridge faucet**, replace the cartridge with a new one that matches your model.
**Reassemble with plumber’s tape**
Wrap the threaded areas lightly with plumber’s tape. Reinstall the cartridge or stem, tighten the nut (snug, not over-tight), and reinstall the handle and cap.
**Turn water back on and test**
Slowly open the shutoff valves and run the faucet. Check for drips and leaks around the base and under the sink.
If it still drips, the valve seat may be corroded or the cartridge may not be seated properly. Reseat it, double-check the parts match your model, and try again before calling a plumber.
---
Silence a Squeaky Interior Door
A squeaky door is annoying but easy to fix. The problem is almost always friction in the hinge pin or lack of lubrication.
Tools and materials
- Hammer
- Nail or small punch
- Lubricant (silicone spray, white lithium grease, or petroleum jelly)
- Rag or paper towels
Step-by-step
**Open and close the door to locate the noise**
Confirm which hinge is squeaking by watching and listening closely.
**Support the door if needed**
If the door is heavy or you’re working on multiple hinges, slide a wedge or book under the door to prevent it from shifting.
**Remove the hinge pin**
Use a nail or small punch at the bottom of the hinge pin. Tap upward gently with a hammer until the pin starts to rise. Pull it out with your fingers or pliers.
**Clean the pin and hinge barrel**
Wipe off any dirt, rust, or old grease from the pin and inside the hinge barrel using a rag.
**Apply lubricant**
- Coat the hinge pin lightly with lubricant. - Avoid using cooking oil—it attracts dirt and gums up over time. - Silicone spray or white lithium grease works best and lasts longer.
**Reinsert the pin**
Slide the pin back in from the top and tap gently with the hammer until it’s fully seated.
**Wipe excess and test**
Open and close the door several times. Wipe away any extra lubricant that squeezes out.
If the door still squeaks, repeat for the remaining hinges. If the noise persists, the door may be rubbing on the frame; in that case, tighten hinge screws or slightly adjust the strike plate.
---
Restore Suction to a Weak Vacuum Cleaner
If your vacuum is leaving dirt behind, it’s often due to a clog, full bag/canister, or a dirty filter. You can usually fix this in under 30 minutes.
Tools and materials
- Scissors
- Soft brush or old toothbrush
- Mild soap and water (for washable filters)
- Trash bag
Step-by-step
**Unplug the vacuum**
This is critical. Never work on a plugged-in appliance.
**Empty the bag or canister**
- For bagged vacuums: Replace the bag if it’s more than half full. - For bagless vacuums: Remove the canister and empty it into a trash bag. Tap gently to dislodge stuck dust.
**Clean or replace filters**
- Locate pre-motor and exhaust (often HEPA) filters as per your user manual. - Wash washable filters with mild soap and water; dry completely before reinstalling. - Replace non-washable or heavily clogged filters as recommended by the manufacturer.
**Check for clogs in the hose**
Detach the hose and look through it. If light can’t be seen end-to-end, there’s a clog. Use a broom handle or straight, non-sharp object to gently push out debris.
**Clear the brush roll**
Flip the vacuum over. Cut away hair, threads, or strings wrapped around the brush roll using scissors. Avoid cutting the bristles.
**Inspect seals and connections**
Reattach the hose and canister or bag. Ensure all latches and seals are snug—air leaks dramatically reduce suction.
**Test the vacuum**
Plug it back in and test suction on a hard floor first, then on carpet. If suction is still weak, the motor or internal seals may be failing and professional service is recommended.
---
Fix a Wobbly Chair or Table for Good
A wobbly piece of furniture is more than annoying; it can be dangerous, especially around kids or hot drinks. Often, loose screws or joints are to blame.
Tools and materials
- Screwdriver or Allen/hex key (matching existing hardware)
- Wood glue (for wooden joints)
- Small clamps or straps (optional but helpful)
- Felt pads or furniture levelers
Step-by-step
**Flip or lay the furniture on its side**
Make sure it’s stable before you start. Clear a space to work.
**Check all screws and bolts**
Tighten any loose screws, bolts, or Allen-head connections. Don’t overtighten—stop when snug and secure.
**Inspect wooden joints**
If you see gaps where legs join the seat or frame, or if a leg wiggles even when screws are tight, the joint may be loose.
**Reinforce with wood glue (for wood furniture)**
- Carefully separate the loose joint if possible. - Clean out old glue or debris. - Apply fresh wood glue to the surfaces and press together firmly. - Use clamps or straps to hold the joint tightly while it dries (follow glue label for drying time).
**Level the legs**
Stand the furniture back up on a flat surface. If one leg is shorter or your floor is uneven, apply felt pads or adjustable furniture levelers under the shorter leg.
**Final stability check**
Gently rock the furniture in all directions. If it still wobbles, revisit screws, joints, and pads until it’s solid.
If the wood is cracked or hardware is stripped, you may need slightly larger screws, wood filler, or a repair plate to strengthen the joint.
---
Clear a Slow or Clogged Bathroom Sink Safely
A slow-draining sink is usually caused by hair, soap scum, and product buildup near the drain—not deep in the pipes. You can often clear it without harsh chemicals.
Tools and materials
- Rubber gloves
- Bucket or bowl
- Old towel
- Plastic drain snake or wire hook
- Adjustable wrench (if removing the P-trap)
Step-by-step (non-chemical method)
**Remove the stopper**
- Many bathroom sinks have a pop-up stopper connected by a rod under the sink. - Look under the sink, locate the horizontal rod attached to the drain pipe, and unscrew the retaining nut by hand or with a wrench. - Pull out the rod and then lift the stopper from the sink.
**Clear debris at the drain opening**
Wear gloves. Remove hair, soap, and gunk from the visible area. Use a plastic drain snake or a bent wire hook to reach further in and pull out buildup.
**Flush with hot water**
Run hot (not boiling) water into the drain for a minute or two to help dissolve soap and minor buildup.
**If still slow, check the P-trap**
- Place a bucket under the curved P-trap pipe under the sink. - Loosen the slip nuts on either side by hand or with an adjustable wrench. - Remove the trap and empty it into the bucket. Clear out any debris.
**Clean and reassemble**
Rinse the P-trap and reinstall it, making sure the washers are properly seated. Hand-tighten the slip nuts first, then snug slightly with a wrench (do not overtighten).
**Reinstall the stopper**
Put the stopper back in place from above. Under the sink, reinsert the rod into the hole in the stopper and retighten the retaining nut.
**Test for leaks and drainage**
Run water and check under the sink for drips. If water drains smoothly and the connections stay dry, you’re done.
Avoid using harsh chemical drain cleaners regularly—they can damage pipes and are hazardous to handle. Mechanical removal is safer and often more effective.
---
Conclusion
You don’t need to be a professional to solve common household problems. With a bit of guidance, simple tools, and a calm, step-by-step approach, you can stop leaks, silence squeaks, restore suction, steady furniture, and clear drains on your own. The key is to work safely, know your limits, and tackle one small issue at a time. Every successful repair builds confidence—and keeps one more item out of the trash and one more service call off your calendar.
---
Sources
- [U.S. Environmental Protection Agency – Fix a Leak](https://www.epa.gov/watersense/fix-leak-week) – Explains how household leaks waste water and offers basic guidance on fixing common leaks
- [Energy.gov – Appliances & Electronics](https://www.energy.gov/energysaver/appliances-electronics) – Provides information on maintaining and improving the efficiency of home appliances like vacuums
- [Family Handyman – How to Fix Leaky Faucets](https://www.familyhandyman.com/project/how-to-fix-a-leaky-faucet/) – Step-by-step faucet repair examples with photos and part identification
- [This Old House – How to Fix a Squeaky Door](https://www.thisoldhouse.com/doors/21016703/how-to-fix-a-squeaky-door) – Practical techniques for quieting noisy door hinges
- [Washington State Department of Health – Preventing Chemical Drain Cleaner Injuries](https://doh.wa.gov/you-and-your-family/injuries-violence-safety/home/chemical-drain-cleaners) – Safety guidance on using and avoiding chemical drain cleaners
Key Takeaway
The most important thing to remember from this article is that this information can change how you think about DIY Solutions.


