Every December, social feeds fill up with lists of “toys under $20” that look way more expensive than they are. This year is no different: budget‑friendly toy roundups are trending again, proving parents don’t need to blow the holiday budget to make kids happy. But if you’ve ever bought one of those viral, low‑cost toys, you already know the hidden downside—many of them break, jam, or “mysteriously stop working” before New Year’s.
Instead of treating those toys as disposable, a few quick fixes can keep them out of the trash and in the playroom rotation. Inspired by this season’s surge of cheap toy recommendations, here’s how to stretch the life of those under‑$20 wonders with simple, at‑home repairs you can do in minutes.
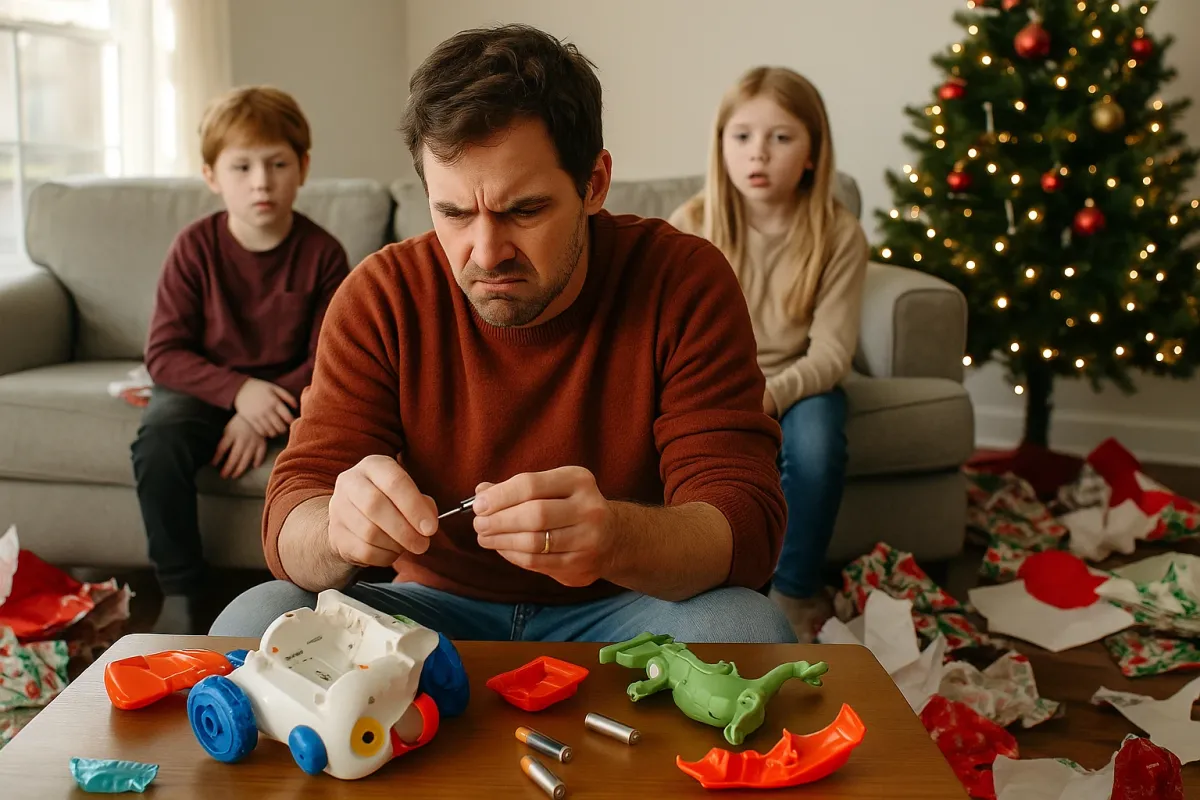
Stop “Dead” Battery Toys From Going To Landfill
When a budget toy stops turning on, most people assume it’s dead for good. In reality, the problem is usually basic power issues, not a fried circuit. First, open the battery compartment and remove all batteries. Check for any white, fluffy residue or green crust—that’s corrosion from leaking batteries. Use a cotton swab dipped in white vinegar or lemon juice to gently scrub the metal contacts, then wipe dry with a clean cloth. This alone often brings a “dead” toy back to life.
Next, install a fresh set of quality alkaline batteries (cheap batteries in cheap toys is a double fail). Make sure you’re matching the + and – signs correctly and that batteries fit snugly without rattling. If the toy still won’t power on, look for a hidden secondary switch—many low‑cost toys have an on/off switch plus a mode selector that can mute sound or light. Slide all switches through their positions slowly to test. Label the main power switch with a small piece of tape and a marker so grandparents, babysitters, and sleepy parents don’t miss it later.
Fix Jammed Wheels And Stuck Moving Parts
Small plastic cars, spinning gadgets, and tiny ride‑ons from the discount aisle are infamous for jammed wheels within a week of unboxing. Most jams are caused by hair, thread, or carpet fibers wrapped around the axles. Flip the toy over and examine each wheel carefully. If you see tangles, use a pair of tweezers or small scissors to snip and pull off the debris, working slowly so you don’t cut into the plastic.
Once the gunk is removed, test the wheel spin with your fingers. If it still feels rough, add a single drop of light household oil or silicone lubricant to the axle (never soak it). Spin the wheel a few times to distribute the lubricant, then wipe away any excess so it doesn’t attract more dust. For toys with moving arms, wings, or doors that pop off, push the joint straight back into place until you hear a click. If a hinge is cracking, reinforce it with a small strip of clear tape wrapped tightly around the joint—this won’t make it indestructible, but it can get you another season of use.
Reinforce Flimsy Plastic Before It Snaps
Many “looks expensive, costs under $20” toys cut corners on plastic thickness. That’s why you see cracked dollhouse furniture, broken swords, and snapped building pieces right after the holidays. You can extend their life by reinforcing weak spots before they fail. Check for thin, bendy areas that flex easily—handles, hinges, and long, narrow pieces are usual suspects.
For non‑food toys, a simple fix is clear packing tape or strong transparent tape. Clean the surface with a dry cloth, then tightly wrap a small piece of tape around stress points like handles or connection joints. Press firmly to remove air bubbles. For flat pieces (like play food trays or props), stick a strip of tape along the back side where it won’t be visible. If something has already cracked but not fully broken, align the crack carefully and tape across it on both sides, pressing the edges together. This won’t make it brand‑new, but it will stop the crack from spreading and keep the toy usable longer.
Quiet The Noise Without Breaking The Toy
Cheap toys are often loud enough to make you regret every holiday decision you’ve made. Instead of “losing” the toy or removing the batteries, you can quiet it quickly and cleanly. Most speakers on budget toys are just a small set of holes on the back or underside. Locate that speaker area, then place a piece of clear tape directly over the holes. Test the sound. Add more layers of tape until the volume drops to a tolerable level.
If the toy has an internal speaker behind thin plastic, you can also use a small piece of self‑adhesive felt or a folded sticker over the speaker holes for extra muffling. Avoid taping over any ventilation slits or battery compartments—those are needed for safe operation. For toys with volume sliders (more common on licensed character toys), move the slider to its lowest setting and then add tape if needed. This keeps the toy functional and fun for kids while saving adult ears and avoiding unnecessary “this toy is broken” drama.
Keep Small Sets Complete And Playable
Those viral “under $20” toy lists are full of sets loaded with tiny pieces: pretend food, building blocks, doll accessories, mini figures. The first thing to break is usually not the toy itself but the set’s usefulness once pieces disappear under couches and into vents. A simple storage system is the quickest fix. Grab a few clear zip‑top bags, small plastic food containers, or a cheap compartment organizer from any discount store.
Assign one container per toy set and label it with masking tape and a marker (“Farm Animals,” “Mini Cars,” “Tea Set”). When kids finish playing, make a game of “piece patrol” where they race to fill the container before a timer goes off. For notoriously tiny accessories (shoes, utensils, hairbrushes), use a separate, smaller bag inside the main container. This reduces the constant “Where is the other piece?” frustration and means you’re not replacing whole toy sets just because a few parts went missing. A two‑minute sort at the end of the day pays off with months of extra play time.
Conclusion
Low‑cost toys trending across social media this season prove you don’t need premium prices to make kids happy—but the real savings come when you keep those budget buys working past the first week. With a few quick fixes—cleaning battery contacts, freeing jammed wheels, reinforcing weak plastic, calming the noise, and organizing small parts—you turn “cheap and disposable” into “affordable and durable.” Before you toss a toy that cost less than dinner, spend five minutes trying one of these repairs. In most cases, that’s all it takes to get it back into the fun rotation instead of into the trash.
Key Takeaway
The most important thing to remember from this article is that this information can change how you think about Quick Fixes.


