Not every problem needs a professional or a pricey replacement. With a few basic tools and clear instructions, you can restore function, save money, and feel a lot more in control of your home and gadgets. This guide walks you through five highly practical, step‑by‑step DIY solutions for problems people run into all the time—without getting overly technical.
---
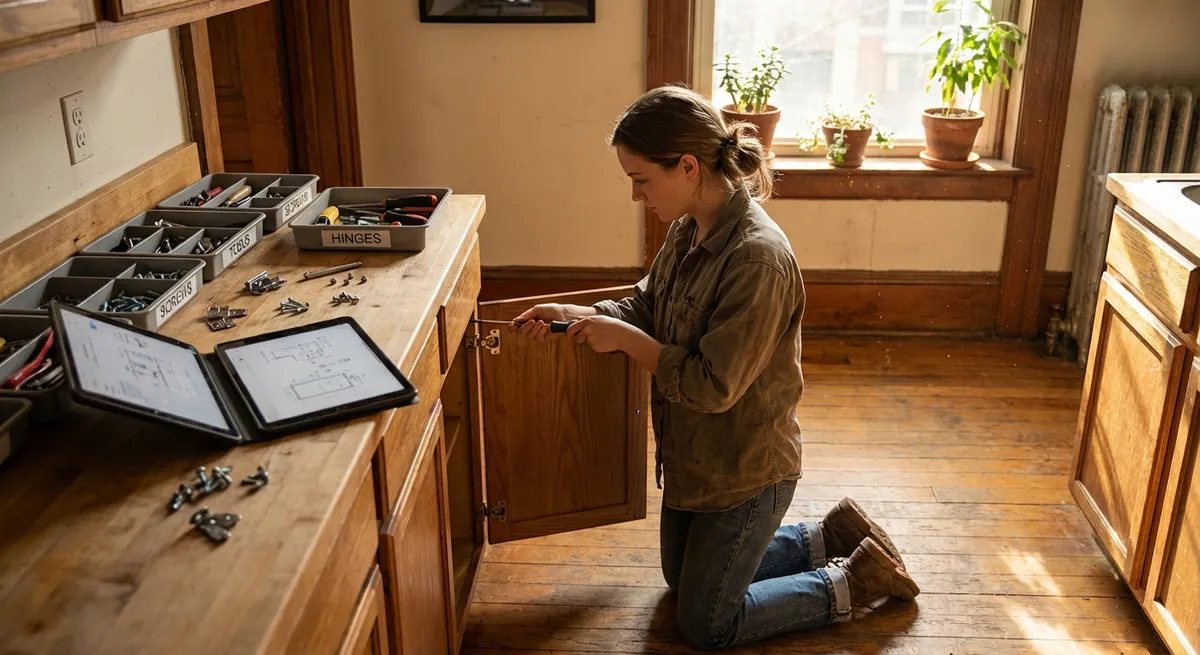
Silence a Squeaky Door Without Special Tools
A squeaky door is annoying, but it’s also one of the easiest things to fix on your own. You don’t need a workshop—just a few common items and a bit of patience.
What you’ll need
- Old towel or rag
- Flathead screwdriver or butter knife
- Lubricant (choose one):
- Silicone spray (best)
- White lithium grease
- Petroleum jelly (short‑term fix)
- Paper towel or cloth for cleanup
Step‑by‑step
**Identify the culprit**
Slowly open and close the door. Listen and watch: the squeak is usually from the hinge pins, not the handle or latch.
**Protect the floor**
Place a towel or rag under the door to catch any drips and prevent staining floors or carpet.
**Loosen the hinge pin**
- Place the tip of the flathead screwdriver under the lip of the hinge pin (start with the top hinge). - Gently tap the handle of the screwdriver with your hand (or a light tool) to lift the pin. - You don’t always need to remove it completely—raising it halfway is often enough.
**Apply lubricant directly to the pin and hinge**
- If using spray: spray a small amount onto the pin and into the hinge barrel. - If using petroleum jelly or grease: coat the pin lightly with your finger or a cotton swab. - Avoid overdoing it; excess will drip and attract dust.
**Re-seat the pin and work the door**
- Push the pin back into place and tap gently until it’s fully seated. - Open and close the door 10–15 times to distribute the lubricant inside the hinge.
**Repeat for other hinges if needed**
If the squeak persists, treat the remaining hinges the same way. Often, fixing the worst hinge dramatically reduces noise.
**Wipe away excess**
Use a paper towel or cloth to remove drips or extra lubricant from hinges and door surfaces.
When to call a pro:
If the door is sagging, rubbing heavily on the floor, or the hinges are cracked or bent, you may need a carpenter or handyman to realign or replace hardware.
---
Rescue a Slow‑Draining Bathroom Sink (Without Harsh Chemicals)
A sluggish sink usually means hair, soap scum, and gunk are trapped just below the drain. Chemical drain cleaners are harsh on pipes and not great for the environment; mechanical cleaning is safer and often more effective.
What you’ll need
- Rubber gloves
- Cup or small container
- Old toothbrush
- Zip‑it style plastic drain cleaning tool or a straightened wire hanger
- Baking soda and white vinegar (optional, for cleaning)
- Small wrench or pliers (for some sink types)
- Bucket or bowl (optional but helpful)
Step‑by‑step
**Clear the area**
Remove items from around and under the sink. Put on gloves.
**Remove the drain stopper**
- Many bathroom sinks use a lift‑rod stopper: - Look under the sink for a horizontal bar connected to the stopper rod. - Unscrew the small nut holding the bar to the drain pipe. - Gently pull the bar out; the stopper in the sink should now lift out. - For simple pull‑out stoppers, you can often just lift them straight up.
**Clean the stopper**
Use the old toothbrush to scrub off hair and buildup on the stopper. Rinse in a cup or under running water.
**Clear the drain opening**
- Insert the plastic drain tool into the drain, push down slowly, then pull it out to grab hair and debris. - If using a wire hanger, bend a small hook at one end and fish out any visible gunk. - Repeat several times until you’re not pulling much out.
**Optional: flush with baking soda and vinegar**
- Pour about ½ cup of baking soda down the drain. - Follow with ½–1 cup of white vinegar. - Let it fizz for 10–15 minutes, then run hot water for 1–2 minutes to flush.
**Reassemble the stopper**
- Drop the cleaned stopper back into the drain. - Under the sink, align the horizontal bar with the hole in the stopper stem and reinsert it. - Tighten the nut by hand, then snug it with pliers if needed (don’t overtighten).
**Test the drain**
Run water at full flow. If it drains quickly and smoothly, you’re done. If it’s still slow, the clog may be deeper in the pipe and might require a small drain snake or a plumber.
Prevention tip:
Use a hair catcher over the drain and clean it weekly. It’s far easier than clearing deeper clogs.
---
Fix a Wobbly Chair or Table So It Feels Solid Again
That annoying wobble in a chair or table is usually from loose joints or uneven legs. Securing the joints and adjusting the contact points can make a cheap piece of furniture feel much more solid.
What you’ll need
- Screwdriver (Phillips and/or flathead)
- Wood glue (for wooden furniture)
- Wood shims, folded cardboard, or felt pads
- Clamp or heavy books (optional, for gluing)
- Damp cloth
Step‑by‑step
**Identify the wobble source**
Place the chair or table on a flat, hard surface. Gently rock it and watch where it lifts off the ground. Note which leg(s) don’t fully contact the floor.
**Tighten all hardware first**
- Flip the furniture over carefully. - Tighten any visible screws, bolts, or brackets connecting legs and frame. - Don’t overtighten to the point of stripping screws, but they should feel snug.
**Check wooden joints for looseness**
- Grab each leg and gently wiggle it. - If a leg moves at the joint, you may need glue: - If possible, pull the loose joint slightly apart. - Apply a small amount of wood glue into the joint. - Press firmly together and wipe off excess glue with a damp cloth. - Clamp or place heavy books on the joint and let it dry per the glue instructions (usually several hours).
**Level the legs**
After tightening and gluing, flip the furniture back upright and test again. If it still wobbles: - Slide a thin piece of cardboard under the shortest leg until the wobble stops. - Trace and cut a small shim from cardboard or use a pre‑made felt pad of matching thickness. - Attach the shim or pad to the bottom of the shorter leg (many felt pads are self‑adhesive).
**Refine and test**
Sit in the chair or lean on the table like you normally would. If there’s still a minor wobble, add or adjust pads until it feels stable.
When not to DIY:
If a structural piece of wood is cracked through or a metal frame is bent, replacement or professional repair is safer, especially for weight‑bearing items like dining chairs or desks.
---
Stop a Running Toilet and Cut Down on Water Waste
A constantly running toilet can waste a surprising amount of water—and money. In most cases, the problem is inside the tank and can be fixed with simple adjustments or a few inexpensive replacement parts.
What you’ll need
- Rubber gloves
- Adjustable wrench (maybe)
- Replacement flapper or fill valve kit (if needed; bring a photo of your tank to the store)
- Towel or sponge
Step‑by‑step
**Remove the tank lid and observe**
Carefully lift the lid (it’s heavy and fragile) and set it on a towel. Flush and watch what happens in the tank: - Does water continue flowing into the bowl? - Is the water level too high and going into the overflow tube? - Is the flapper not sealing completely?
**Check the flapper first**
- The rubber flapper at the bottom of the tank should sit flat on the flush valve opening. - If it’s warped, deteriorated, or covered in mineral deposits, it may not seal. - Push it down gently with a stick or handle—if the running stops, you’ve found the issue.
**Adjust or replace the flapper**
- Turn off the water supply valve behind or under the toilet. - Flush to empty most of the water from the tank. - Unhook the flapper chain and detach the flapper from the two side pegs. - Install a new flapper of the same style and size. - Reattach the chain, leaving a little slack (if it’s too tight, the flapper won’t fully close).
**Set the correct water level**
- If water is spilling into the vertical overflow tube, the tank level is too high. - For float‑cup fill valves: turn the adjustment screw on top of the valve clockwise to lower the float and water level. - For float‑ball types: gently bend the float arm downward so the valve shuts off sooner. - Aim for a water line about 1 inch below the top of the overflow tube.
**Inspect the fill valve (if the problem continues)**
If replacing the flapper and lowering the level doesn’t stop the running: - The fill valve might be worn out. - Turn off the water, drain the tank, and follow the install instructions on a universal fill valve kit (they’re designed for DIYers and usually fit most toilets).
**Turn water back on and test**
Turn the supply valve back on slowly, let the tank fill, and listen for several minutes. There should be no continuous trickle or hissing sound.
Safety note:
You’re dealing with clean tank water, not bowl water. Still, wear gloves and wash hands afterward.
---
Restore a Smartphone Charger That Keeps Falling Out
If your charging cable doesn’t click in firmly or easily falls out of your phone, the problem is often dirt and lint compacted inside the phone’s charging port—not the cable itself. Cleaning it carefully can restore a solid connection.
What you’ll need
- Wooden or plastic toothpick (no metal)
- Compressed air can (optional but helpful)
- Flashlight
- Soft brush (small paintbrush or clean, dry makeup brush)
Step‑by‑step
**Power down your phone**
Turn off your device completely. This lowers the risk of short circuits while you’re working near the port.
**Inspect the port**
Use a flashlight to look inside the charging port. You may see a layer of compacted lint or debris at the bottom or around the sides.
**Use compressed air (optional)**
- Hold the phone so the port faces downward. - Give a short burst or two of compressed air into the port to loosen dust. - Avoid long blasts that can cause condensation.
**Gently loosen debris with a toothpick**
- Use a wooden or plastic toothpick—never metal pins, needles, or paperclips. - Insert the tip very gently into the port, keeping it flat and parallel to the back wall. - Lightly scrape along the bottom and sides to lift lint and dirt. - Pull out and wipe the toothpick as debris accumulates.
**Brush out remaining dust**
- Use the soft brush to sweep across the port opening. - A few quick strokes can help remove loosened particles.
**Re-test the cable**
- Reconnect your charger and see if it clicks in more securely. - Gently wiggle the cable; it should feel snug and maintain a solid charging connection.
**Recognize when it’s a hardware issue**
If the port still feels loose, charges only at certain angles, or shows visible damage (bent center pin, corrosion), the port itself may need professional replacement.
Prevention tip:
Avoid tossing your phone loose into linty pockets or dusty bags. A simple case with a port cover or a dedicated pocket helps keep debris out.
---
Conclusion
Practical DIY fixes aren’t about becoming a full‑time handyman; they’re about regaining control over everyday problems that eat up time, money, and patience. By learning how to silence a squeaky door, clear a sluggish sink, stabilize a wobbly chair, stop a running toilet, and clean a loose charging port, you build a small toolkit of reliable solutions you can apply again and again.
Start with the simplest repair you’re comfortable with, follow each step carefully, and stop if something doesn’t look right. Over time, these skills compound—your home works better, your gadgets last longer, and calling for help becomes the exception instead of the default.
---
Sources
- [U.S. Environmental Protection Agency – WaterSense: Fix a Leak](https://www.epa.gov/watersense/fix-leak-week) - Explains how common household leaks (including toilets) waste water and offers guidance on basic fixes
- [Family Handyman – How to Fix a Leaking or Running Toilet](https://www.familyhandyman.com/project/how-to-fix-a-leaking-or-running-toilet/) - Step‑by‑step instructions and diagrams for common toilet tank repairs
- [Harvard University – Environmental, Health, and Safety: Compressed Gas Safety](https://www.ehs.harvard.edu/programs/compressed-gas-safety) - General safety guidelines relevant to using compressed air around electronics and in the home
- [University of Georgia Extension – Household Drain Care](https://extension.uga.edu/publications/detail.html?number=C1053) - Practical recommendations on maintaining and unclogging household drains safely
- [This Old House – How to Fix a Wobbly Chair](https://www.thisoldhouse.com/furniture/21017655/how-to-fix-a-wobbly-chair) - Demonstrates methods and products used to stabilize loose furniture joints
Key Takeaway
The most important thing to remember from this article is that this information can change how you think about DIY Solutions.


