Small problems around the house can pile up fast: a dripping faucet, a flickering lamp, a door that won’t stop squeaking. You don’t always need a pro—or expensive tools—to get things back on track. This guide walks you through five practical, beginner‑friendly fixes you can handle in under an hour each, with clear steps and safety notes so you can work confidently.
---
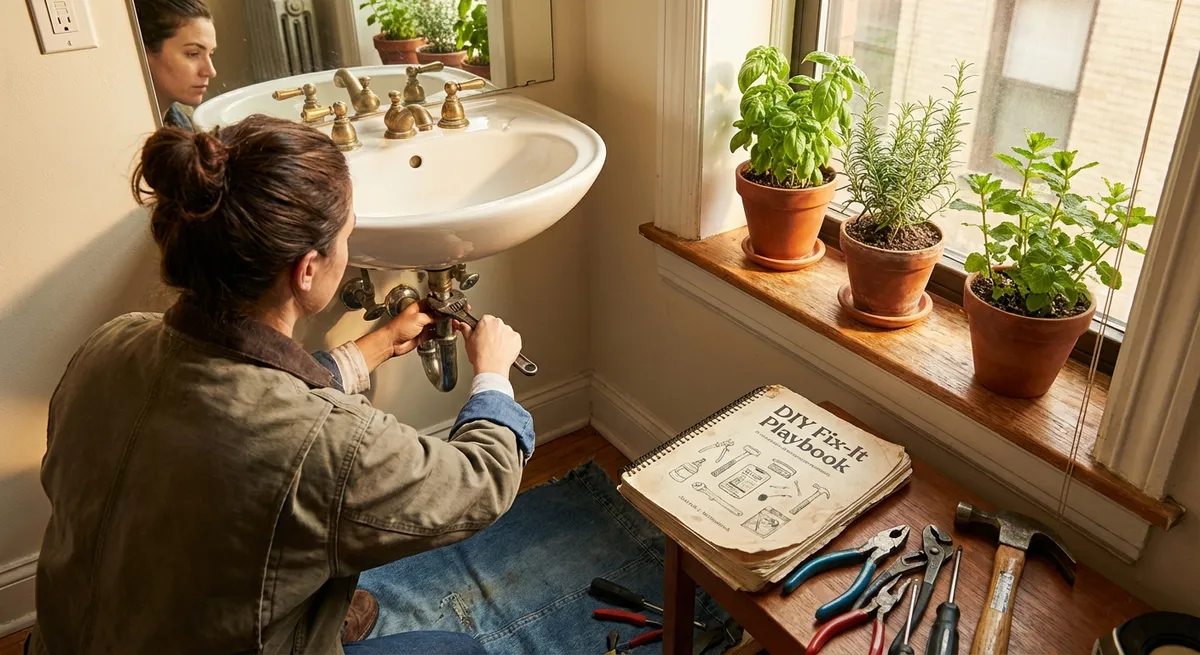
1. Stop a Dripping Faucet (Basic Cartridge Faucet Repair)
A dripping faucet wastes water and money. In many cases, the cause is a worn cartridge or rubber seal you can replace yourself with a simple toolkit.
What you’ll need
- Adjustable wrench or basin wrench
- Flat-head and Phillips screwdrivers
- Replacement cartridge or O‑rings (match brand/model if possible)
- Plumber’s grease (optional but recommended)
- Rag or towel
Step‑by‑step
**Shut off the water supply**
- Look under the sink for two small valves (hot and cold). - Turn both clockwise until they stop. - Open the faucet to release any remaining pressure and confirm water is off.
**Plug the drain**
- Use a drain stopper or stuff a rag in the sink drain. - This prevents tiny screws or parts from falling down the drain.
**Remove the handle**
- Look for a decorative cap or small screw on the handle. - Pop the cap off with a flat screwdriver or pry tool. - Unscrew the handle screw and pull the handle straight up/off.
**Access the cartridge or stem**
- Under the handle you’ll usually see a retaining nut or clip. - Use an adjustable wrench to loosen the nut, or pliers to remove the clip. - Gently pull the cartridge or stem straight out—note its orientation.
**Inspect and replace parts**
- Look for worn rubber seals, cracked plastic, or mineral buildup. - Replace with a matching cartridge or new O‑rings (take the old part to the store to match). - Apply a thin layer of plumber’s grease to O‑rings for smoother operation and longer life.
**Reassemble in reverse order**
- Insert the new cartridge in the same orientation as the old one. - Reinstall the retaining nut/clip, then the handle and screw, then the cap. - Don’t overtighten—snug is enough.
**Turn water back on and test**
- Turn the shutoff valves counterclockwise to open. - Slowly open the faucet to flush air out. - Check for leaks around the handle and spout; tighten gently if needed.
When to call a pro: If the faucet body is cracked, the shutoff valves won’t close, or the leak is coming from under the sink where pipes meet the wall.
---
2. Fix a Door That Won’t Latch or Closes By Itself
A door that keeps drifting open or won’t latch is usually a hinge or alignment issue, not a “bad door.” You can often fix it in minutes with a screwdriver and a few simple adjustments.
What you’ll need
- Phillips screwdriver
- Wood toothpicks or wooden matches (no sulfur tips)
- Wood glue (optional but helpful)
- Hammer (optional)
- Utility knife (for minor strike plate adjustments)
Step‑by‑step: Door closes by itself
**Identify the problem hinge**
- Slowly open the door halfway and see how it swings. - Most of the time, the top hinge is causing the self‑closing issue.
**Tighten hinge screws**
- Use a Phillips screwdriver to tighten all hinge screws on the door and frame. - If screws just spin, the holes are stripped and need to be repaired (next step).
**Repair stripped screw holes**
- Remove one loose screw at a time. - Fill the hole with wood glue and insert 2–3 wooden toothpicks or a trimmed wooden match. - Snap them off flush with the surface. - Reinsert the screw and tighten firmly. This gives the screw fresh wood to bite into.
**Adjust hinge pin (if needed)**
- If the door still swings shut, you can create slight friction: - Tap the hinge pin out with a screwdriver and hammer. - Gently bend the pin in the middle by tapping it against something solid, then reinstall. - The small bend adds just enough resistance to stop the door from drifting.
Step‑by‑step: Door won’t latch properly
**Test latch alignment**
- Slowly close the door and watch where the latch meets the strike plate. - If the latch hits above/below the opening, the alignment is off.
**Try tightening hinges first**
- Sagging hinges can cause misalignment. Tighten all hinge screws. - Test the latch again.
**Adjust the strike plate slightly**
- If the latch hits slightly off center, you can enlarge the opening: - Remove the strike plate screws. - Use a utility knife to trim away small amounts of wood where needed. - Reposition the plate a bit higher or lower, then reinstall screws.
**Test and fine‑tune**
- Close the door and see if it latches smoothly. - Small shifts (1–2 mm) usually solve the problem; don’t over‑cut the wood.
When to call a pro: If the door frame is cracked or warped, or if the door sticks severely and you’re not comfortable planing or trimming it.
---
3. Quiet a Loud, Rattling Fan
A noisy ceiling or table fan is often dirty, loose, or out of balance. With basic cleaning and tightening, you can usually restore quiet operation and extend its life.
What you’ll need
- Step ladder (for ceiling fans)
- Microfiber cloths or soft rags
- Mild detergent and water
- Screwdriver (Phillips most common)
- Small counterweights or coins with tape (for balancing)
Safety first
- Turn off the fan at the wall switch and, if possible, at the breaker.
- For portable fans, unplug from the outlet before starting.
Step‑by‑step
**Clean the blades thoroughly**
- Dust buildup on blades causes wobbling and noise. - Wipe each blade top and bottom with a damp cloth and mild detergent solution. - Dry thoroughly so moisture doesn’t drip into the motor housing.
**Tighten all visible screws**
- On ceiling fans, check: - Blade-to-bracket screws - Bracket-to-motor screws - Canopy screws at the ceiling - On portable fans, check the front and back grille screws and any blade retaining nut.
**Check blade alignment**
- Measure from the ceiling to the tip of each blade (for ceiling fans). - All measurements should be nearly identical. - If one blade sits higher or lower, gently adjust it so all match.
**Balance the fan (if wobbling persists)**
- Turn the fan on low and observe wobble. - Turn it off and let blades stop naturally—note which blade is pointing forward (the “heavy” blade is often opposite the worst wobble). - Tape a small coin (e.g., a penny) near the center of one blade, then test again. - Move the coin between blades until wobble is minimized. - Once you find the best spot, secure a small weight (or keep the coin taped) more permanently.
**Listen for motor or bearing noise**
- If the noise is a grinding or electrical buzz rather than rattling: - Confirm all screws are tight and blades are balanced. - If the motor still sounds rough, it may be worn out and not worth DIY disassembly.
When to call a pro or replace: If the fan has exposed wiring, a burning smell, or motor housing that becomes excessively hot during operation.
---
4. Revive a Dead Outlet (Safely Troubleshoot a Non‑Working Plug)
A non‑working outlet doesn’t always mean bad wiring. Often it’s a tripped GFCI, a tripped breaker, or a loose connection that a homeowner can safely identify and sometimes fix.
What you’ll need
- Plug‑in outlet tester or small lamp/phone charger
- Flat-head and Phillips screwdrivers
- Flashlight
- Voltage tester (non‑contact preferred)
Safety first
- If you ever see scorch marks, melted plastic, or smell burning, stop and call an electrician immediately.
- Never work on outlets with the power on.
Step‑by‑step
**Confirm the outlet is truly dead**
- Plug in a known‑working device (lamp/charger). - If nothing works, try another device to be sure.
**Check other outlets and lights nearby**
- See if a whole section of the room is out. - This suggests a tripped breaker or GFCI controlling multiple outlets.
**Look for a tripped GFCI outlet**
- GFCI outlets have “Test” and “Reset” buttons (often in bathrooms, kitchens, garages, basements). - Press “Reset” firmly. - Test your dead outlet again—many standard outlets are wired downstream of a GFCI.
**Check the electrical panel**
- Locate your main breaker panel. - Look for any breaker in a middle or clearly “tripped” position. - Firmly switch it OFF, then back ON. - Test your outlet again.
**Turn power off to that circuit (for further inspection)**
- If the outlet is still dead and you’re comfortable opening it: - Turn the suspected breaker OFF. - Use a non‑contact voltage tester at the outlet to verify there is no power.
**Remove the outlet cover and inspect**
- Unscrew the faceplate. - Pull the outlet gently from the box. - Look for loose wires, broken terminals, or obvious damage. - If wires are just loose from the screw terminals, you may carefully reattach them: - Strip about ½ inch of insulation if needed. - Wrap the wire clockwise around the terminal screw and tighten firmly.
**Reassemble and test**
- Push the outlet back into the box, ensuring no wires are pinched. - Reinstall the cover plate. - Turn the breaker back ON. - Test with your plug‑in device again.
When to call a pro: If you see aluminum wiring, brittle insulation, any signs of burning, confusion about which wire goes where, or the outlet remains dead after GFCI/breaker checks.
---
5. Clear a Slow Drain Without Harsh Chemicals
A sink or shower that drains slowly is usually clogged with hair, soap scum, and grease—not a “broken” pipe. You can often clear it using mechanical methods instead of harsh chemical cleaners that can damage pipes.
What you’ll need
- Rubber gloves
- Bucket or large bowl
- Old toothbrush or bottle brush
- Plunger (cup‑style for sinks, flange‑style for toilets)
- Plastic drain snake or zip‑it tool
- Baking soda and vinegar (optional)
Step‑by‑step: Bathroom sink or shower
**Remove the stopper or drain cover**
- For sinks, twist and lift the stopper, or unscrew the retaining nut under the sink to release it. - For showers, remove screws from the metal drain cover or pry it up if it snaps in.
**Physically remove hair and gunk**
- Use a plastic drain snake or a bent wire hanger (end bent into a small hook). - Insert into the drain and pull up hair and debris. - Repeat several times until you stop bringing up material.
**Flush with hot water**
- Run hot (not boiling) water for a few minutes to help dissolve soap scum and move loosened debris down the line.
**Try a plunger if still slow**
- For sinks: - Block any overflow hole with a wet rag. - Fill the sink with enough water to cover the plunger cup. - Plunge vigorously 10–15 times, then check drainage. - For showers: - Place the plunger over the drain and plunge similarly.
**Use baking soda and vinegar as a follow‑up**
- Pour ½ cup baking soda into the drain, then ½–1 cup vinegar. - Let it fizz for 10–15 minutes. - Flush with hot water for several minutes. - This helps break up remaining residue and reduce odor.
Step‑by‑step: Kitchen sink (with P‑trap cleaning)
**Clear under‑sink area and place bucket**
- Put a bucket or large bowl under the P‑trap (curved pipe section).
**Loosen the slip nuts**
- By hand or with adjustable pliers, loosen the plastic or metal nuts at each end of the P‑trap. - Carefully remove the trap and dump contents into the bucket.
**Clean the trap**
- Use an old toothbrush or bottle brush to scrub out grease and debris. - Rinse thoroughly in another sink or outside with a hose.
**Inspect for clogs farther in**
- Look into the pipe going into the wall and the tailpiece from the sink. - Use a small snake if you see obvious buildup near the opening.
**Reassemble and test**
- Reinstall the trap, ensuring the washers are seated properly. - Hand‑tighten the nuts—snug but not over‑tight. - Run water and check for leaks. Tighten slightly more if needed.
When to call a pro: If multiple fixtures back up at once, sewage smells come from drains, or you suspect a main line obstruction.
---
Conclusion
Most everyday home annoyances—dripping faucets, noisy fans, stubborn doors, dead outlets, and slow drains—are less intimidating once you break them into clear steps. With a few basic tools, a safety‑first mindset, and the instructions above, you can eliminate a lot of frustration, save money, and build confidence tackling issues before they grow.
Share this guide with friends or family who are just starting to do their own repairs. The more these basic fixes become second nature, the less often you’ll have to wait (and pay) for someone else to handle them.
---
Sources
- [U.S. Environmental Protection Agency – Fix a Leak](https://www.epa.gov/watersense/fix-leak-week) – Information on how household leaks waste water and why fixing dripping faucets matters.
- [Family Handyman – How to Fix a Leaky Faucet](https://www.familyhandyman.com/project/how-to-repair-a-compression-faucet/) – Step‑by‑step faucet repair examples and photos for different faucet types.
- [Energy.gov – Ceiling Fans and Energy Efficiency](https://www.energy.gov/energysaver/ceiling-fans) – Guidance on safe, efficient fan use and basic fan considerations.
- [U.S. Consumer Product Safety Commission – Outlet and Electrical Safety](https://www.cpsc.gov/Safety-Education/Safety-Education-Centers/Electrical-Safety) – Safety guidelines for working around outlets, breakers, and home wiring.
- [University of Georgia Extension – Household Drain Maintenance](https://extension.uga.edu/publications/detail.html?number=C1056) – Practical advice on maintaining and unclogging household drains without damaging pipes.
Key Takeaway
The most important thing to remember from this article is that this information can change how you think about DIY Solutions.


