Most “DIY” advice either assumes you own a full workshop or skips the steps that actually matter. This guide is different. These five solutions are designed for real people, real homes, and real problems—with clear steps you can follow using tools you probably already have.
We’ll walk through each repair from “what’s going wrong” to “how do I fix it now,” so you can stop ignoring those small problems and start crossing them off your list.
---
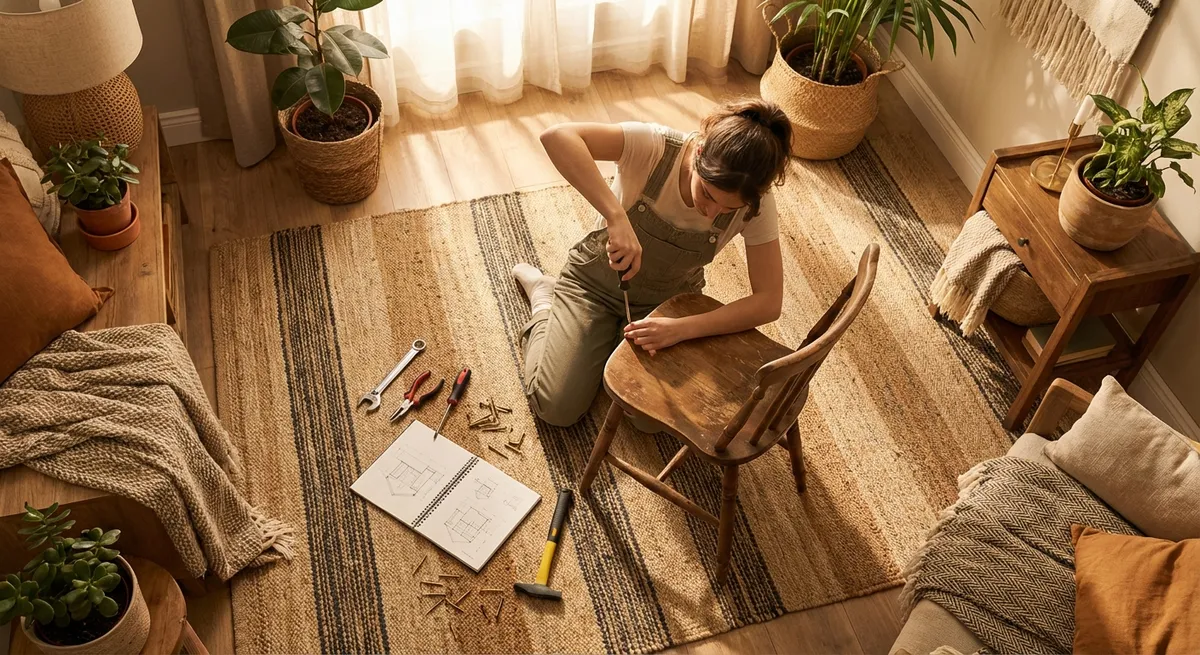
1. Wobbly Chair or Table That Won’t Sit Still
A shaky chair or table usually means loose joints or uneven legs, not that the furniture is “ruined.” Fixing it now can prevent a total collapse later.
What You’ll Need
- Wood glue (or strong construction adhesive if joints are large)
- Small clamps or heavy books
- Sandpaper (medium grit)
- Old rag or paper towel
- Playing card, cardboard, or felt pad (for uneven legs)
- Screwdriver (if screws are involved)
Step-by-Step Fix
**Check where the wobble comes from**
Gently rock the chair or table. Hold each leg one at a time to see which one moves or feels loose. Note all loose joints or legs.
**Tighten screws first**
If there are visible screws or bolts, tighten them with a screwdriver or wrench. Test again—sometimes this alone fixes the wobble.
**Re-glue loose wood joints**
- Pull the loose joint apart slightly (don’t force it if it won’t move). - Lightly sand inside surfaces where you can reach. - Apply a thin layer of wood glue to the joint. - Push the pieces back together firmly and wipe away excess glue.
**Clamp or weight the joint**
Use clamps if you have them. If not, place heavy books or a toolbox over the joint to keep pressure on it. Let it dry according to the glue’s instructions (typically 30 minutes to a few hours; full cure in 24 hours).
**Fix uneven legs**
Place the furniture on a flat surface. If it still rocks and all joints are tight, one leg is likely shorter. - Slide a playing card, folded paper, or thin cardboard under the short leg until it sits stable. - Cut a piece to size and tape or glue it to the bottom of that leg, or use a stick-on felt pad for a cleaner look.
**Final test**
After the glue fully cures, sit or press on the furniture from different angles. If it’s still unstable, repeat tightening and shimming until solid.
---
2. Stripped Screw That Won’t Come Out
A screw with a damaged head can stall an entire repair. You don’t always need special extractors—just a few tricks and simple tools.
What You’ll Need
- Rubber band (wide, flat type works best)
- Screwdriver (correct size for the screw)
- Pliers (ideally locking or needle-nose)
- Utility knife (optional)
- Small flathead screwdriver (optional)
Step-by-Step Fix
**Try the rubber band trick**
- Place a wide rubber band flat over the stripped screw head. - Press the screwdriver firmly into the head through the band. - Turn slowly and steadily counterclockwise. The rubber band fills in the stripped grooves and gives extra grip.
**Switch to the right screwdriver**
Make sure you’re using the correct type and size (Phillips vs. flathead, etc.). An undersized driver easily makes stripping worse. If you have a screwdriver set, try the one that fits the tightest.
**Use pliers if the head is exposed**
If the screw head is slightly above the surface: - Grip it firmly with pliers. - Turn slowly counterclockwise. - Rock gently as you turn to break any stuck threads free.
**Cut a new slot in the head (if needed)**
If the screw head is badly stripped but still accessible: - Carefully use a utility knife or small metal saw to cut a straight groove across the head. - Use a flathead screwdriver that fits the groove snugly. - Press down hard and turn slowly.
**Loosen with back-and-forth motion**
Apply slight tightening pressure (clockwise) first, then unscrew (counterclockwise). That tiny movement can break rust or debris holding it in place.
**Know when to stop**
If the screw still won’t move and you’re damaging the surrounding surface, stop and reassess. At that point, a dedicated screw extractor or professional help may be safer than forcing it.
---
3. Slow or Clogged Bathroom Sink That Fills Up Fast
Most sink clogs start right under the drain—hair, soap scum, and toothpaste buildup. You can often clear it without harsh chemicals or calling a plumber.
What You’ll Need
- Rubber gloves
- Old toothbrush or small cleaning brush
- Bucket or bowl
- Paper towels or old rag
- Bent wire hanger or plastic drain snake (inexpensive at most stores)
- Cup of baking soda (optional)
- Cup of white vinegar (optional)
Step-by-Step Fix
**Clear out the sink area**
Remove everything from under the sink and around the basin so you have room to work.
**Remove the drain stopper**
Many slow drains are caused right at the stopper. - Look under the sink: find the metal rod that connects to the drain pipe and the stopper. - Loosen the small nut holding the rod (usually by hand or with pliers). - Slide the rod out and pull the stopper up from the top of the sink.
**Clean the stopper thoroughly**
- Remove hair and gunk from the stopper with paper towels. - Scrub with an old toothbrush and soap. - Rinse and set aside.
**Clear the drain opening**
- Straighten a wire hanger and bend a small hook on one end, or use a plastic drain snake. - Insert into the drain and pull up debris. - Repeat several times until it comes up cleaner.
**Flush with hot water and (optional) baking soda + vinegar**
- Run hot tap water for 30–60 seconds. - For extra cleaning: pour 1 cup baking soda down the drain, then 1 cup white vinegar. Let sit 10–15 minutes, then flush with hot water again.
**Reinstall the stopper**
- Insert the stopper back into the drain. - Under the sink, slide the metal rod back into the hole at the back of the drainpipe until it catches the stopper. - Tighten the nut by hand and test the up/down motion.
**Test the flow**
Run water for a full minute. If it drains freely, you’re done. If it’s still slow, the clog may be deeper in the pipe and might require a longer snake or professional help.
---
4. Peeling or Lifting Caulk Around a Bathtub or Sink
Cracked or moldy caulk isn’t just ugly—it can let water get behind surfaces and cause real damage. Re-caulking is a straightforward DIY job if you follow a clean process.
What You’ll Need
- Utility knife or caulk removal tool
- Painter’s tape
- Bathroom/kitchen silicone or latex caulk (mold-resistant)
- Caulk gun (if using cartridges)
- Paper towels or old rag
- Rubbing alcohol or household cleaner
- Small bowl of water + a drop of dish soap
Step-by-Step Fix
**Remove old caulk completely**
- Use a utility knife or removal tool to cut along both sides of the old caulk bead. - Gently pull it out in strips. - Scrape off remaining residue; don’t rush this step—new caulk won’t stick to old caulk.
**Clean and dry the area**
- Wipe the joint with household cleaner to remove soap scum and mildew. - Rinse, then wipe with rubbing alcohol for extra cleaning. - Let the area dry thoroughly; moisture under new caulk leads to early failure.
**Mask with painter’s tape**
- Apply tape above and below the joint, leaving a narrow channel where the caulk will go (3–6 mm / 1⁄8–1⁄4 inch). - This creates a clean, professional-looking line.
**Cut the caulk tube tip correctly**
- Cut the nozzle at a 45-degree angle. - Start with a small opening—you can always cut more if needed.
**Apply a steady bead of caulk**
- Hold the gun at a 45-degree angle. - Squeeze the trigger gently while moving along the joint at a steady pace. - Avoid stopping and starting too often; a continuous bead seals better.
**Smooth the caulk**
- Dip your finger in the soapy water. - Lightly drag your finger along the bead to smooth it and press it into the gap. - Wipe excess on a paper towel as you go.
**Remove tape and let it cure**
- Pull the painter’s tape away slowly at a 45-degree angle, before the caulk skins over (usually within minutes). - Allow the caulk to cure as directed on the tube—often 24 hours—before using the shower or sink.
---
5. Interior Door That Won’t Latch or Keeps Swinging Open
A door that won’t stay shut or drifts open is more than annoying—it’s usually an easy fix involving hinges, screws, or the latch plate.
What You’ll Need
- Screwdriver
- Wood toothpicks or wooden skewers
- Wood glue
- Hammer (optional)
- Pencil
- Chisel or flathead screwdriver (for strike plate adjustments)
- Small piece of cardboard (optional)
Step-by-Step Fix
**Check the hinges first**
- Open the door and inspect the hinges. - Tighten all hinge screws with a screwdriver, especially the top hinge (it carries the most weight).
**Fix loose screw holes**
If screws just spin and never tighten, the holes are stripped. - Remove the loose screw. - Dip 2–3 wooden toothpicks in wood glue and insert into the hole. - Snap off the excess flush with the surface. - Reinsert the screw and tighten. The toothpicks give the screw new wood to grab.
**Test the latch alignment**
- Close the door slowly and watch where the latch meets the strike plate on the frame. - If it hits above or below the plate opening, the door frame or hinges may have shifted slightly.
**Adjust the strike plate (small misalignment)**
- If the latch is just slightly off, loosen the strike plate screws. - Move the plate up or down as needed and retighten. - For an even smaller tweak, place a thin piece of cardboard behind the strike plate to move it out a bit.
**Enlarge or reposition the strike opening (bigger misalignment)**
- Mark where the latch hits with a pencil. - Carefully use a chisel or flathead screwdriver and hammer to remove a small amount of wood from the strike opening in the needed direction. - Reattach the plate and test until the latch clicks in smoothly.
**Stop a door from swinging on its own**
If the door always swings open or closed by itself: - Remove the hinge pin from the top hinge (tap it up from the bottom with a screwdriver and hammer). - Place the pin on a hard surface and gently tap the center with a hammer to create a slight bend. - Reinsert the pin. The added friction helps the door stay where you leave it.
---
Conclusion
Small problems rarely stay small. A wobbly chair turns into broken furniture, a slow drain becomes a full clog, and a tiny gap in caulk can lead to water damage.
By tackling these five fixes now—with basic tools and clear steps—you build the confidence to handle the next issue instead of ignoring it. Save this guide, share it with someone who keeps saying “I’ll get to it later,” and start with the one problem that annoys you the most today.
---
Sources
- [U.S. Consumer Product Safety Commission – Furniture Tip-Over Information](https://www.cpsc.gov/Safety-Education/Safety-Education-Centers/Tipover-Information-Center) - Background on furniture stability and why fixing wobbly items matters for safety
- [Family Handyman – How to Remove a Stripped Screw](https://www.familyhandyman.com/project/how-to-remove-a-stripped-screw/) - Demonstrates several practical methods for removing damaged screws
- [U.S. Environmental Protection Agency – Safer Choice: Drain Maintenance](https://www.epa.gov/saferchoice/solutions-healthy-home-drain-maintenance) - Guidance on safer approaches for cleaning and maintaining drains
- [Mayo Clinic – Mold Exposure: Symptoms and Causes](https://www.mayoclinic.org/diseases-conditions/mold-allergy/symptoms-causes/syc-20351550) - Explains why addressing moldy or failing bathroom caulk is important for health
- [This Old House – How to Fix a Sticking Door](https://www.thisoldhouse.com/doors/21016440/how-to-fix-a-sticking-door) - Covers hinge and strike plate adjustments similar to those used to fix misaligned doors
Key Takeaway
The most important thing to remember from this article is that this information can change how you think about DIY Solutions.


